You don’t have much time right now.
You have too much time right now.

You can’t think of what to do next, the choices being: sew the quilt on the wall together, work on the just-started appliqué project, make some biscotti because the last batch failed because you were paying attention to singing along with the Christmas music and forgot to add the rest of the flour (we are eating them anyway), or just sit and stare out the window in hopes that you can will the rainstorm you see on the horizon to come over here.

You know all too well what to do next, the choices being everything above, plus, some grocery shopping tomorrow at Costco where you are trying in vain to find a fresh, approximately 13 lb. turkey for Christmas because for some reason you feel very British this month, what with The Crown, and thinking about your heritage now that your Dad looks like he is on the precipice of the Wild Night and the New Road back to Mom. Yes, way back I hail from the British Isles and pretty much – or so I’ve been told — they have a turkey for Christmas. Unfortunately I live in America and we have turkey in November and a variety of Other Things for Christmas. I just want turkey, but will have to settle for a whole chicken to roast, come next week.

All your children are coming to spend time with you.
None of your children are coming to spend time with you.

You have no children, nor close by family, but instead will take yourself to see Boys in the Boat for a really feel-good movie to help pass the day. If this is the case, get yourself down to See’s chocolate (or your version of a good candy store) and buy a whole pound of your favorite chocolates and smuggle them into the movie theater because – oh my — we need them at just these moments to savor a bit of joy.

You are tired of sewing and just want to sit and watch The Crown. They have waaaaay more problems than you or I, and besides that, you can work on your appliqué.
But instead you write this bit of well-intentioned blatherskite because in spite of too much to do, or not enough to do, it is still Christmas.
It still good to make Merry Merry, even if you don’t feel like it, because sometimes — just sometimes — acting “as if” can then become the real. I sincerely and happily wish you all the merry-merry you can find.
Thanks for being such great readers, and writers, and friends, and friendly quilters. I appreciate you all–

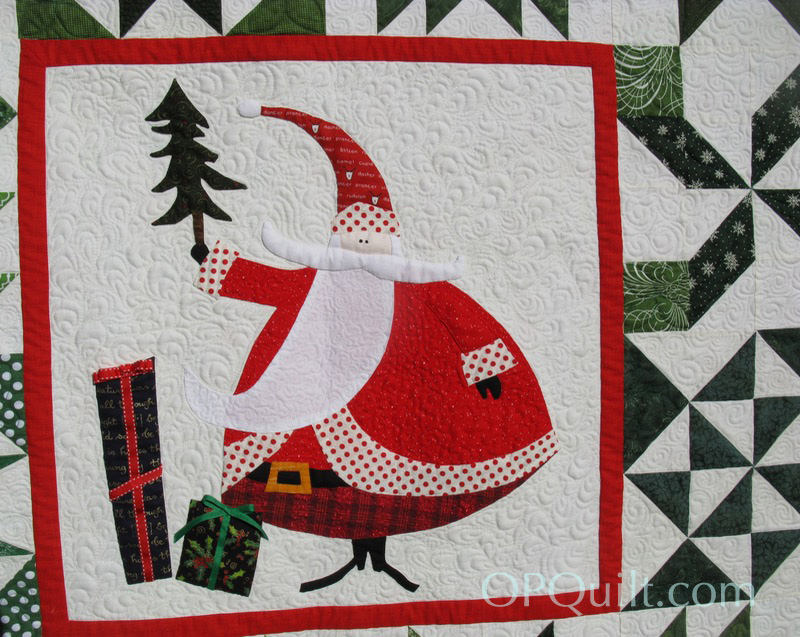
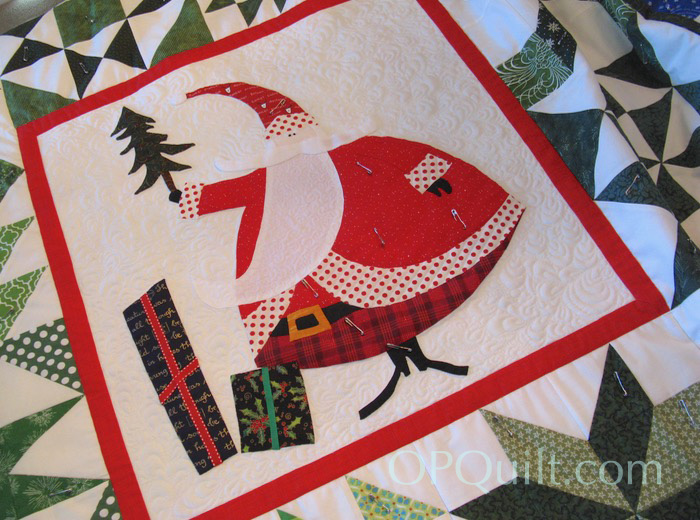
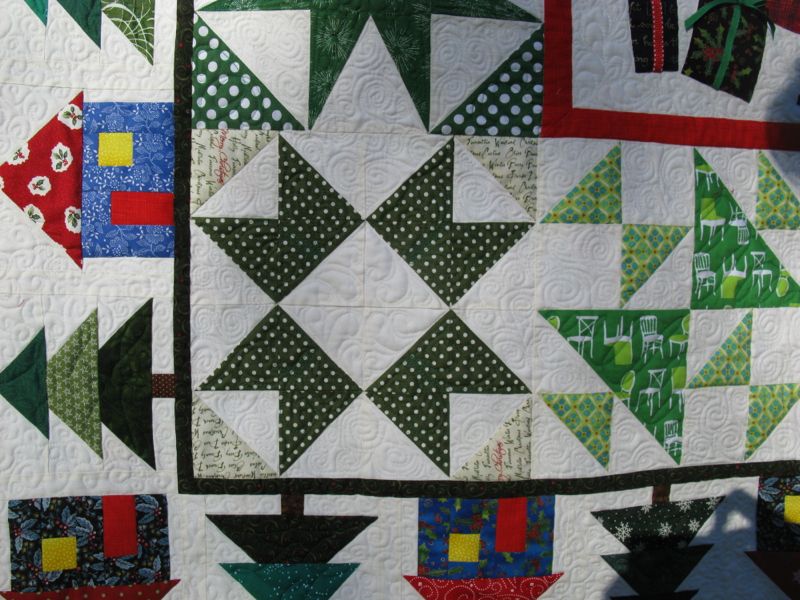
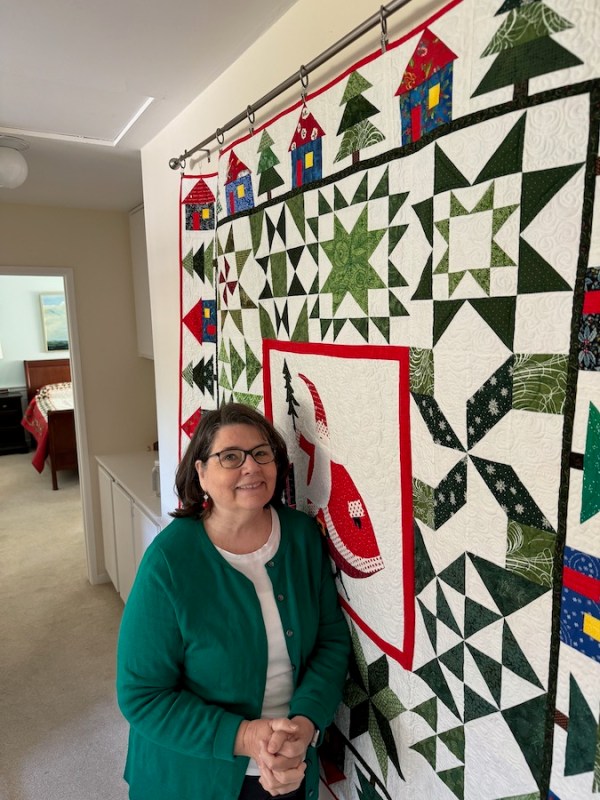
P. S. Jolly Old St. Nicholas is a favorite Christmas quilt.
P. P. S. I have Evergreen, EverLife on the bed down the hall. I love waking up underneath that quilt!