200 Quilts · Quilts · Something to Think About

Not Waving, but Drowning

notwavingdrowning_front2

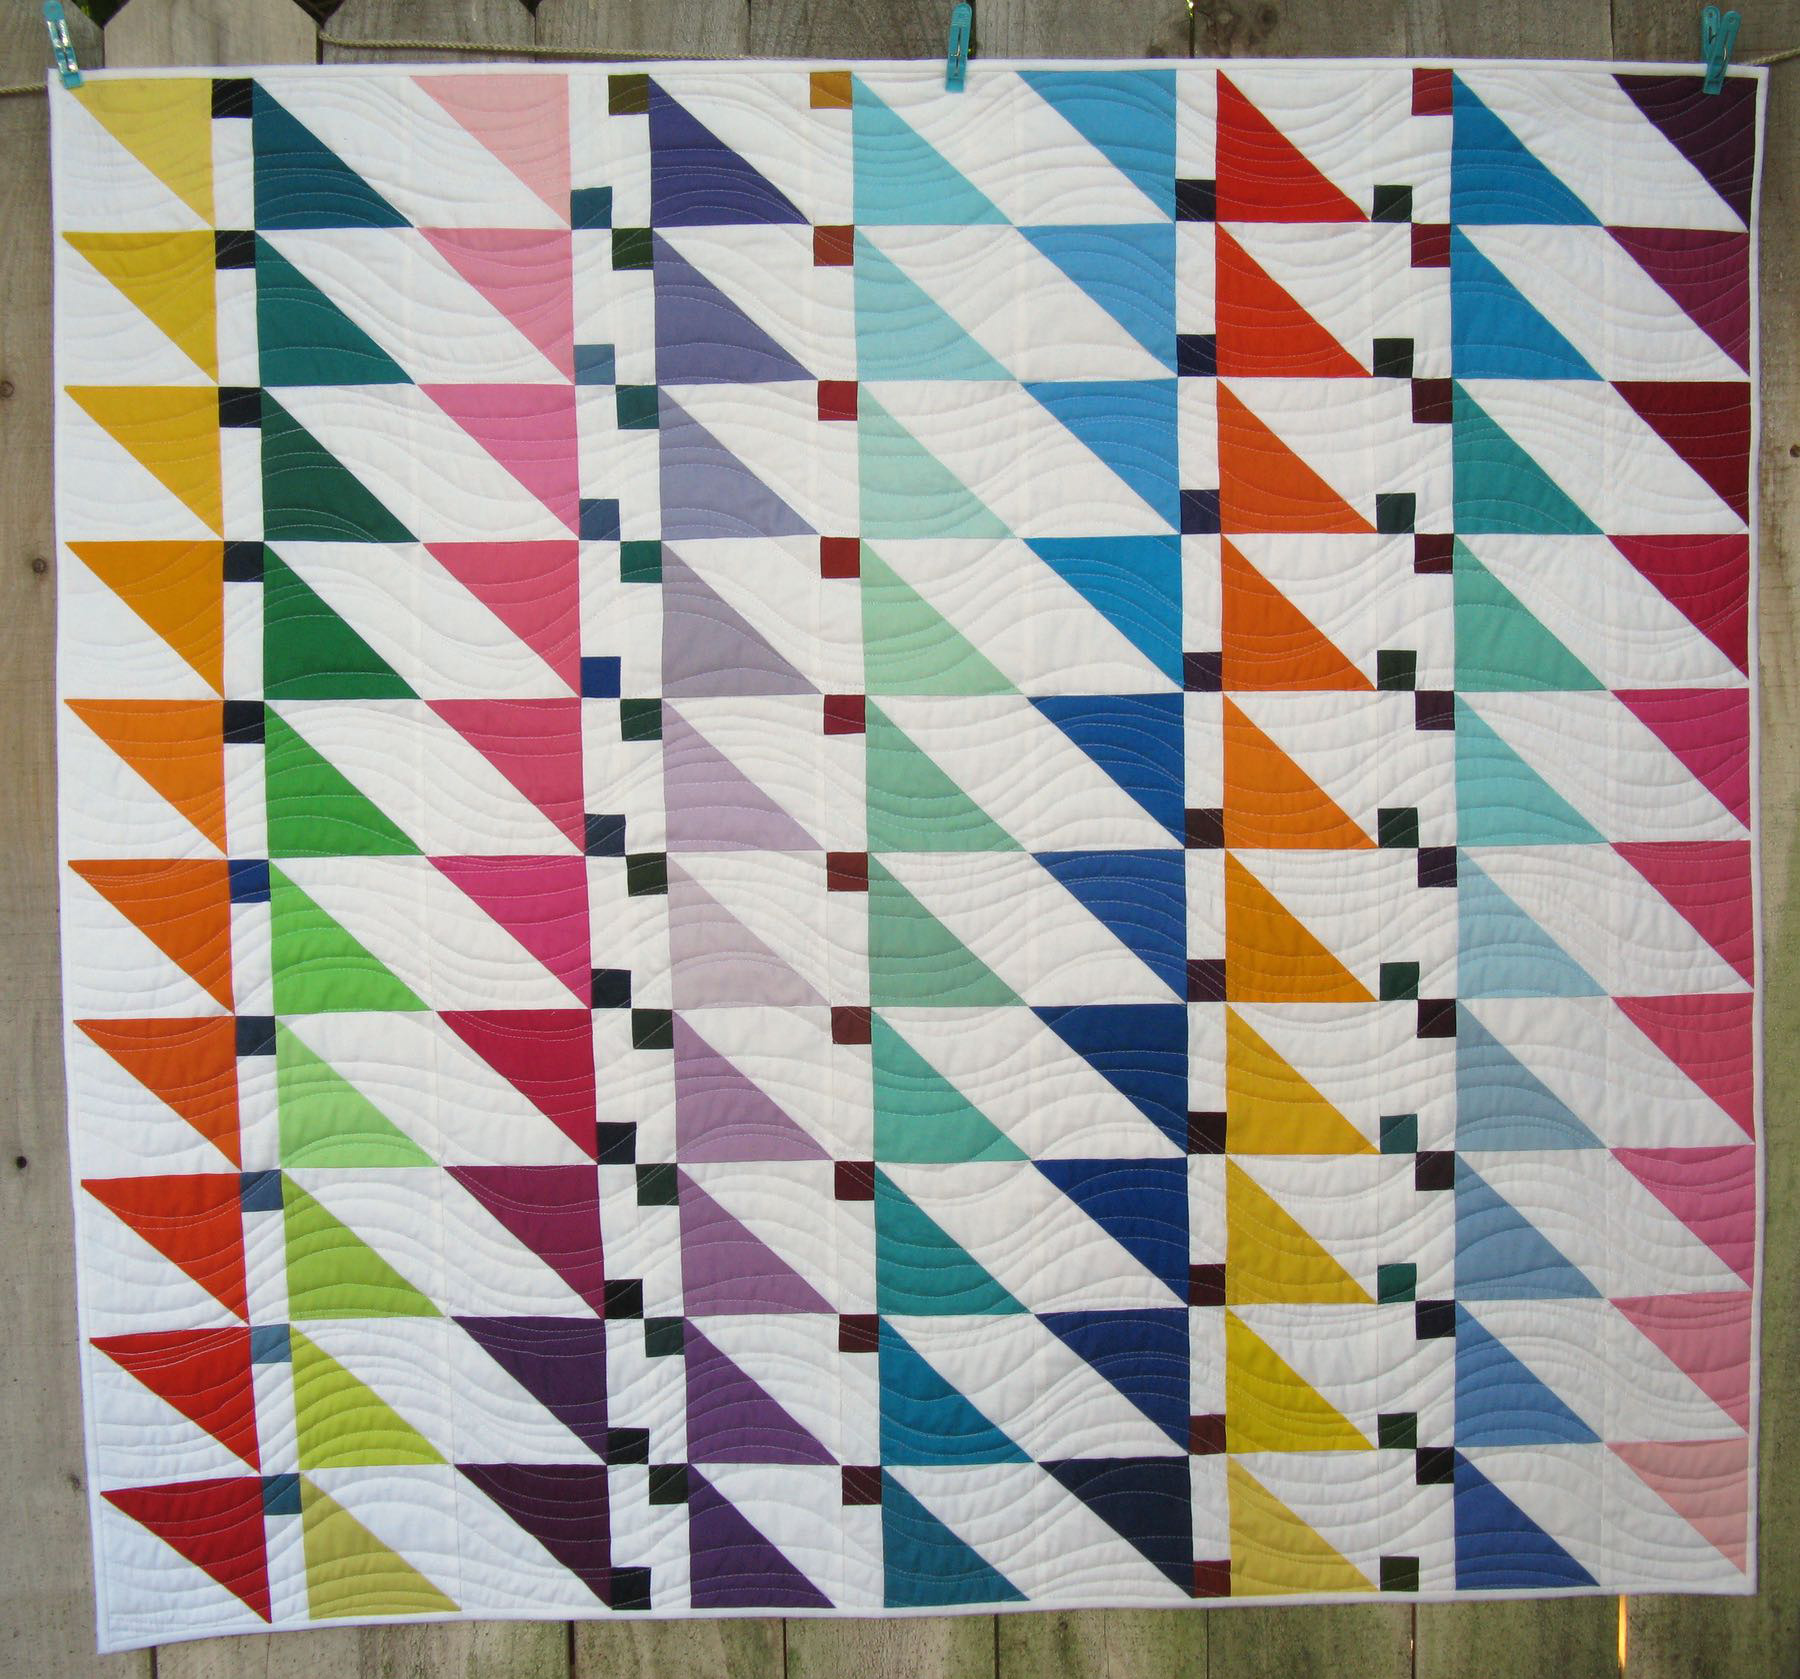
Not Waving, But Drowning
Quilt #173
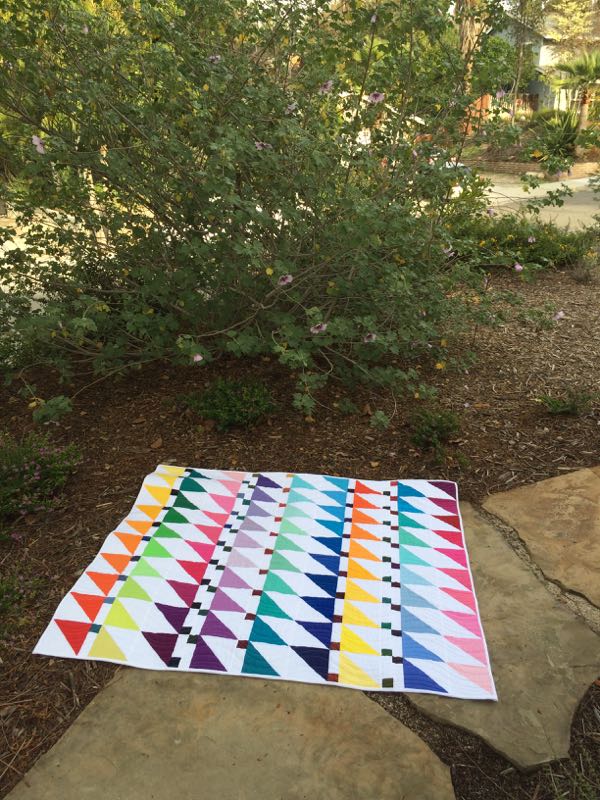
39″ high by 43″ wide

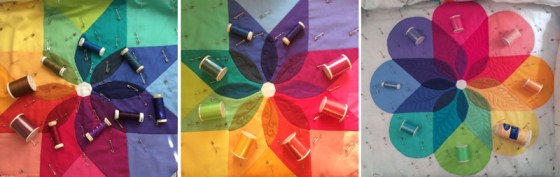
This quilt began its life in a quilt block I designed, which I call Semaphore.   My friend Cindy saw that and made a version for a fabric manufacturer, who then put it on a world tour (see a photo at the end).  I saw it again at Quilt Market in May 2016, and decided I wanted one myself, only larger.

notwavingdrowning_detail1

I purchased several charm packs of solids, and arrayed them all out by color family and from dark to light, using several color groupings.  There were many duplicate squares, but after I felt I had a good amount, I went to work.

I titled the block Semaphore, but always in the back of my mind while I was working on this quilt was the poem titled “Not Waving, but Drowning,” by Stevie Smith, about a man who gets in trouble while out in the waves.  He drowns because people think he was waving, but in reality, he was signaling for help.

notwavingdrowning_front1

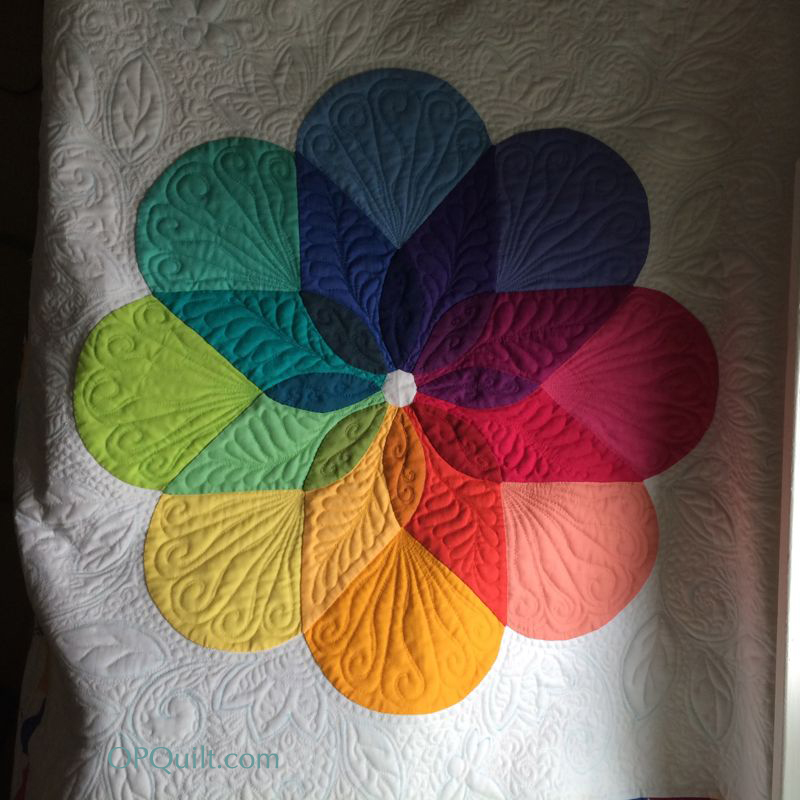
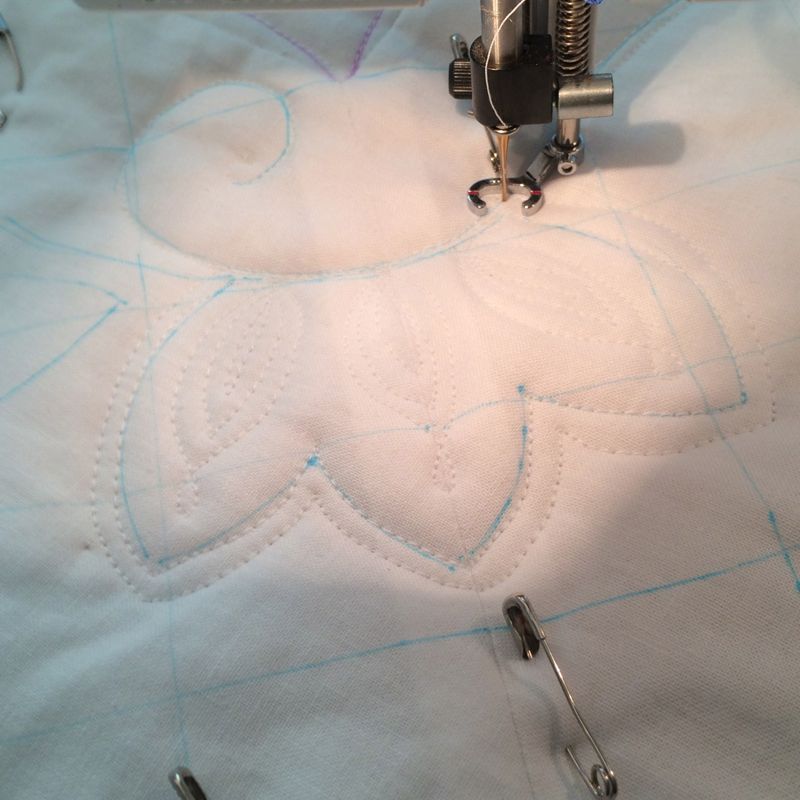
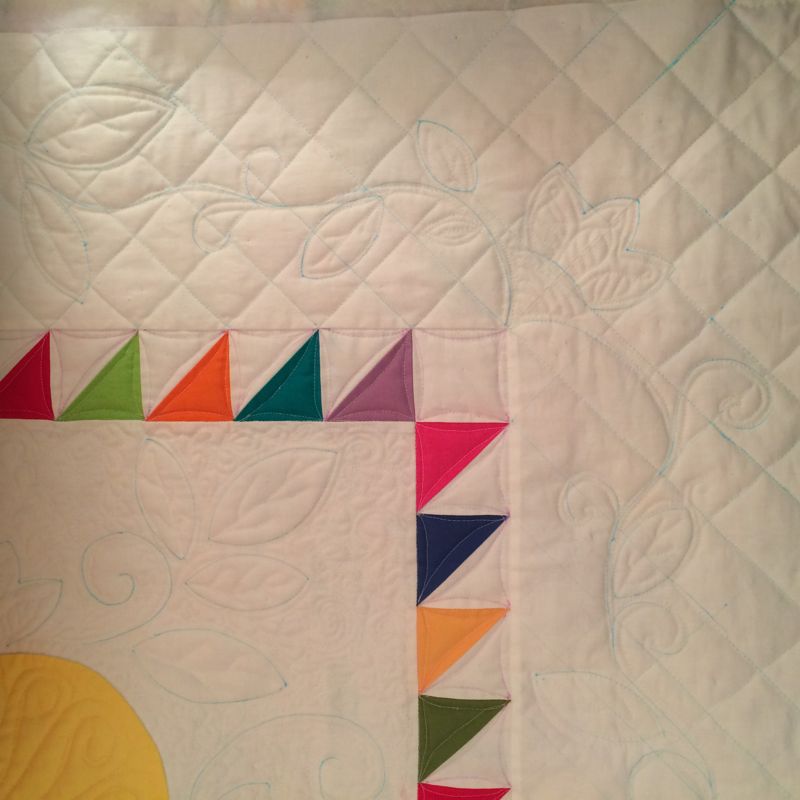
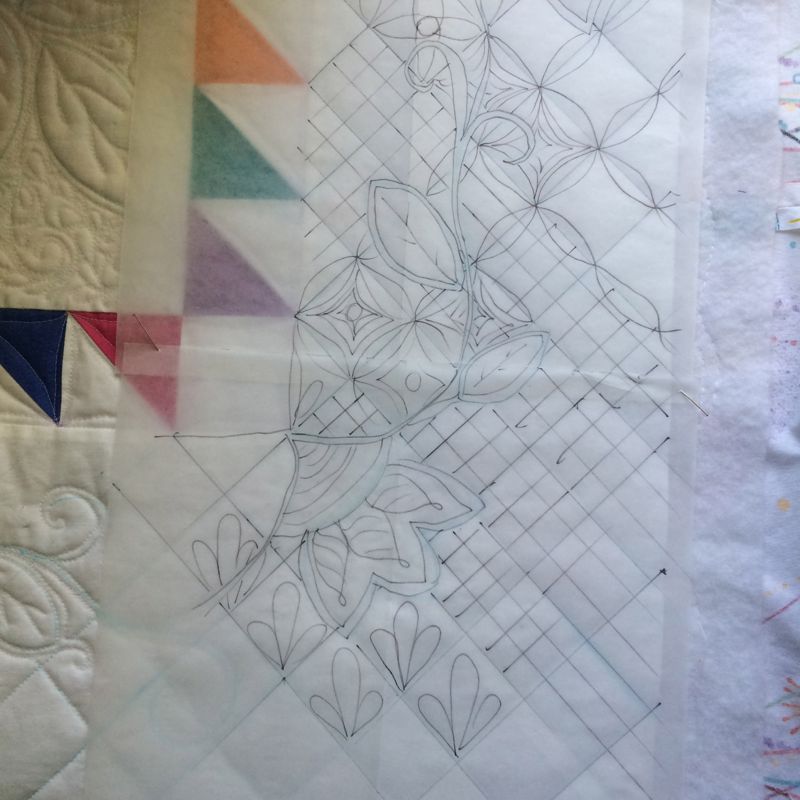
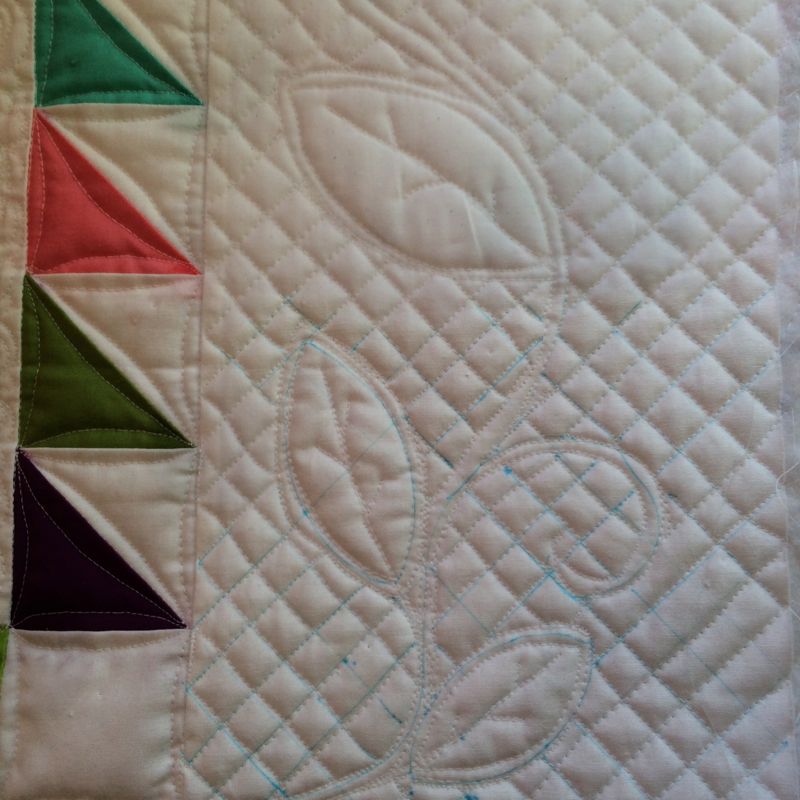
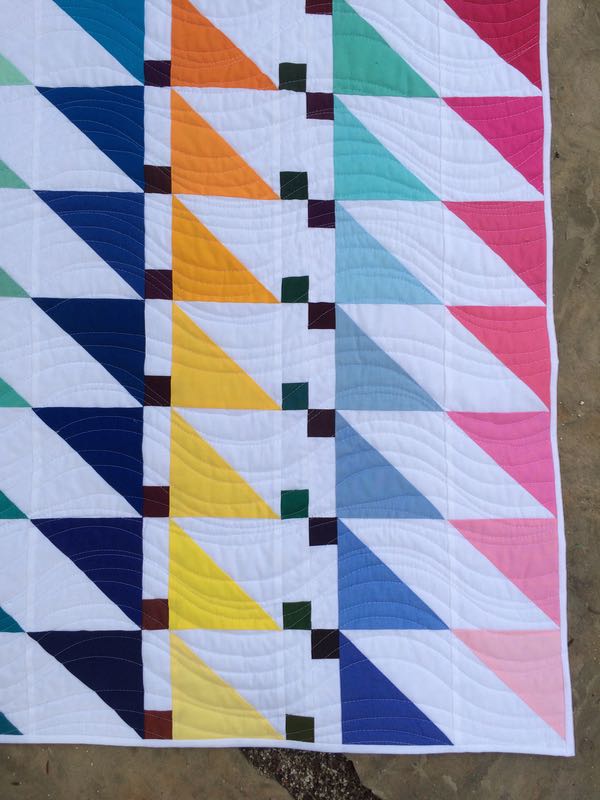
I think the half-square triangles look like a series of nautical flags, waving in the wind.  I decided to quilt it also in a wavy pattern, but didn’t want a tightly controlled wave.

notwavingdrowning_detail2

I wanted those waves loose and lanky, wild and woolly, just like those ones that come up and splat you in the face when you are wave-jumping in summer.

notwavingdrowning_detail3
notwavingdrowning_detail5
notwavingdrowning_detail4

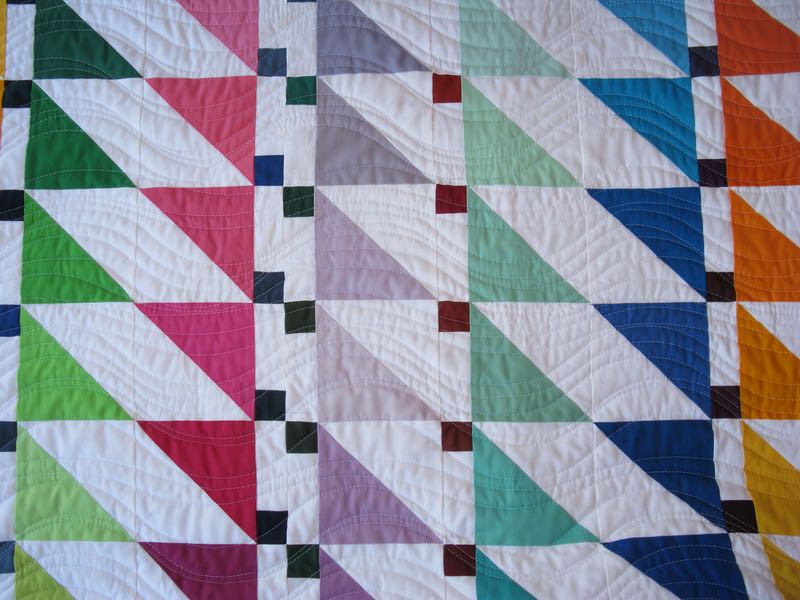
I love the colors in this quilt, and the up and down fluid movement of the quilting. It calls me to remember that our lives, like the ocean, can lift us high, can hit us in the face, can overwhelm (as in Stevie Smith’s poem), yet also can bring a lovely memory of a summer’s day. In a nutshell, it reminds me that life is full of ups and downs, a blend of dark and light.  It’s also a reminder that, in spite of what we post on Instagram and Facebook, we all aren’t having tons of fun and radiantly happy all day long.  But we also don’t want to be drowning when we are in reality signaling for help.  So, take care of your loved ones and friends, and please please…take care of yourself.

And keep quilting.

˚˚˚˚˚˚˚˚˚˚˚˚˚˚˚˚˚˚˚˚˚˚˚˚˚˚˚˚˚˚

cindyquiltsemaphore
Cindy’s quilt at Quilt Market, using the Semaphore block.

(NOTE: This post has been updated with different content after original publication.  It was originally about depression.  Thank you all for your comments; I have them saved and will reread them often.)

200 Quilts · EPP · Free Quilt Pattern · Quilt Patterns · Quilts · Shine: The Circles Quilt

Shine: The Circles Quilt, finished

1shinecirclesquilt

Shine: The Circles Quilt
Quilt #170
2shinecirclesquilt

This quilt finally finished, I took it out for a photography session with the help of my husband.3shinecirclesquilt

I started sewing the first block in June of 2014, and finished the top a year later.  The quilting was finished at the end of September, but it wasn’t until now that I could get time to take it up to our university’s Botanic Gardens to get some photographs.
4ashinecirclesquilt

My husband’s favorite block.  As some of you know, many of these blocks were inspired by art in a church in Slovenia, as well as designs from our travels.  Most of the patterns and accompanying tutorials are free on this blog, found *here* as well in a tab labeled Shine: The Circles Quilt.  4shinecirclesquiltl 5ashinecirclesquilt

This shows the quilting.  I was trying out double batting (polyester with wool), and found it was a challenge to move the heavy quilt around on the machine.  It took me nearly 4 months to quilt this thing, as I was hobbled with a shoulder injury.  But I was able to finish it!7shinecirclesquilt_label

As I quilted, I thought a lot about my brother-in-law Tom, who passed away a little over a month ago.  He maintained a beautiful small garden in his backyard, and so in one of the corners I quilted in a flower in his memory (shown below).  Many offered advice and help while I was quilting: thank you, everyone.6shinecirclesquilt shinecirclesquilt_detailback

detail of quilting from the back

shinecirclesquilt_frontl

This closes a chapter in my life.  Lovely to see you here, Shine!

Quilts

Colorwheel Blossom is Finished!

Colorwheel Blossom_front

Colorwheel Blossom
Pieced, Appliqued and Quilted
48″ square
No. 140 on 200 Quilts List

Colorwheeel Blossom_quilt top

This was the quilt top in April 2014, held aloft by my husband.  Then it went AWOL for a while, as I’ve mentioned before.

Colorwheel Blossom_quilting

Realizing it was do-or-die time, I printed out several of these “faded” photos to doodle on, to try out quilting.  I thought about quilting it all in lines, a la “the hard-edge industrial look,” but I wanted it to represent garden, blossom, flower, soft, and fragrant more than I wanted it to look like it had been scraped by a saw.  I’ve read lots of print articles about how to quilt a quilt.  What they don’t tell you is that starting to quilt a quilt takes massive doses of courage.  Gigantor-sized, even.  Sketching it out helps me visualize what I’m doing and sparks that bit of courage to get going.

Superior Threads Colorwheel Blossom

I have good success with Superior Threads’ line of threads called So Fine, but I filled in with Gutermann, which also works well for me. Yes, I kept filling bobbins to match all the quilting in the flower part of the quilt, but for the rest of the quilt, I used  a neutral-colored Bottom Line (in this case, white) in the bobbin.   Bobbin Statistic: 10 (in other words, how many bobbins it took to get this thing quilted)

Thread Matching

Matching the colors, section by section.  Where did I get this idea?  Look on your iPhone home screen for the Photos button.

Colorwheel Blossom_drawn featheries

I needed to draw on the feathery components with my marker.  That’s called Finding More Courage.  I don’t know why I thought you had to just go at it without marking anything.  Marking (in blue for longer time and purple for shorter time) is my new best friend.  Just keep it away from the iron and out of the sun.

Colorwheel Blossom_inner quilting

I loved seeing the quilting in the last light of day, the deep shadows calling the stitching into relief.  Another Courage-Enhancer.

Colorwheel Blossom_detail2

Colorwheel Blossom_detail1The last two pictures are shots taken outside, for its formal portrait.

Colorwheel Blossom_back

The backing fabric is Wild Garden by Dan Bennett, for Rowan/Westminster Fibers.  Now you can see my hanging system!

This quilt was a turning point for me, in terms of gaining skills for free-motion quilting.  I learned about marking, about when to mark.   I slowed down, remembering what my teacher this summer used to say when she’d watch me: “Elizabeth.  Be more deliberate.”  It helped to repeat that often as I stitched, and helped me avoid many of my earlier mistakes.

I learned to depend on the wisdom available through social media.  Two quilters on IG, Linda, of Flourishing Palms and Leslie, of PlainandFancy were always there with tips and tricks.  But without all the lovely likes and happy face-emoticons and positive comments from all the readers, I wouldn’t have been so courageous, I’m sure.  It was if after every quilting session, all the fans in the bleachers around my sewing room would stand up and cheer me on.  So gratifying, especially as I felt like I was on thin ice most of the time.

Colorwheel Blossom_DadsNote

One day in the mail, a card arrived.  It was my father’s stationary, my address written in his bold Montblanc pen, which in this note he called his Meisterstuck.  My father has been one of my best cheering sections in my life, right along with my mother and my husband. I’ve written about my father before, his courage in renting himself a studio after he retired and pulling out paints and brushes, a good example to all his seven children.  His brief, descriptive note now hangs near my sewing machine, reminding me that my work extends sometimes far beyond my little room, far beyond my own little place.  And, on this day in December, I honor him: Happy 89th Birthday, Dad!  You are a treasure.

Because of you, Dad, because of so many people, and because the creative urge is made manifest in me through quilting, Colorwheel Blossom is finished, and is hanging in my hallway.  It’s a nice feeling to walk by, letting my fingers run across the soft trellising, the vines and flowers.  It brings a smile to my face as I pass by this garden.


Quilts

Home Stretch: an Illusion

final inner corner

I finished up the quilting on the inner white field (background to the petal part) and thought–“Good!  I’m in the home stretch!”  Au contraire, mon ami.

narrow inner border

The next morning I got up and marked the swoopy quilting on the narrow inner border.  Yes, I’m pathetic enough that I feel like I want to mark every stitch.  At this point I’m watching millions of hours of longarm videos, as well as domestic machine (DM) quilting videos and everyone makes it look soooo smooth when they quilt.  I am really trying, but marking also just in case.  I stitch this and as I round the final bend, I realize that my stitching is more fluid and even that in the first foot or two of where I started.  I stop, unpick that section and re-stitch it.

crochet hook trick

Migrating threads can be taken care of by inserting a teensy crochet hook in between stitches in a seam, and pulling the thread out the side.  I’m successful at this about 70% of the time.  When I try this, I vow to study the quilts at the quilt shows a little harder.  Do they have this problem?  Do they worry about it?  I go back to studying longarm photos, seeing how even their stitches are, if they have wobblies.  They do, just fewer.  Is it fair to compare?  Not really, but I do it anyway.

quilting Colorwheel Blossom

I like it best when I can just go and go and the thread whooshes through and the machine hums and the TED Radio Talks are on in the background, not making me concentrate on anything.  I hate it the most when the thread breaks, or the bobbin runs out, or I bobble too much and feel like I need to unpick it and restitch it.

Quilting outer border

I take this photo before I go to bed that night and think “I’m done.” “Not so,” a little voice says.  Something’s just not right.

overlaying paper for ideas

I put that photo up on Instagram (IG) hoping for some feedback and the answer came back: the density of the quilting doesn’t match the inner field.  I knew that.  I just didn’t WANT to know that.  I overlay some transparent paper on the quilt and sketch in what’s been quilted, then try out some more bits and pieces.  I like the simplicity of the grid the best.

marking quilt again

More marking.

quilting done outer border

A ton more sewing.

colorwheel blossom beauty shot

And I finish.

Road Acceptance 2015

Somewhere in here I found about the acceptance of my quilts in the juried show of Road to California.  I’m dancing around on the bed, jumping around the house in complete and utter happiness.  For the last few years I’ve not gotten any quilt in and then to get all three??  I’m over the moon.

removing blue marker2

A very helpful Leslie, a quilter on Instagram, coaches me through the next step of getting out the blue marks.  I find a video on YouTube where the quilter uses a sponge and a cotton swab to get out the marks.  I follow her instructions.

removing blue marker

I’d done a teensy bit of grid right in the middle to tie into the outer border.

different between marked and not marked

As I take off the marks, I can’t believe how different (and better) the quilting looks!  I’m smiling as I swab. And then. . . of course.  I see all the areas where I’d missed stitching–there is one to the right of the vine in the photo above.

Colorwheel Blossom Drying on Bed

I checked my other expert I turn to for help: Linda of Flourishing Palms, and both she and Leslie suggested laying it out and putting a fan on it to let it dry.  So I put down my two cardboard cutting boards for a stiff surface, layered it with towels, then smoothed it out to dry.  Next up is finding and fixing all those missed sections of the quilt, and then the age-old question: how to bind this?  One of my quilty friends suggested a faced binding, and I’m leaning that way, for sure.

I’m pretty pleased with my work thus far, as I see it laying on the bed in the other room.  And I’ve really benefitted from a lot of encouragement from all of you here on the blog and in Instragramland.  But as I said to a friend today, why is it that I see all the mistakes?  And do I need to unpick them and re-stitch them?  I had the same experience with my Lollypop Trees quilt–and my uber-observant husband also found all the wobblies on that quilt (I’ve asked him to not do that again–one of me is bad enough!).  Leanne suggested living with it for a while before deciding, and after a couple of months, I didn’t notice the problems.  As much.

I’ve complimented others on their quilts and in return I get a litany of all the mistakes and the problems.  I don’t want — as Benjamin Franklin said — to look for the worm in the apple of my eye, nor do I want to see those flaws that others point out in their own work.  (BTW, my father always said the correct response when someone compliments you is”Thank you.”) So what is it about human nature that only sees the flaws?  Do you do this too?

All that being said, from the vantage point of the above photo, and my forays into the next room to check on the drying, I’m enjoying this quilt.  And happy to be at this (almost) home stretch.