
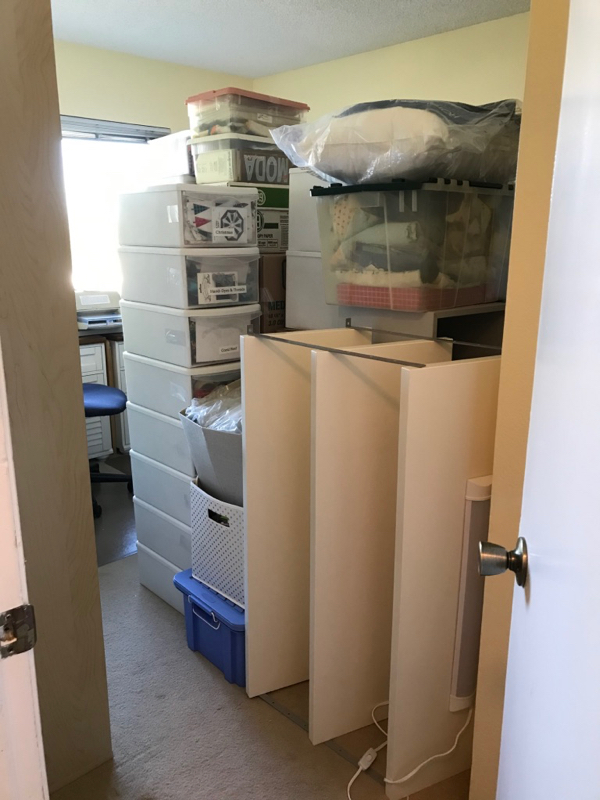
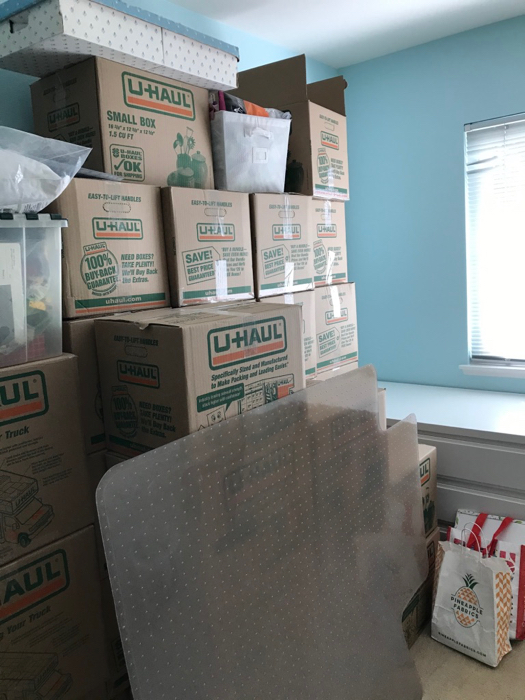
When I was in high school, the incredibly dweeby drama kids would go around campus on the 15th of March saying “Beware, beware the Ides of March!” and it took the rest of us a day to figure out what in heavens name they were talking about. My apologies to you if you were one of the drama kids — dweeby, or not — but apparently Julius Ceaser was stabbed 23 times on the Ides of March. Ides come from the word divide, which brings me to the the process taking place in my life: once I divided all that stuff in my sewing room in boxes, how do I get it all back in there?
It began with the dividing:
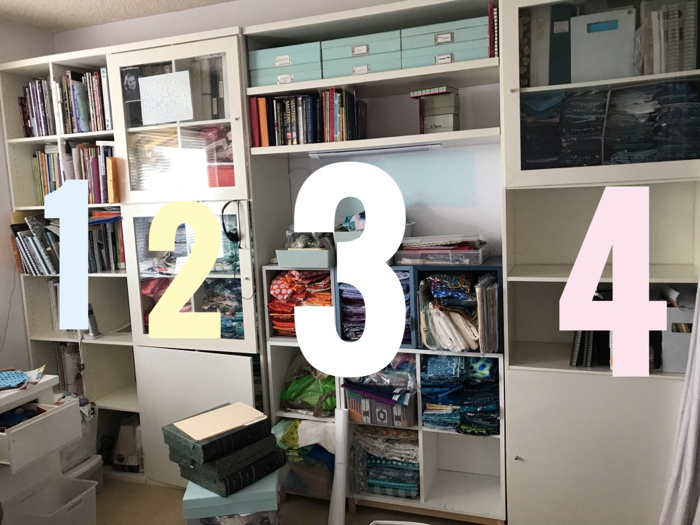
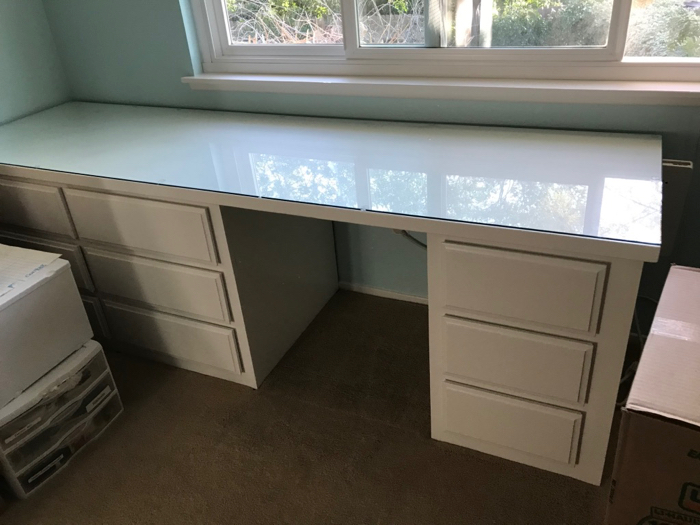
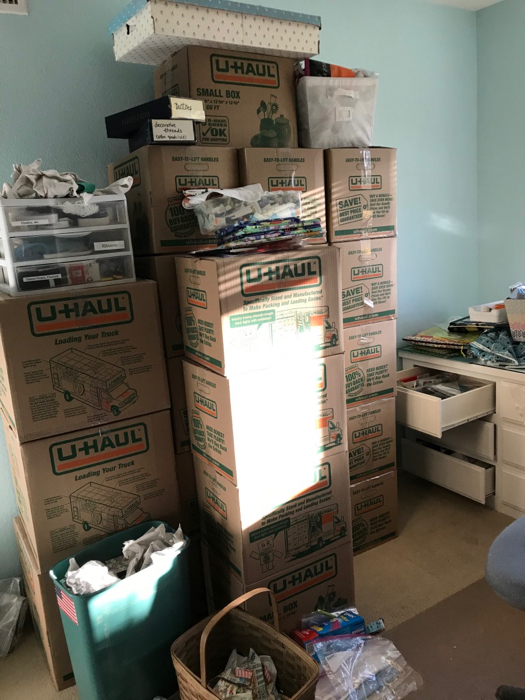
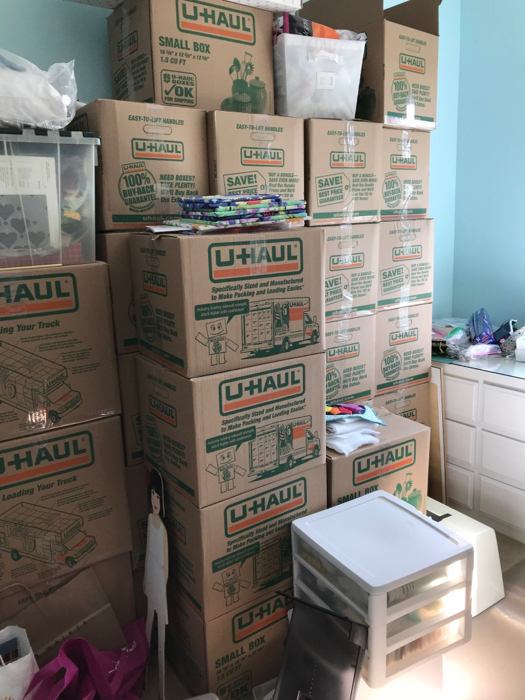
We eventually moved all the boxes back into the sewing room, and it’s pretty daunting to see all your stash that way. I had wanted a glass top on my sewing desk for-e-ver, and bit the bullet and had a piece of glass cut really big to fit the top. When I got home, I realized there was no way I could get it upstairs (my husband was traveling) so the young men across the street who lift weights for fun, were willing and able to get it upstairs for me. I paid them in cookies.
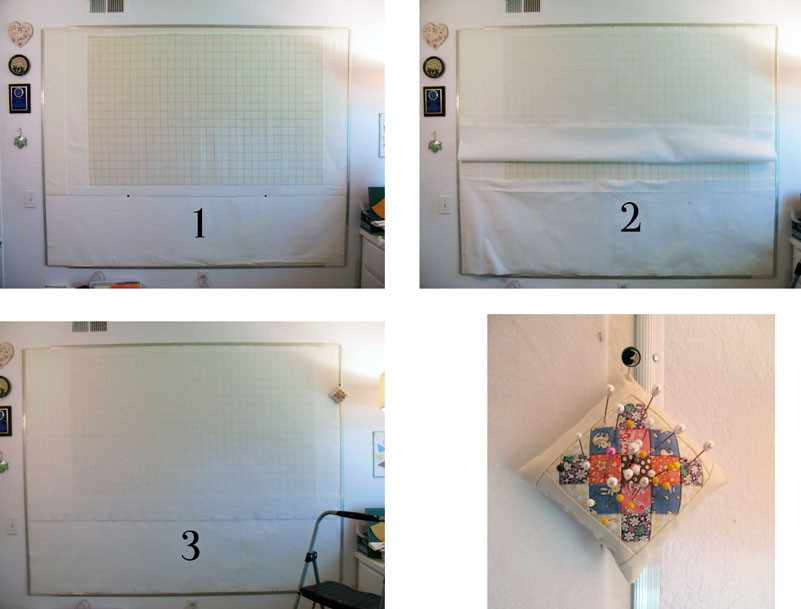
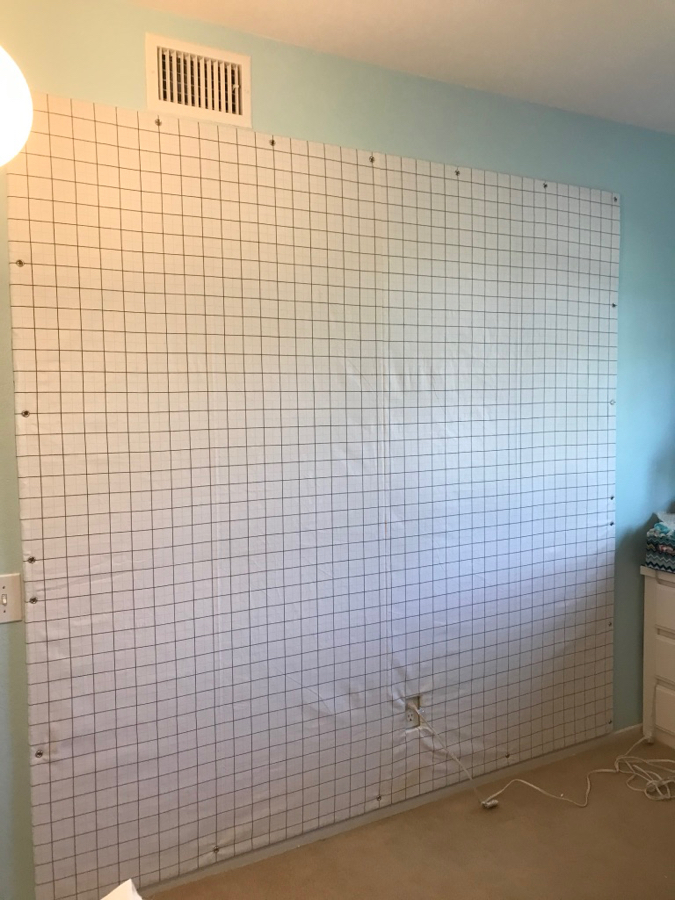
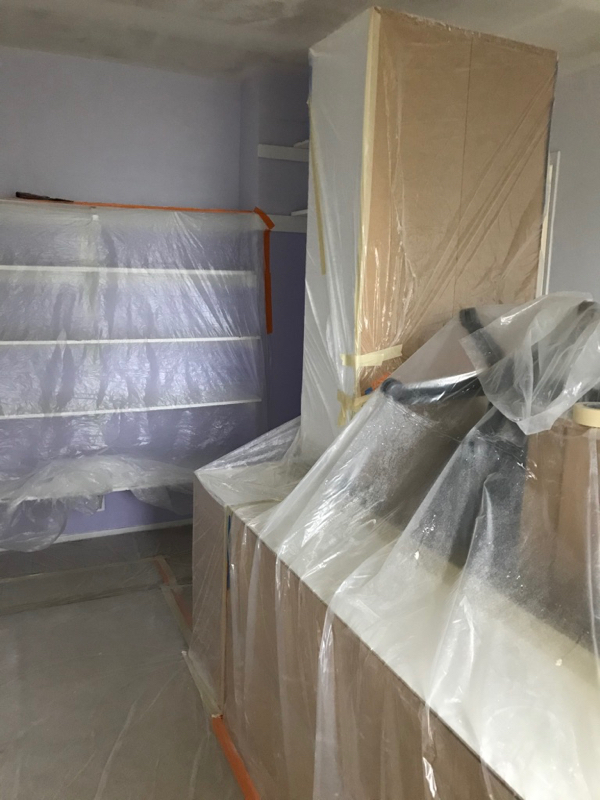
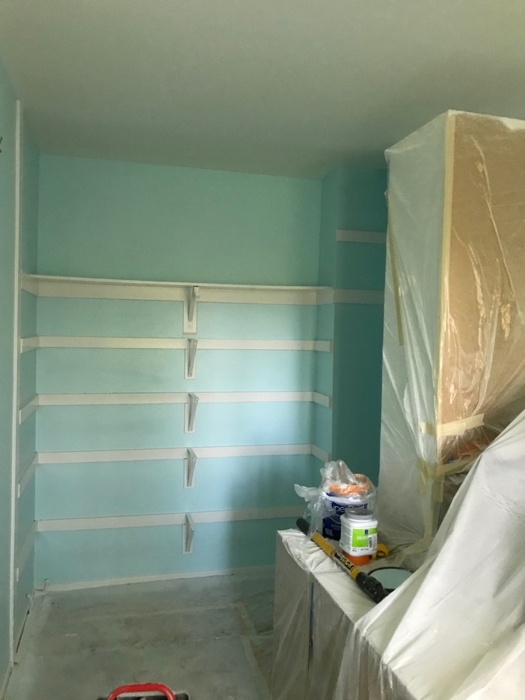
After I winnowed down the boxes, the fun began: the design wall needs to take shape. In the past my design wall was made of foam core artboard, but when I went looking for it this time, it was not to be found in the size/thickness I needed. And the next best thing was going to cost me over a hundred bucks. So I used the advice found in Christa Watson’s post, and purchased two insulation sheets at our local Big Box Construction store.
I didn’t want to use a giant bed sheet like she had, as I had been spoiled by having a grid on my old design wall. So I hunted/haunted the internet and soon found a gridded flannel made by Robert Kaufman on Amazon, and snapped up six yards. Measure before you buy, as we had Just Enough. I did NOT pre-shrink it, as I needed every inch. I cut it into two three-yard lengths, sewed it together along the one long (3-yard side), matching the grids.
I set it aside while we did this:
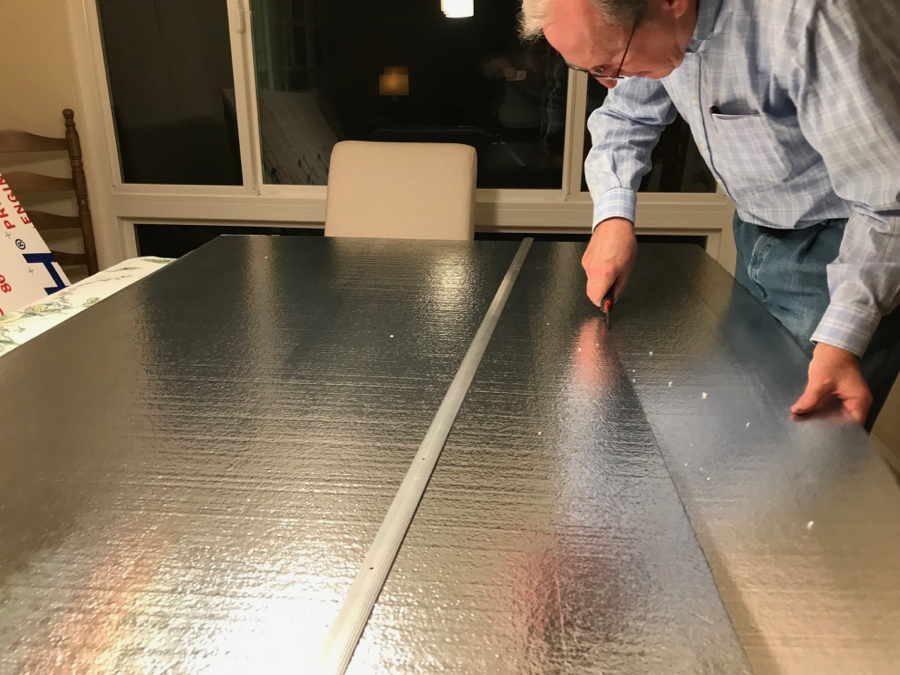
My room is much smaller than Christa’s, so we had to cut down the insulation. We used a linoleum knife, which has a hooked shape and a sharp blade on the inside curve.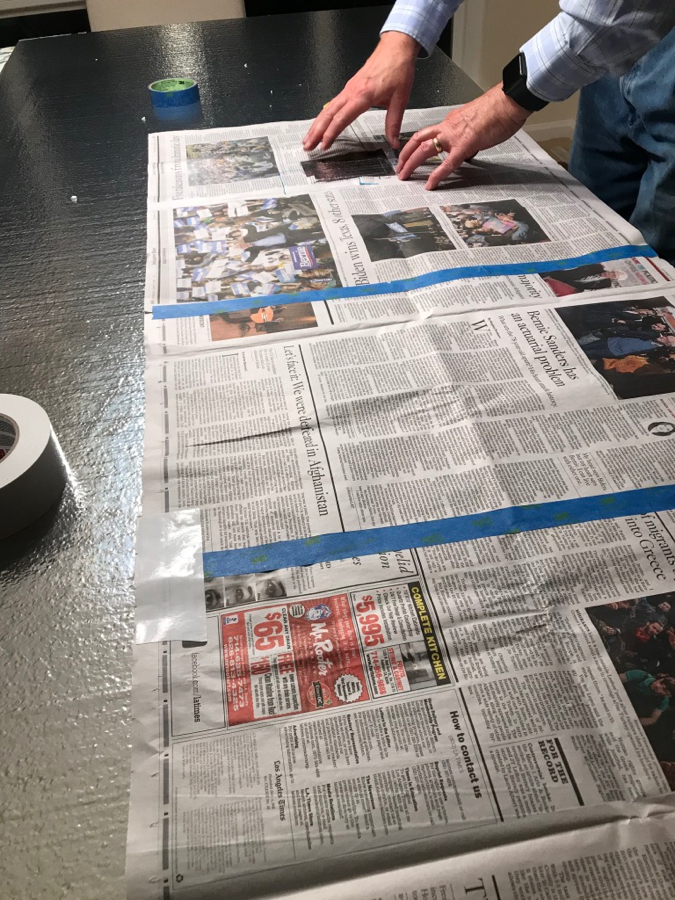
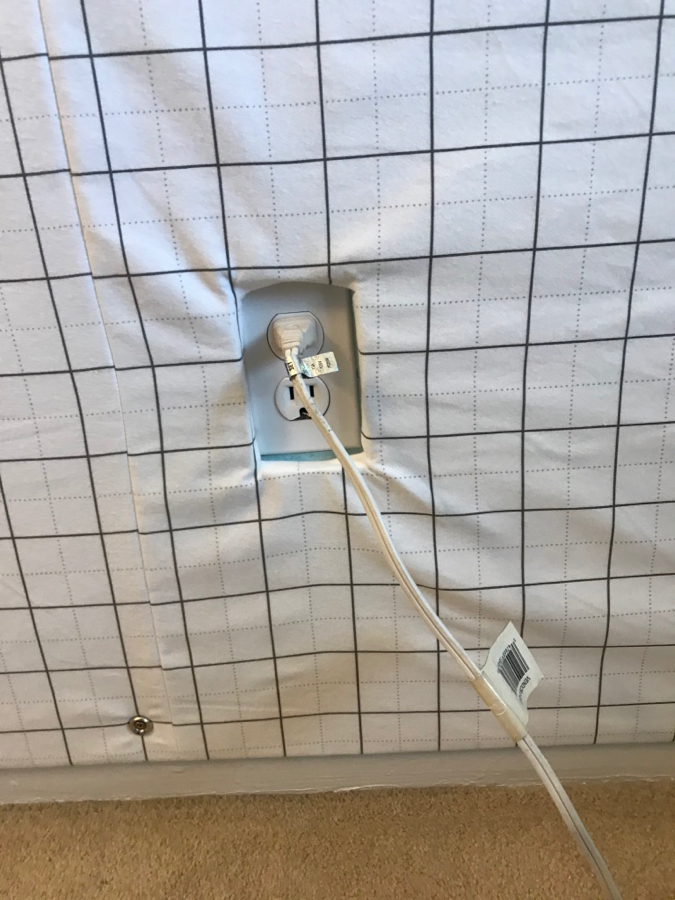
Then we had to account for the outlet on my sewing room wall. First (above) a template made out of newspaper). We took that upstairs and traced around it, then double-and-triple checked it.
We even checked it against the real wall.
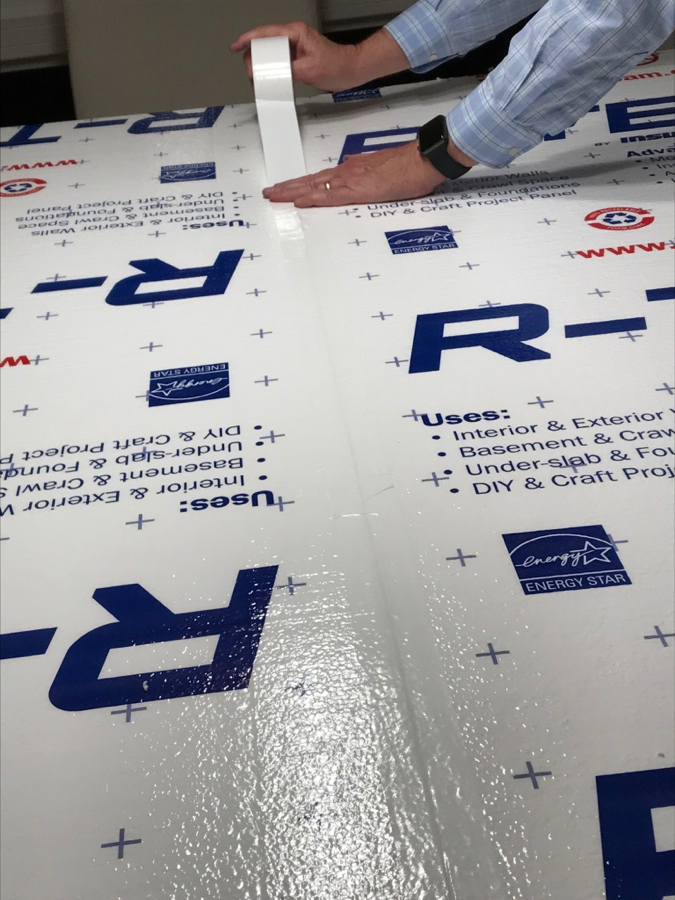
Back down in the dining room, on the dining room table, we taped the two insulation sheets together using white duct tape, only better stuff than duct tape. I don’t know what it was, but it really holds.
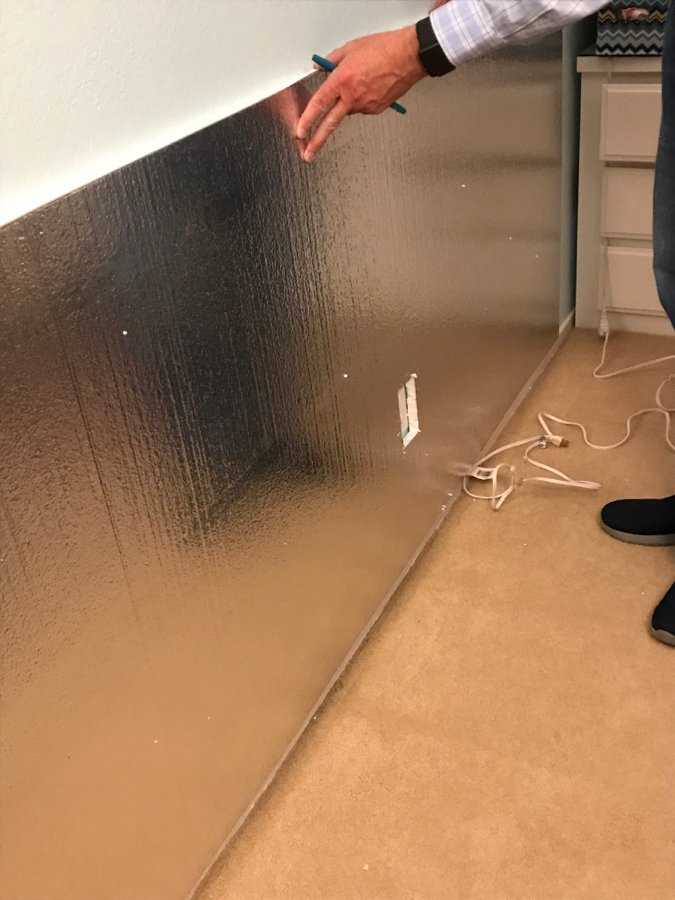
I taped around the cut edges of the socket hole.
Like Christa, we laid out the flannel, and stretched it around the boards, stapling it in place. The staples did NOT like to go through a double layer of flannel, and we didn’t quite stretch hard enough, but it doesn’t affect the performance in the least.
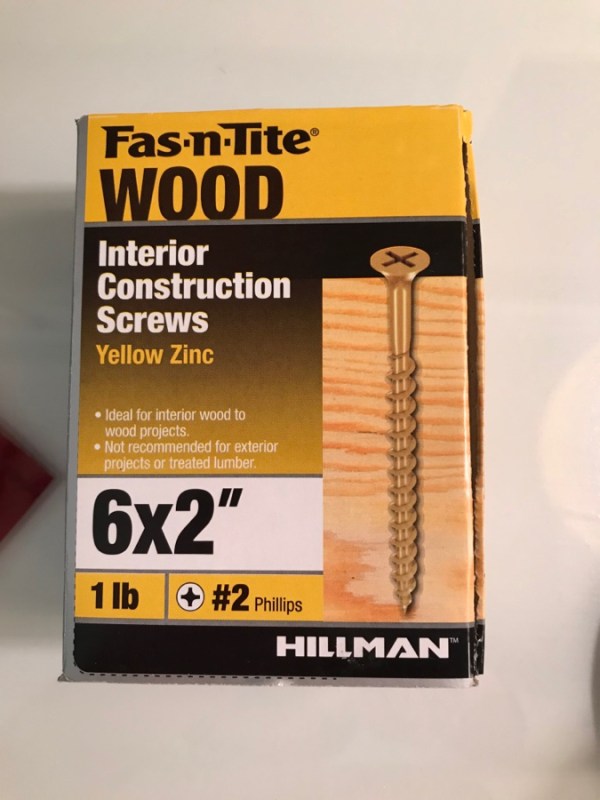
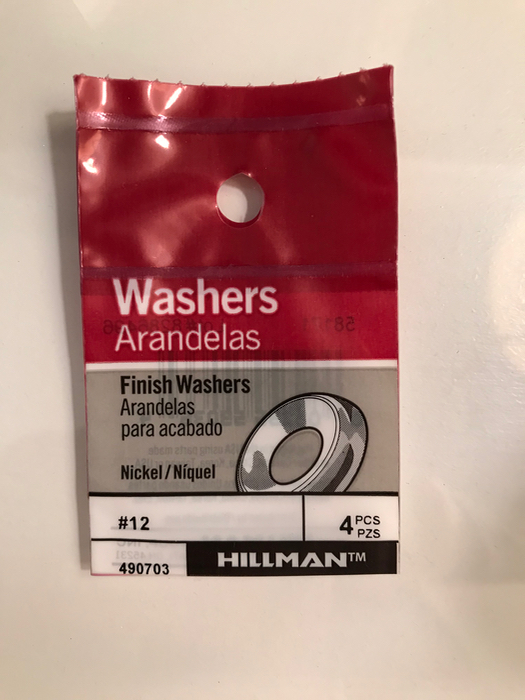
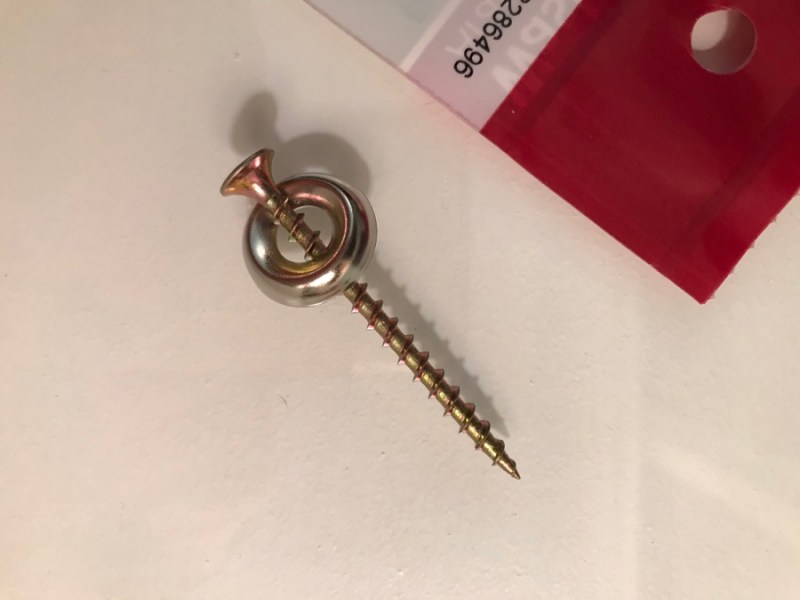
We followed her advice and purchased these screws and these washers.

Slipping a screw into a washer, we placed them top and bottom and two on each side of the foam insulation seam. While the foam board seams go East-West, my flannel seam goes North-South for stability (which you can see in the photo, right in the middle). The covering does pucker a bit and my husband asked if I wanted to re-do it. I didn’t.
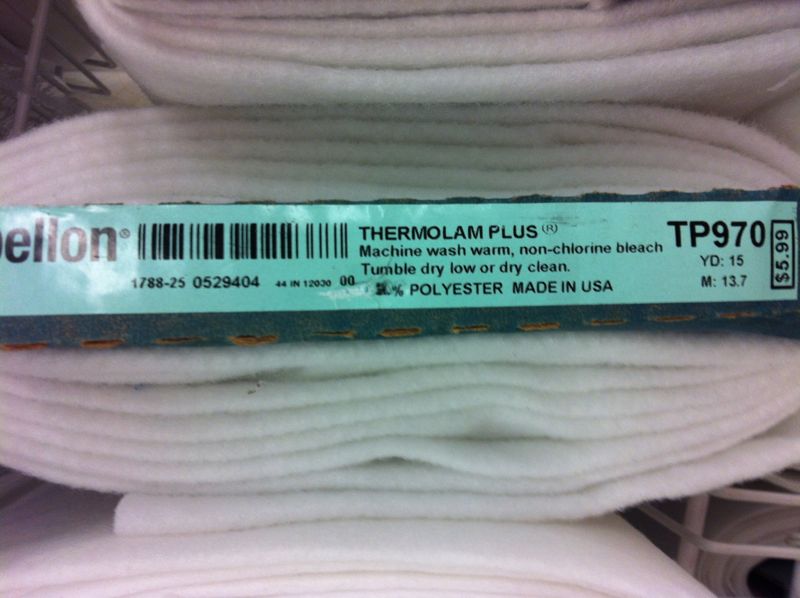
Why does it not matter that much to me? Because I like to cover my design wall with Thermolam, a type of fleece. They have renamed it, so look for this number — TP970 — on the bolt. (Here’s a post on how I did my old design wall.) I had thrown my old Thermolam/Quilters Fleece/Whatever in the dryer to fluff all the threads off from previous use; it works fine. I smoothed it out over the flannel, using straight pins to keep it on, and letting it overlap by 1/2″ at the seam (which you can see in the photo below). It really grabs the blocks and pieces much better than the flannel by itself, and is easily cleaned by running a sticky lint roller over the surface.
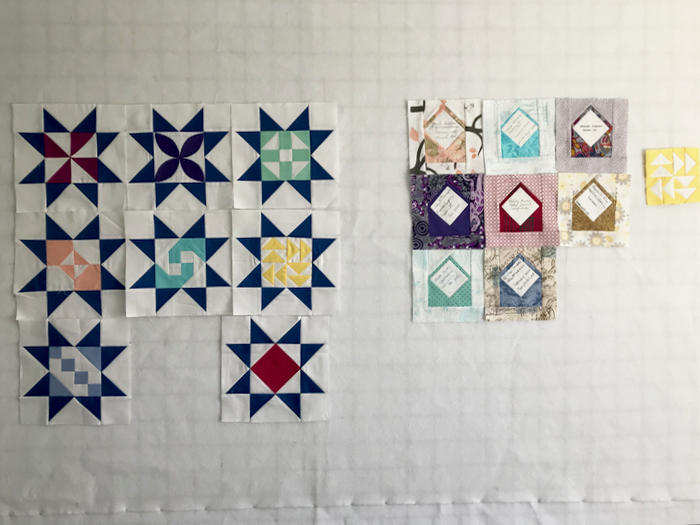
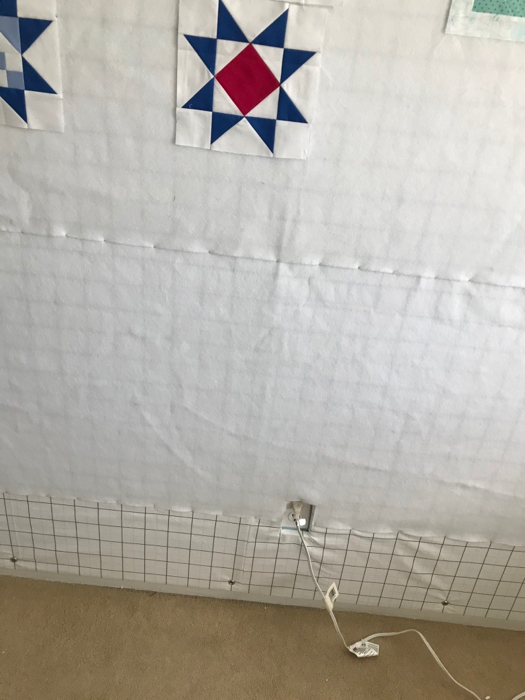
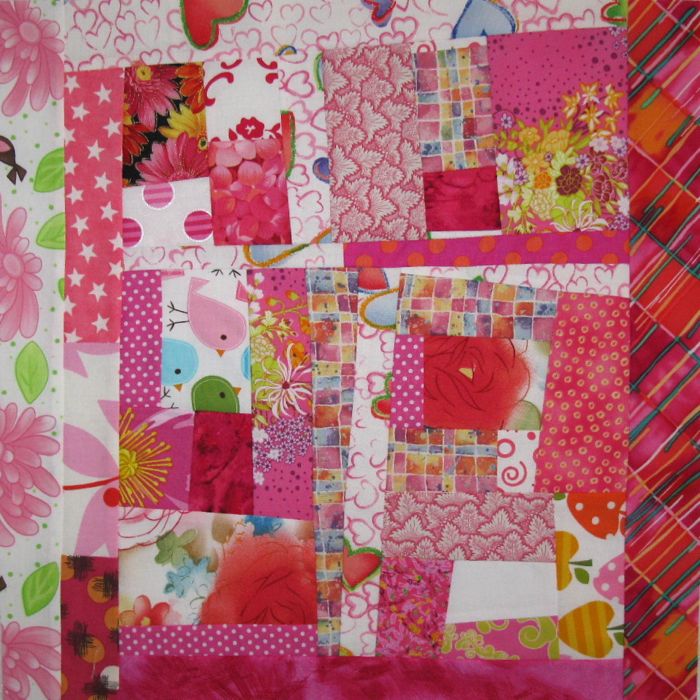
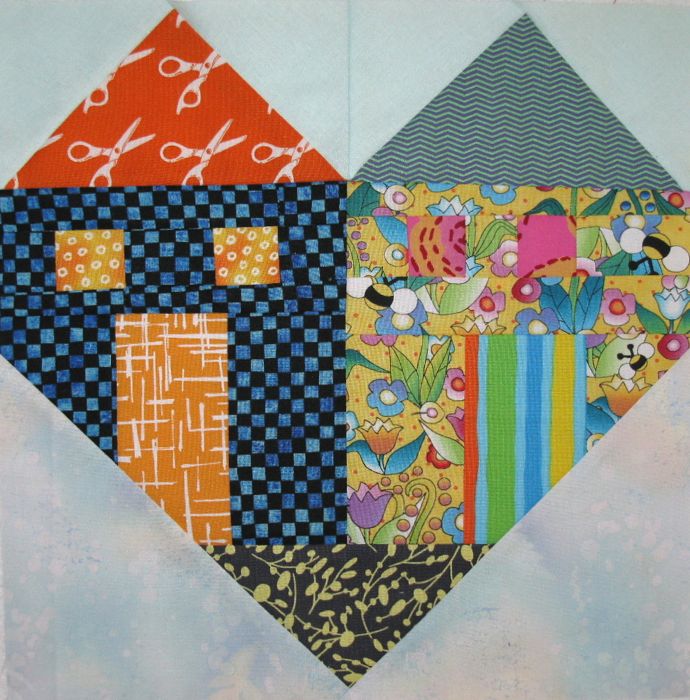
I cut out around the electrical outlet and pinned that into place, too. Immediately I put up the blocks I’d received from The Gridsters, who jumped into #sawtoothmania feet first. I have only one I’m waiting on, but will start playing with them once I get the last one. Their signature blocks used my Tiny Envelope pattern, found free on this blog.
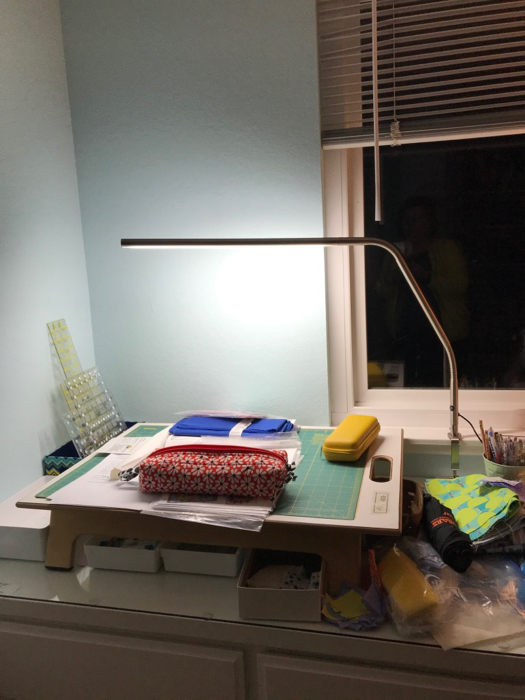
Most recent item was the Daylight lamp, suspended over my cutting table. My husband screwed it onto my window sill for me, as I couldn’t figure out any other way to get it here.
I emptied the last box today, which was all my doo-dads that had been placed all around the room over the last 15 years. I love my doo-dads (I’m not a minimalist) but after living with clear walls for a month, I edited down what I want to hang back up. I also sorted through my scraps, separating them into strips and scraps, and found the bottom of that bin, not seen in too many years.
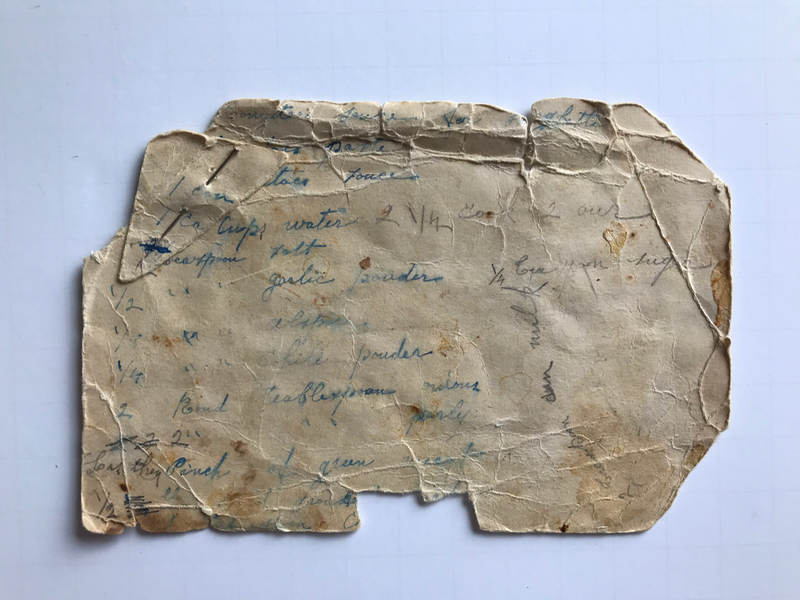
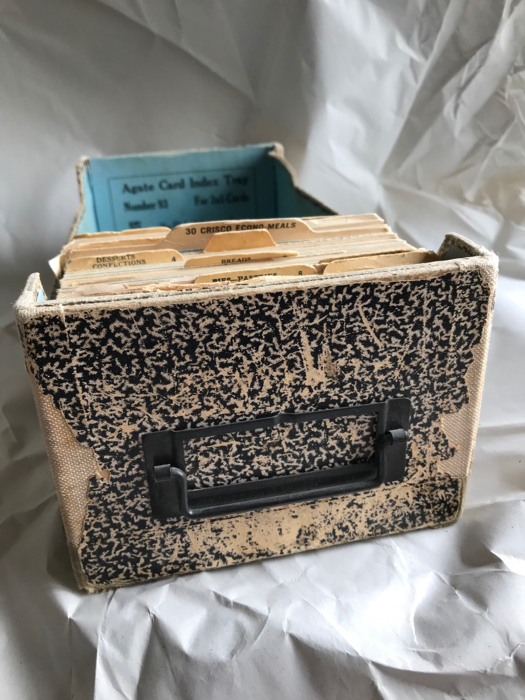
That process has a parallel in this recipe card. It’s one of a collection of cards that I’d purchased at a garage sale some twenty years ago. I’d had it at the back of a shelf, always meaning to go through it, and use it to form the backbone of that novel I meant to write when I was in grad school. Who was this woman who had used this recipe for the spaghetti sauce so much that she had to affix on the corner with a straight pin? I went through all of her cards, photographed some (you may see them again), but threw away most. I’m kind of at a dividing line in my life. Much like I realize that there will be no more spaghetti sauce made with this recipe again, I also recognize that there will be no novel written about this person, whose recipe cards I purchased when her children cleaned out her house and sold them to a stranger, standing on her front lawn.
In the last few weeks, I have gone through nearly everything in my house with the exception of the kitchen and family room, and like my scrap bin and like the box of recipe cards, I have had to distinguish between the old life that looked forward into mountains of possibilities, and this current one that gazes backwards, happy with what she sees, no longer wishing to be the caretaker for old hopes, for old dreams. While I realize that there still remains in me a creative force, it flows in different ways. Yes, the scraps that were divided reminded me of projects I’d done, as well as suggested promises of what might lie ahead. But who was that young sewer who cut up all these fabrics? I hardly know her now.
Today I dutifully divide what might have been, from what is probable now. While I wonder about that quilter from the past, I must work with this version of me that is sitting here sorting: relinquishing those bits, those scraps, opening up a space for what calls to me now.