Patterns by Elizabeth of OPQuilt

Up in Smoke

Burning LA Library 1

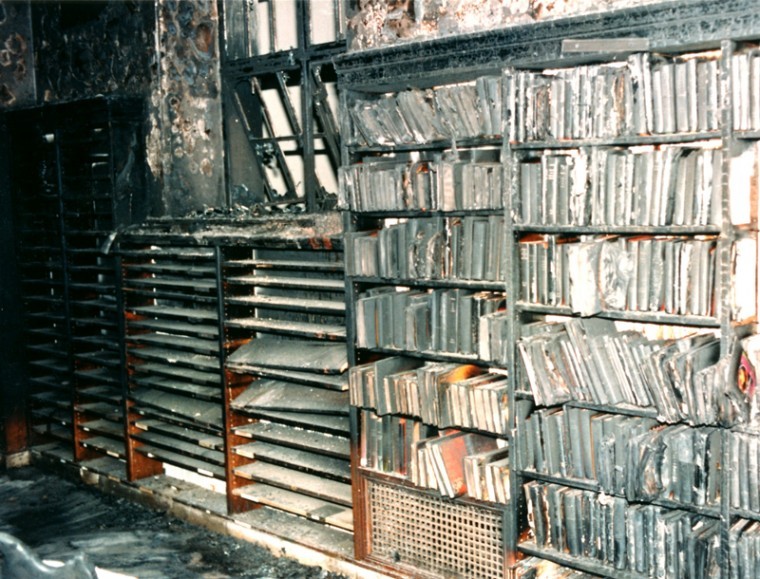
The Los Angeles Central Library was set ablaze by an arsonist on April 29, 1986, an event captured in an excellent recent book by Susan Orleans.  The photo above shows the library on fire, and below, a glimpse of the burnt stacks, showing charred remnants of books.

Burning LA Library 2

Librarian Glen Creason writes about that day:

“Even after total resurrection in 1993, when those who stuck it out returned to dear old Central, it seemed like a terribly unreal nightmare. Just to ponder 200,000 books destroyed by the act of a madman is bad enough, but to have worked with and touched these objects created by deep thought and intellectual struggle makes the sadness all the more haunting.

“Irreplaceable numbers of hard copy periodicals, drawings from patents, historic maps, fine art prints, photography negatives and newspaper archives were turned into ash or mush by the water that inexorably seeped down the stacks and into the basement. The bottom floor of the venerable landmark became a waterlogged graveyard of collections.”

What does this have to do with us quilters today?  Because recently someone set fire to our collective digital library, also known as Craftsy.

Unlike the LA Central, Craftsy (which as of today is changing its name to BluPrint) has no funding from any state or local governments. It is a business, and in that sphere, money — or keeping your business viable — reigns. So while it’s not surprising that they might make changes to keep it profitable (and no one begrudges them that), too many of us, when looking for our favorite patterns this week saw this:

Craftsy Oops.png

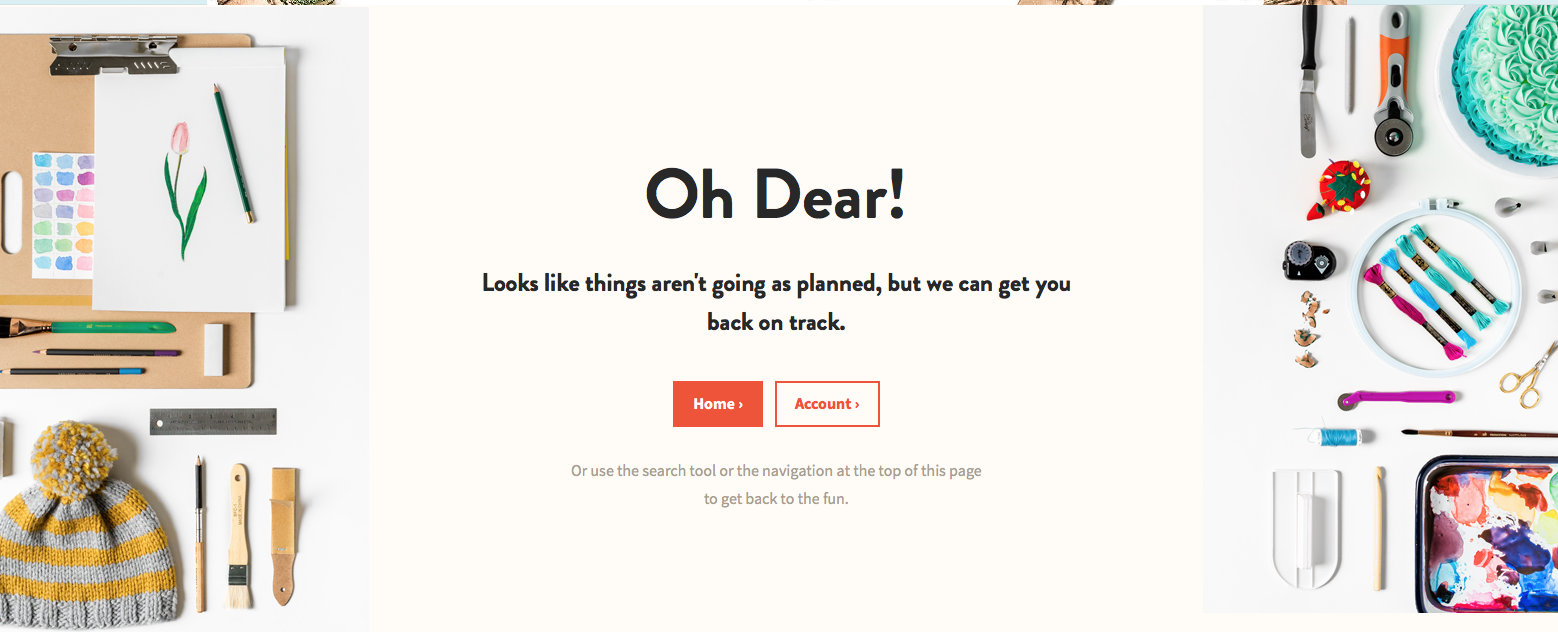
A friendly, grandmotherly tone with the “Oh Dear!”  but because of the lack of punctuation, the sympathic murmuring we all say (“Oh, dear!”) was turned into a dimishing description. They can get us back on track, they claim, as “things aren’t going as planned.”  No kidding.

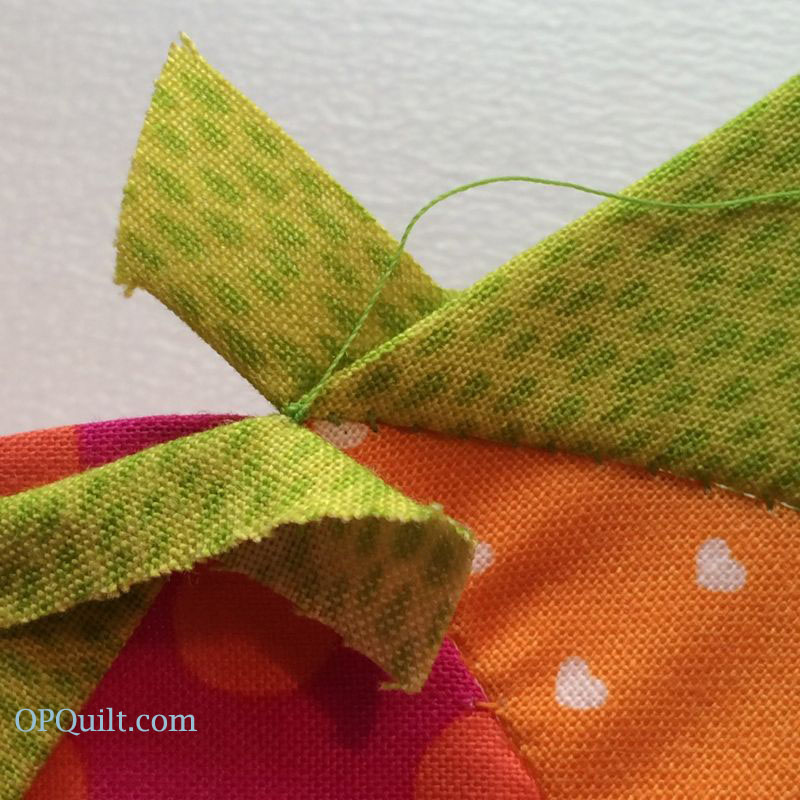
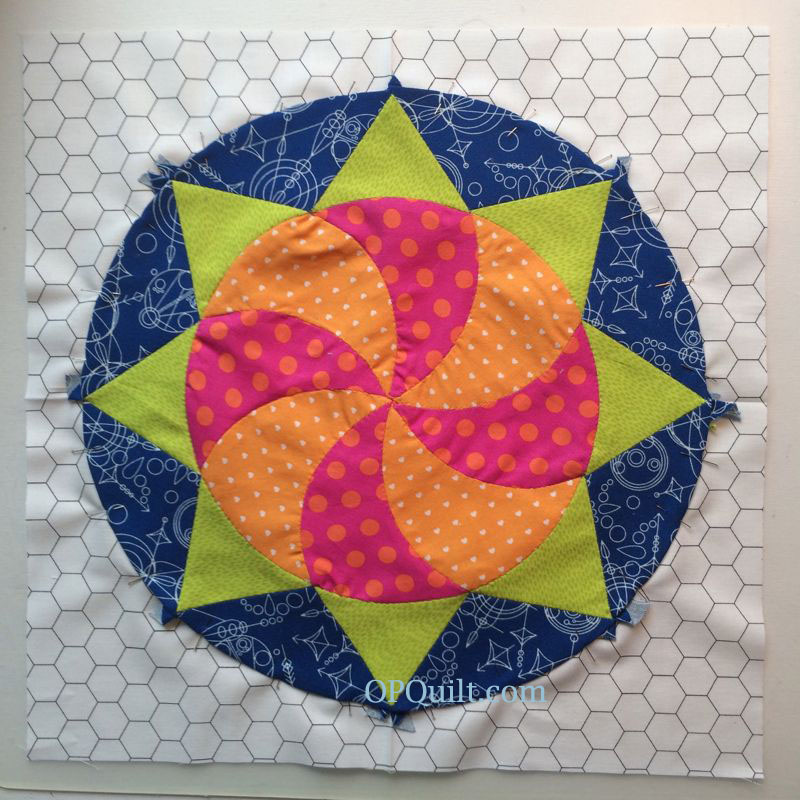
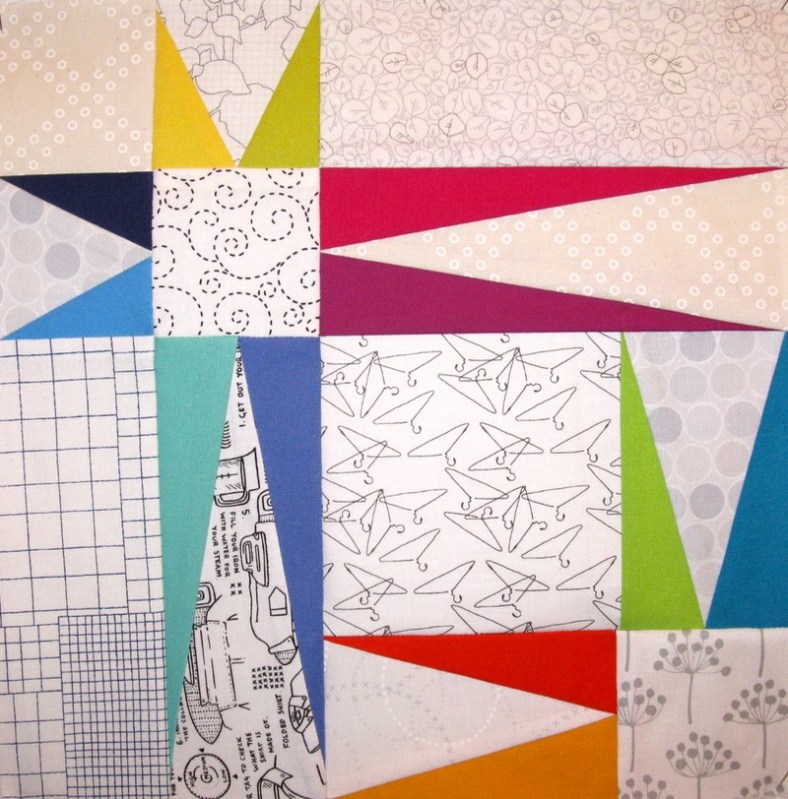
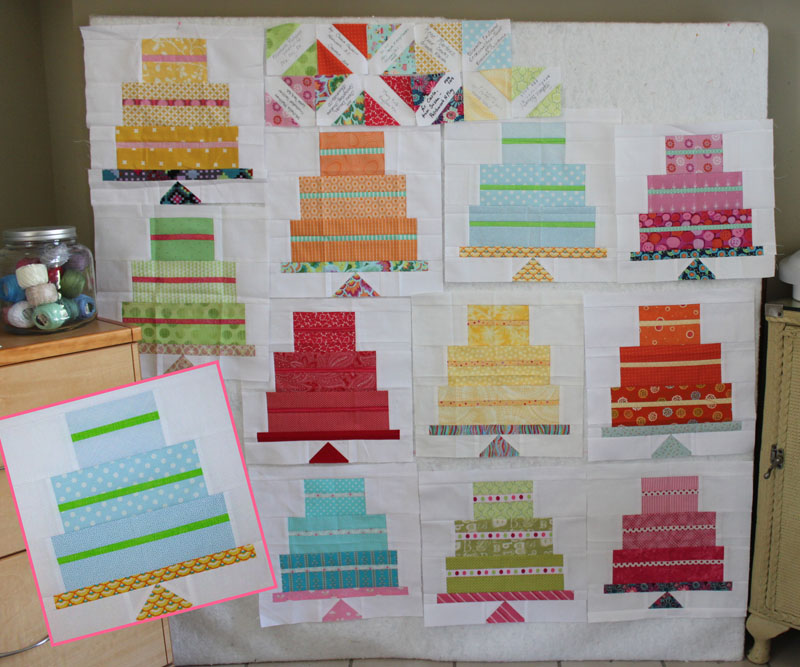
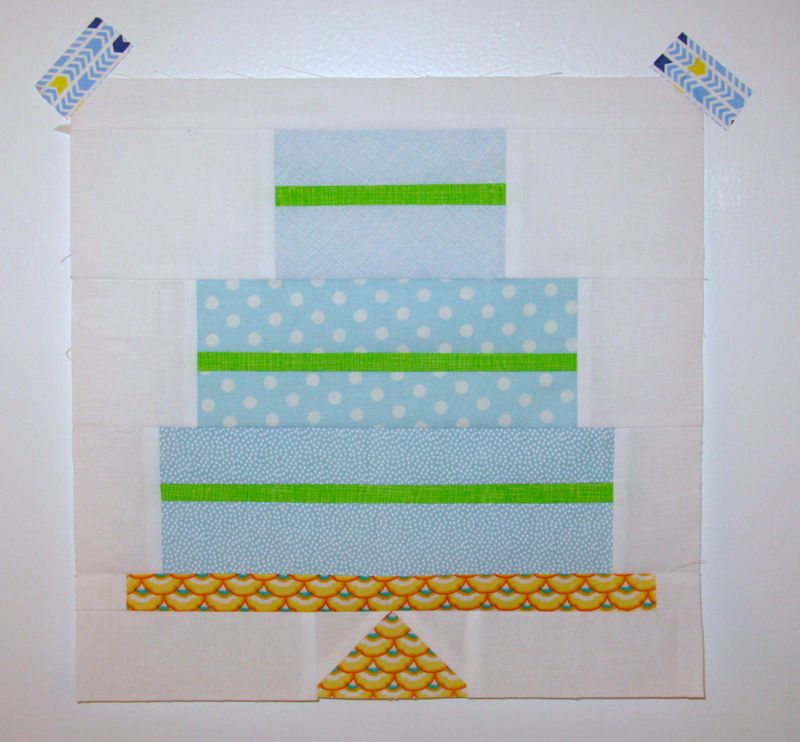
It’s my turn coming up on Gridster Bee and I was reviewing past bee blocks I’ve seen and made for others, trying to audition one for this month.  Time after time, I clicked on the links I’d carefully imbedded in blog posts, only to see the Oh Dear! Craftsy notice.

I had earlier received the notice that I was one of the designers they decided to keep, but waited to see what would happen.  My collection of nearly 15 patterns was reduced to this one pattern:

craftsy ese oops

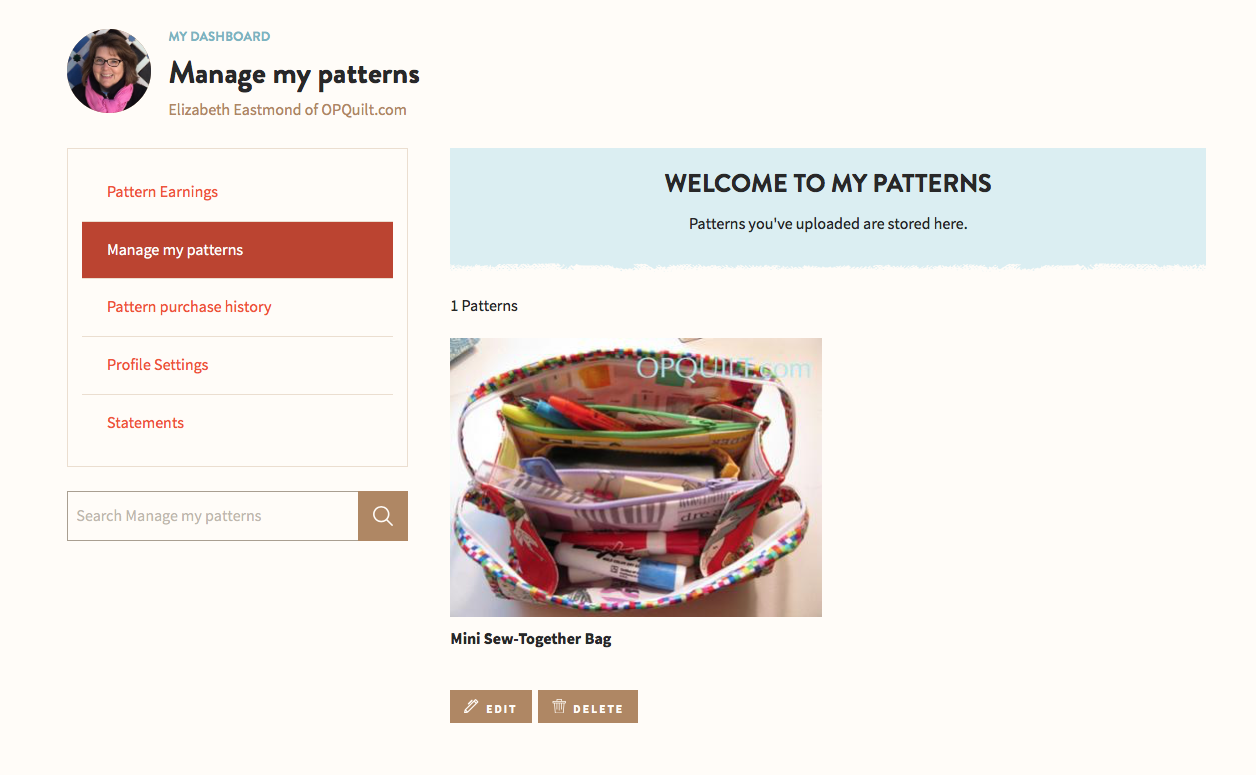
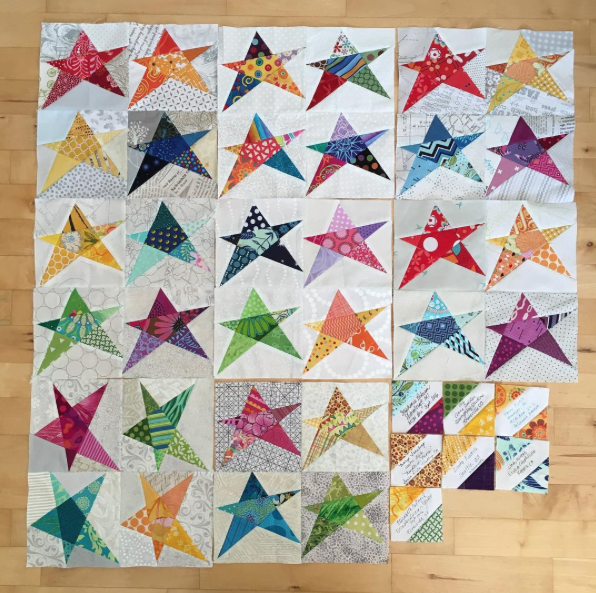
I had some revisions in process, so was able to upload them, but doubt I’ll be allowed to do more.  But more importantly, some of my favorite pattern makers are gone:

I would have liked some notice that they were going to ransack our digital library, burn the books and torch the shelves.  I imagine some of you would have liked that, too.  Couldn’t they have tagged our patterns, letting us know they were headed for the dustbin, and then a week later, we could have taken them off the site ourselves?  Would it have been feasible for them to start charging us and letting us keep our “store”? I would have been fine with that, for of course we should pay our way.

And…why did this happen the week before Christmas?  It felt like one of those “release-the-horrible-news-on-Friday-and-maybe-no-one-will-notice-by-Monday” sort of things.

payhip_logo-small

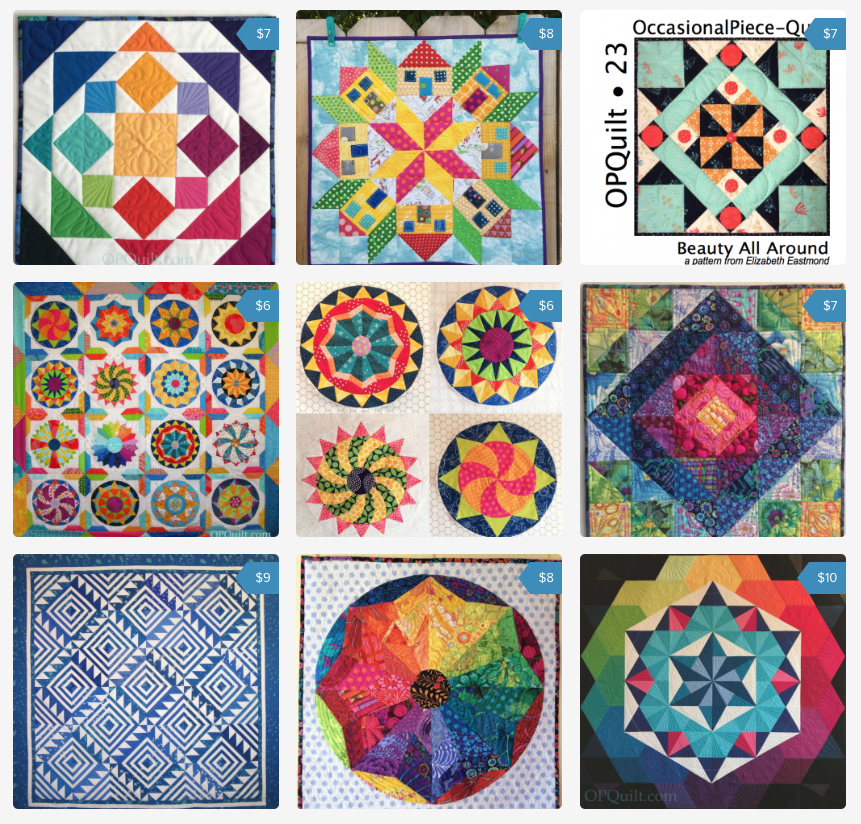
For awhile I’ve had patterns up on PayHip, which also satsifies the VAT issue payment. To search PayHip, use Google.  Type in “quilt patterns payhip” and you’ll see a large listing of creatives already on that site.  Another way to the patterns is through direct links, such as the one to the right on my blog.

payhip site
PayHip OPQuilt site

For now the takeaway is: download anything you like for, without warning, it may suddenly go up in smoke.


tiny-nine-patches


craftsybluprint notice
from here

Postscript regarding Craftsy/BluPrint:  I have created a folder on my own hard drive, and downloaded into one place all the patterns I’d purchased on Craftsy which I also uploaded to the Cloud (I use Dropbox). I’d suggest doing the same.

200 Quilts · Quilt Patterns

Riverside Sawtooth, a finished quilt top

Riverside Sawtooth_labeled

Riverside Sawtooth, the name I’ve given for this original block of mine, has been finished — or at least the top has. It is a compilation of bee blocks from the Mid-Century Bee, as well as several of mine.  I started making these in the Alison Glass blues fabric, but trying to describe what color of blue that was to people all over the United States was a challenge: I finally settled on “painter’s tape blue.”  I like this quilt not because of that color and that block, but also because it’s a scrappy two-color block.  Have a bunch of greens, or pinks, or reds that need to be gathered together into a quilt?  This would work great.

Riverside Sawtooth_small1

Through the process of arranging and cullling and making more blocks to balance colors, I had enough blocks for another small mini.

The genesis came from seeing a similar antique quilt, but that maker had done a more traditional construction (and sorry–there was no name on that old quilt).  I wanted to see if I could make it as a block, the sawtooth incorporated into the construction process.  It took me several weeks of working on it, then testing it.  I wrote up the pattern and sent it as a test block out to my beemates and incorporated their tips and tricks into the pattern wording.  Now thoroughly tested, I tweaked the pattern and at long last, have it available for download in my shops at Craftsy and PayHip (for EU customers).  The pattern includes lots of detailed photos and walks you through it the process, so it’s good for anyone’s set of skills, beyond the what-is-a-rotary-cutter-and-how-do-I-use-it barely beginning level.
Riverside Sawtooth_small2

Here’s another mini full of full dotty blocks.  I loved working in this tonality of blue — hey, I love blue in any tonality — but the inspiration of Alison Glass’ fabrics kicked me into finding blue fabrics that coordinated with hers.  The large quilt (72″ square) is in the line-up to be quilted, and then I’ll probably label it and get it up on the 200 Quilts list, but for now, I wanted to make it available to you, if you want to try your hand at an updated fun version of a block.

Riverside Sawtooth_detail1 Riverside Sawtooth_detail2 Riverside Sawtooth_detail3a Riverside Sawtooth_small3I’ve been working on a few more patterns and I’ll roll them out one by one over the next several weeks, as I get the typos expunged, the photographs completed and then uploaded for purchase.Riverside Sawtooth_small4

tiny nine patches

EPP · Shine: The Circles Quilt

Circles Block #14–EPP Sew-A-Long

Circles EPP Button

Circle Block 14_OPQuilt

Peppermint Candy
Circles Block #14 in the Circles Sew-A-Long

Yes, I know Peppermint Candy isn’t orange and pink, but the swirl — a bit fat swirl, this time — reminded me of unwrapping crinkly cellophane and seeing those fun swirls on the candy before I popped it in my mouth.

I had to steel myself to get going on these last four, as I was a bit fatigued, but when you want something — (like a peppermint, which I’m hunting for in the desk drawer as I write this) — you want something, and I wanted a sixteen-block arrangement for my Circles Quilt.

I have the final four patterns as a group up for sale on  Payhip.  I will post the tutorials each month until the set is complete.  The finishing instructions pattern for Shine: The Circles Quilt is also listed on Payhip.

(Note from the 2020 Elizabeth: A new, revised pattern is coming soon, so I’ve removed the old ones from the previous posts.  Many thanks.)

The usual caution applies about making sure that your printer settings are set to 100%; please print off four copies of this pattern.  Surprise! There is no center circle this time, as we’re going for glory and piecing it as accurately as we can.

The tricky thing is the swirls.  I had no idea that FAT swirls are harder than the thin ones, but they are.  There is more bias, more clipping needed, and more care as you lay them out.  But the block’s upside is that there are fewer pieces, so that’s got to count for something.

Circles 14_2fabrics

Fabric selection is getting easier because I am more practiced?  Or maybe that the fabrics I like are on the top of my stack?

Circles 14_3printing down

If you want your swirl to go the direction of the pattern’s swirl, lay the pieces FACE DOWN on the wrong side of the fabric.  Pin, then slice around them with a rotary blade.

Circles 14_5printing whatever

Since the outer wedges have no direction, you can place them face up or face down.  If you are just coming right at this pattern from the Internets, and have not made any of the other circles, there are lots of tips and tricks in the other circle block posts.  You can find them in the tab above, labeled Shine: The Circles Quilt.

Circles 14_4clip curves

I took time to do a bit of clipping as I glued down my seam allowances over my paper.  If you don’t, your edge won’t fit neatly with the other swirl’s edge, and will leave puckery bits.  Clip.  You’ll thank me later.

Circles 14_6layout

I like this!  This is always the jumping-off place.  If I like it here, I’ll proceed.

Circles 14_7in bag

I bag the pieces up with a printout of the block (below) to help me with color and placement.

EQ7 Block 14Circles 14_8beginning sewing

I just did not know how to go about putting this together, as the swirls are so swirly.  I finally figured out that old adage: just begin at the beginning (above), so I did. Remember there is almost no easing–just add a stitch and curve it around as you go.

Circles 14_8aIt will curve up in your hand, and this is normal and to be expected.  It will lay flat once you get all the sides sewn.Circles 14_9sewing together

Once you get the sets of two done (making sure you are consistent as to which side the dark color is on), sew the twofers into a set of four, as above. Repeat.Circles 14_10whoops

Then you’ll have two half-circles, which should look like they fit.  Keep going.Circles 14_11alltogether

Now . . . finish sewing it together.

Circles 14_12inner points

Now the points.  Curves against curves–these babies just seem to be opposites today.  Again, start at one tip and move along to the other, letting the piece cup into your hand in an arch as you go.  Circles 14_13hook together

I always like to hook my pieces together, so up above, I’m taking a stitch or two to nail those green points together before I start sewing the next one on.  I think it gives the block some inner support once all the paper is gone.

Circles 14_14before pressing

Points on.  Now, for those of you who believe that fabric is the same as paper, you are going to be freaked out by the little puckers and pfhlttts you see in the photo above.  But here’s the truth: fabric is NOT paper, and it will move and shift and make you worry until you take out the paper at the end and give it a little bit of steam and the fabric settles into itself and you breathe again.

Circles 14_15 back

Beauty Shot, showing how pretty all those little seams look.Circles 14_15afterpressing

Okay, I pressed it with the paper in.  Still a few puckers and pfhlttts, right?  That’s why we make quilts–once you get this thing over batting and get stitching on it, you won’t even see them.

Circles 14_16hollow up

Stitch on the outer wedges, then remove the papers from the green points and the swirls and it’s Decision Time. Hollows up? (above) or Points up? (below)Circles 14_17point up Circles 14_18background fabric

Cut a 14 1/2″ square of background fabric, fold it in fourths, and press in a registration mark so you can get your circle placed in the center.
Circles 14_19pinned for appliquePin the circle down, and appliqué it onto the background, tucking in the points as you go.  Flip it over, and cut out the back 1/4′ away from your hand-stitching line.  Remove all the remaining papers, then give it a good press on a padded ironing board, face down, then face up.  Let it cool, and admire!

Circle Block 14_OPQuilt

2c_Fifteen Circles

Okay, this should give you encouragement.  While you’ve seen all of the blocks in the Shine: A Circles Quilt post, I still think they are look fun  to look at like this, all together.  Now I think you can see about how the fabric choices up to this point dictate what I can and can’t throw in–and that’s okay with me.  Only two more patterns to go!!  The tutorial for Number Fifteen will be released September 1st, or, if you can’t wait. . . you know where to find them.

EPP · Shine: The Circles Quilt

Shine: The Circles Quilt

Shine-waving

Shine: The Circles Quilt
66″ square
First block started June 2014 • Top finished June 2015

I’ve finished my quilt top and am happy to release it into the world today.  I started sewing these English Paper Piecing patterns after I’d finished Kaleidoscope and needed a new hand project.  I was also sick of straight lines, and though I’d do some circles.  Those of you who have followed along know that I took a lot of inspiration for the circles from a church my husband and I had visited while traveling in Slovenia, the art finding its way into fabric.

Shine_Quilt Top Final800

I named it Shine because of all those circles, those suns, those compass points, radiating out from the quilt.  I could see this all done up in solids, too.  I’ve seen a few of your starting your project.  Please tag me on IG (occasionalpiecequilt) or drop me an email with a photo so I can see what you’ve begun.

I’ve now completed the instructions for this quilt, and have it available for purchase in my PayHip shop, listed as Shine: Circles Quilt Finishing Instructions, so you can finish off your quilt.

The last four circles — numbers 13 to 16 — are also available as a PDF download pattern: Final Four Blocks from Shine, but because the tutorials are image-heavy, I’ve kept the instructions for the circles on the blog.  I’ve loved creating these and sharing them for free, so I hope you’ve enjoyed grabbing them and making them.

Shine Sashing inspiration

Where did I get the inspiration for the finishing?  One day when I was walking around San Diego, I looked up and saw the facade of the building and thought, aha! — those crosses with circles would be perfect in between my circles.  I ended up leaving off the circles as my quilt had a lot going on , but your quilt may be different, so you decide (the option is in the pattern).

Zagreb doorway design churchAnd the border?  I started here, in this archway from the church in Slovenia, with those triangles.  But again, I wanted my circles — and all that handwork — to stand out, so I simplified it with trapezoidal pieces in between the triangles.

Refer to the main SHINE: The Circles Quilt page, for links to each block.

Thanks for all your support and EPP love while I’ve been working on this project. Happy Piecing!