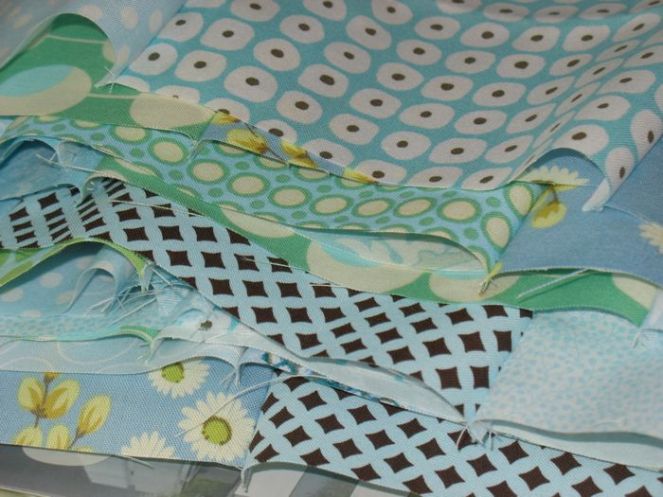
Trying to keep the random effect in my quilt assembly, I laid out all my blue squares, and just sewed them together in strips of 4 squares or six squares, and laid them out on the floor (below).
Then I put them up on the pin wall, but they wouldn’t all fit. So, I started from the bottom, making sure that the randomness remained, ripping out and moving around and sewing together. For as many squares as there were (12 squares across by 17 squares down) I had minimal ripping out. The bottom rows look like rectangles, but that’s just because I overlapped them in order to keep working–I needed to see all the squares as I worked. Now to sew them all together and get it to the quilter before I go on vacation.
(Where’s Provence? I still have no idea how to quilt it, or even what color thread to quilt it in, so it’s resting.)
Working on something very pink, but it hasn’t arrived at its destination yet, so just a sneak peek.
The bigger reveal will come in a couple of days. It did keep me busy for the better part of the weekend, and I was thinking happy pink thoughts while I sewed.
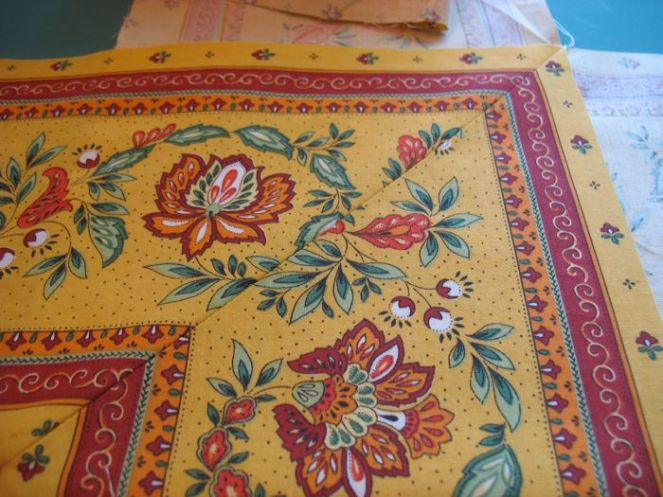
Here it is in all its unquilted glory. I’m really happy to be at this point. Of course, I can see about five design changes I’d make right now, but I’m not unpicking another seam. It will have to be what it is.
I cut the border print slightly away from the red band in order to have a little yellow piece separate and blend with the green initial border. This has gone through so many iterations that I probably have enough for another quilt with Provence fabrics in my bin. That will have to wait. Now on to construct the back–I’m going to try to use some of the leftover border print there.
I’ve developed a few tricks for mitering a corner so it turns out half decent, or even better.
While sewing on the border, this really is be the first step (sorry it is already sewn). What I want you to notice is where the blue thread on the green fabric begins and ends: at the seam. Not over the seam. Don’t oversew in this step, or you’ll be picking it out. You don’t need to sew past the seam because the fabric has to have the smallest bit of wiggle room in that area.
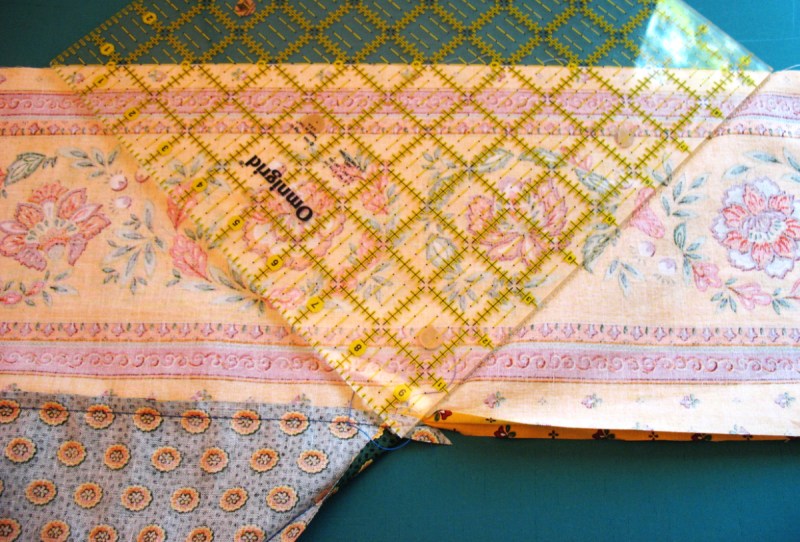
First lay your borders together, folding the quilt corner at a 45-degree angle, folding it out of the way below the borders. Match up the edges–both the sewn and the cut–very carefully. Put pins if you have to. Then using the 45-degree line of your favorite ruler, place that at the upper edge of the border and slide it so that the lower edge is at or just a thread’s width past the folded quilt edge. Draw a line and pin it carefully before moving it at all. DO NOT TRIM at this point. Stitch on that line (which you can see in the image above).
This is the glory shot: all the lines match up. A good miter is a thing of beauty forever. A bad miter hangs out in the back of the closet.
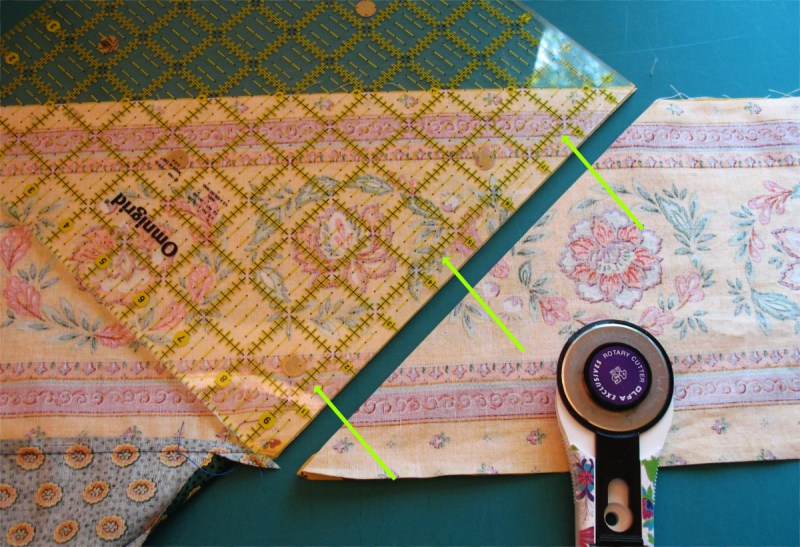
Trimming: Line up the quilt and borders as in the first step, replace the ruler so that you allow a 3/8″ seam allowance past the sewing line (I’m cautious here).
Again, you are 3/8″ away from your stitched miter (at the green arrows). Slice it off, and try not to have heart failure that you’re cutting the wrong side. If you fold it this way, you won’t (cut it wrongly, or have heart failure).
Tracy and I headed out early this morning to have our own mini shop-hop, hitting a few stores that she knew about (she knows most all of the quilt shops around here). Click over to the interactive map to see where we went (I’ve also included the two shops I went to last week.)
Why a Google Map for my local fabric shops? When we went to England a couple of years ago, I was searching for information about York, and a local fellow had designed several “walks” that I printed out and we followed as we got to know the town. It was really helpful, and since then I’ve discovered many other helpful public maps on Google.
Is there a public fabric shop map for your town? A public “walks” map? We don’t have those kinds here in Southern California–our culture is car culture, whether it’s the best thing or not (it’s not).