200 Quilts

Mini Madness Wrap-Up (Mostly)

This past summer, I joined four swaps, then had my head examined and swore never to do it again.  It was sort of a good thing to have some small things to try out my design skills and to keep me quilting, so I guess another title for this post is “How I Spent My Summer Vacation.”  I do plan to do individual posts on a couple of them (so you’ll see them again), plus I have one more mini quilt that I made with quite a story (not shown, but soon).  But so far, here they are, in the order they rolled out from my house.

Mini House_frontlabeled
The Heart’s Solace: Home, Sweet, Home (No. 147)
House Mini Gift

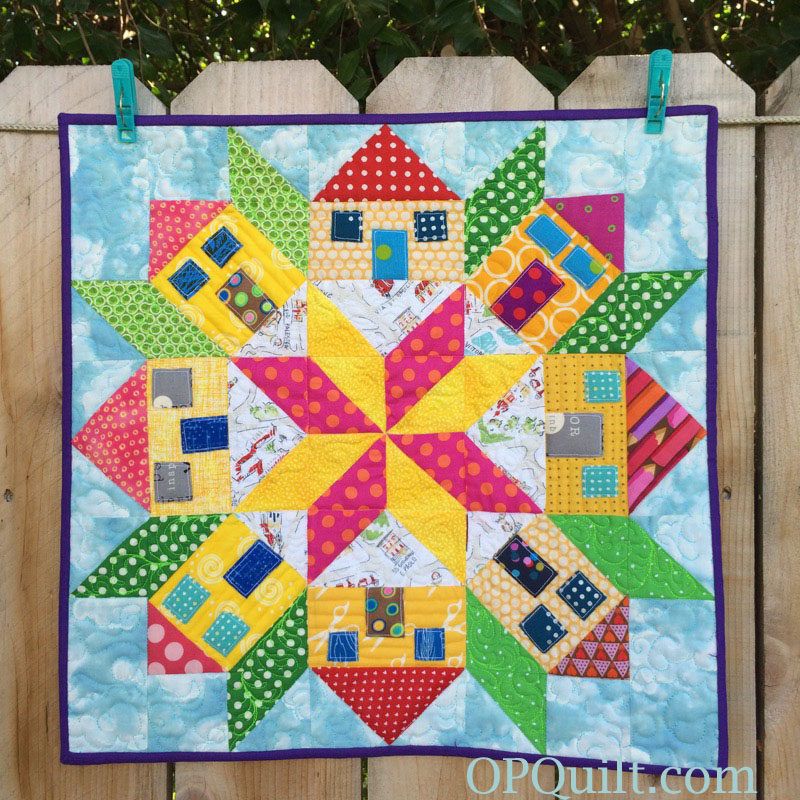
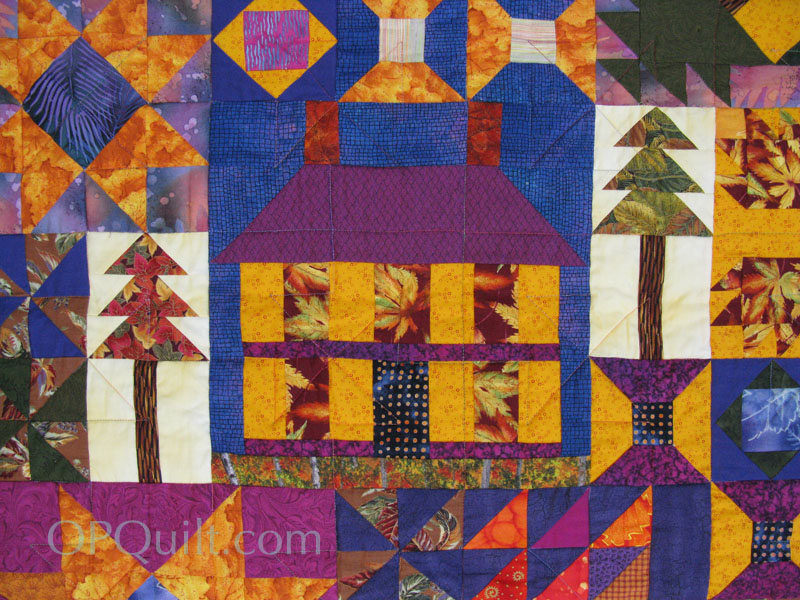
Although a little bit late (she had fabric and pattern issues), Emily sent me mine and I am so in love with it.  I ended up drafting her a pattern on my QuiltPro quilt software, which I’m happy to share with you.  It’s in a PDF file: Emily’s House  On the first page, the piece for the narrow sashing around the central patchwork square is cut off.  I’d recommend using the width of the pattern piece as a guide and cutting a strip to fit your work after you start sewing it together.

Rainbow Gardens
Rainbow Gardens, No. 148

This post has links to my PayHip store where you can purchase the pattern.

Kaffe Mini Gift

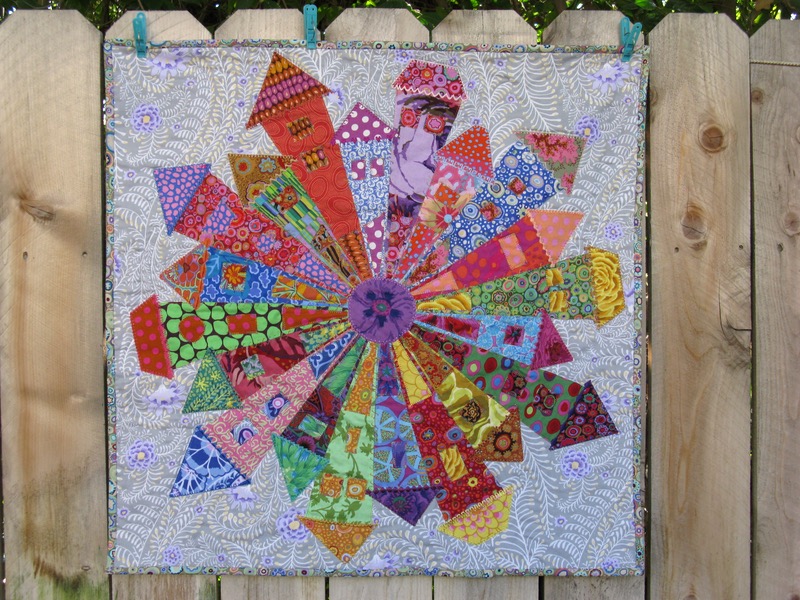
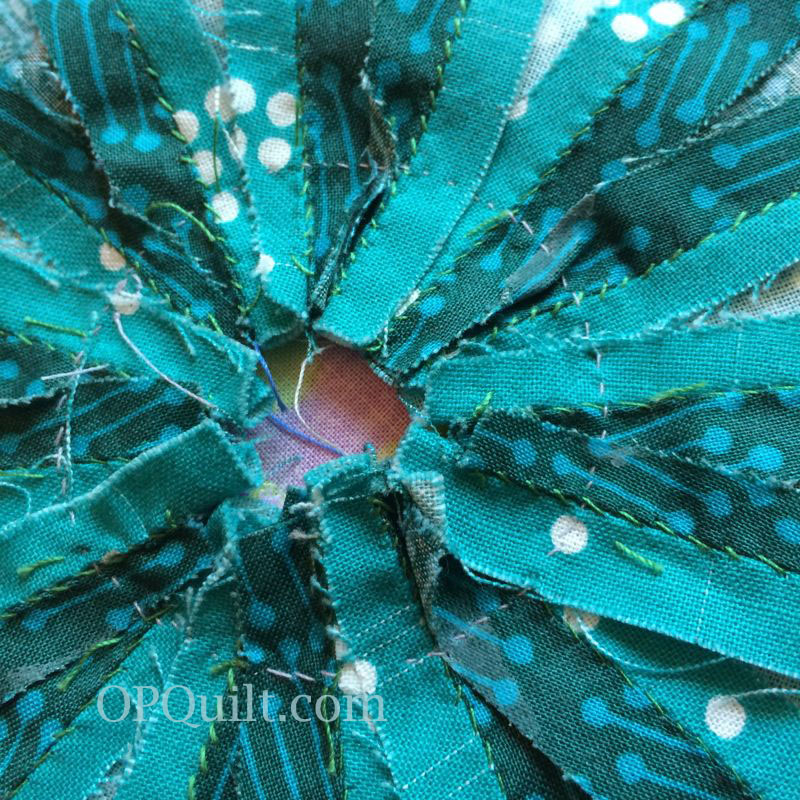
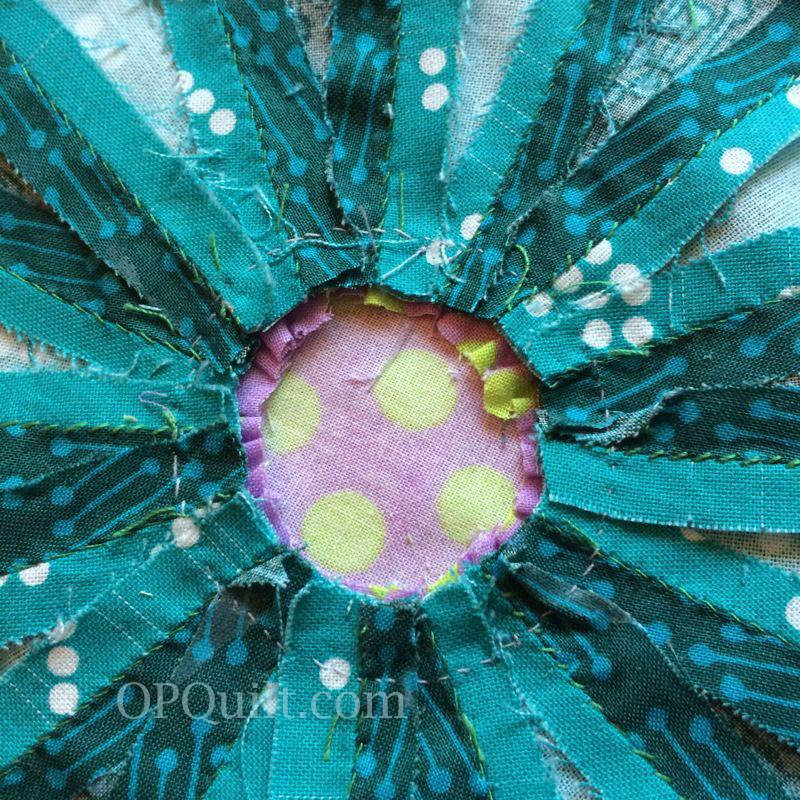
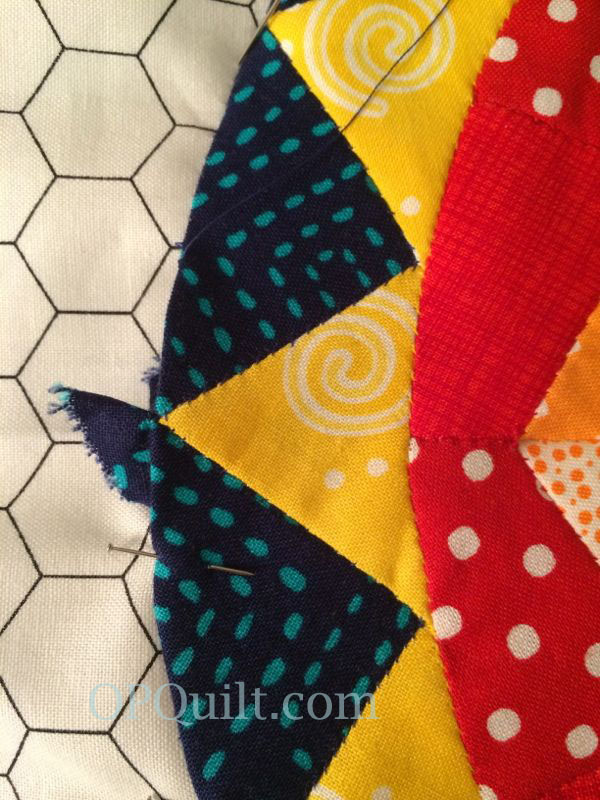
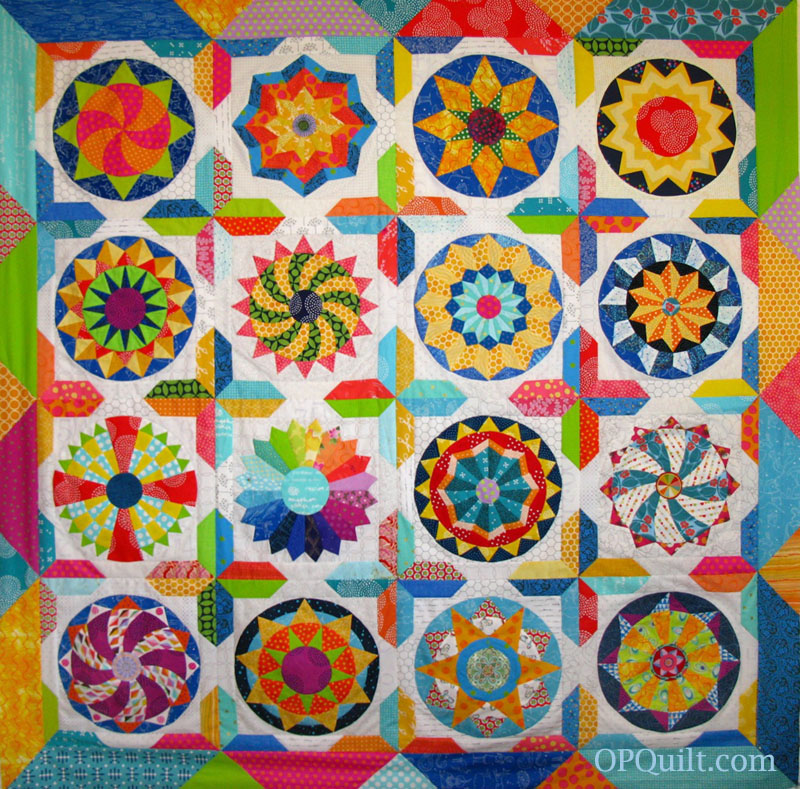
Here is the creative and beautiful quilt I received from that swap–a lovely Dresden-plate type circle of houses.  I love them all and love the variety of sewing machine fancy stitches that my partner used.  I hear there is a pattern out there for it called Dresden Neighborhood (by Persimmon Dreams) and you can buy it from Craftsy.

Little pouches for swaps

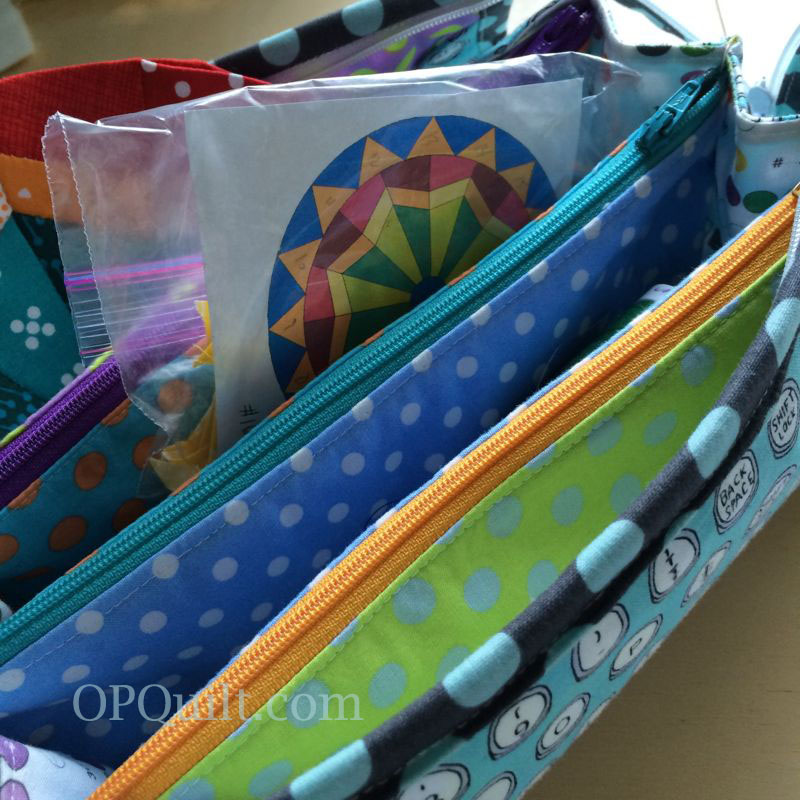
One hallmark of swaps is the little gifts that you send, although I did join a swap titled “Simply Mini.”  (More about that one later.)  I made two of my swap partners Dumpling Pouches and filled them with interesting PostIt Notes, some washi tape and quilty trinkets.  I’ve seen some swap loot that is over the top; I hope my partners aren’t disappointed (all of them have received their packages).

Rolling Rainbow sent off
Rolling Rainbow_front

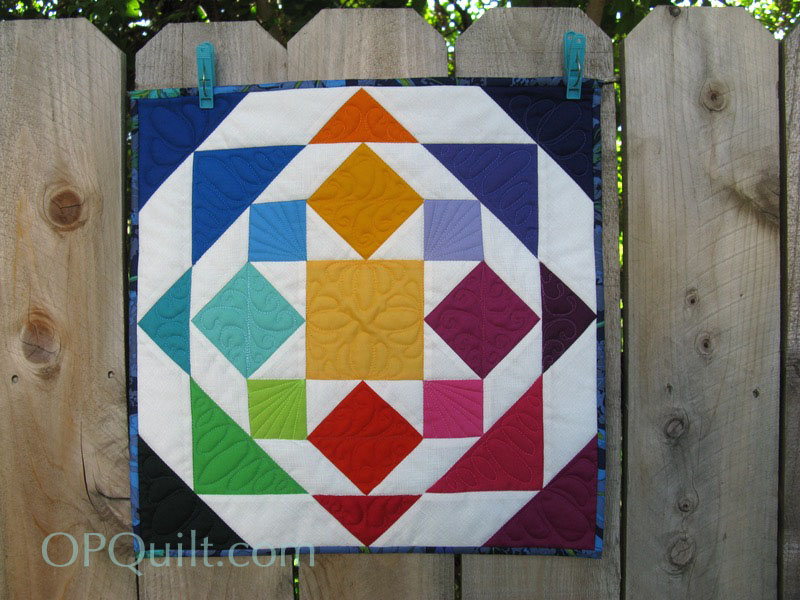
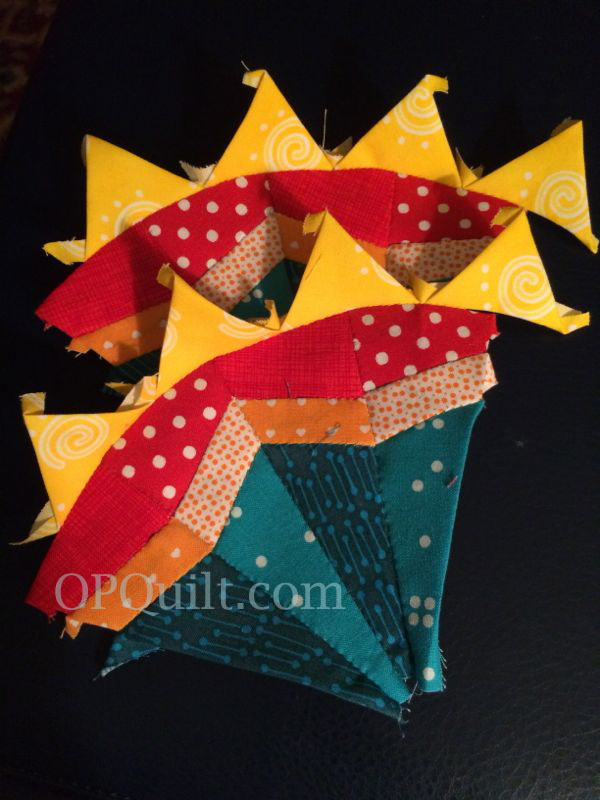
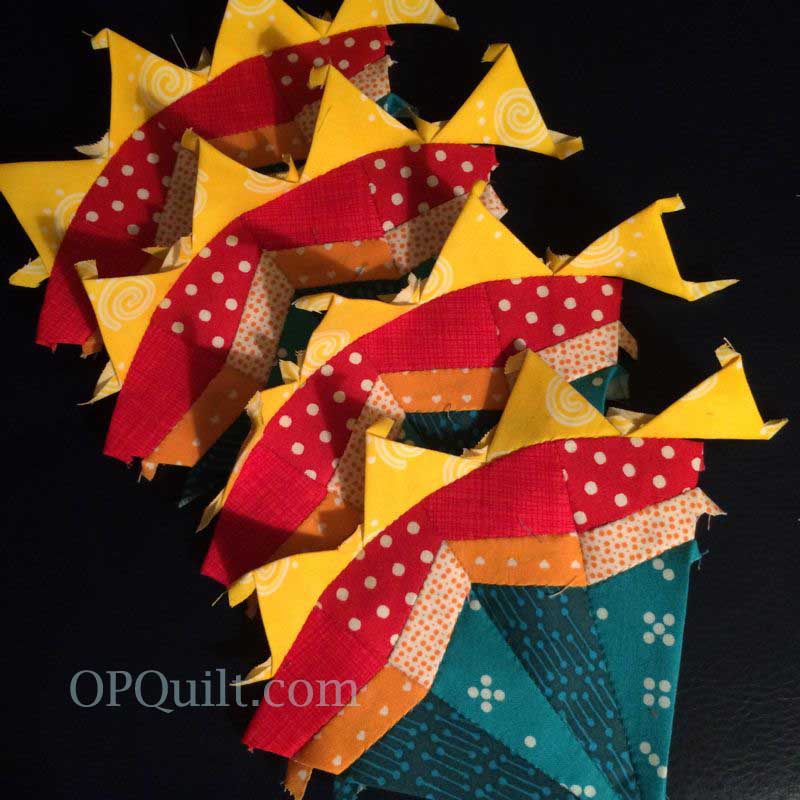
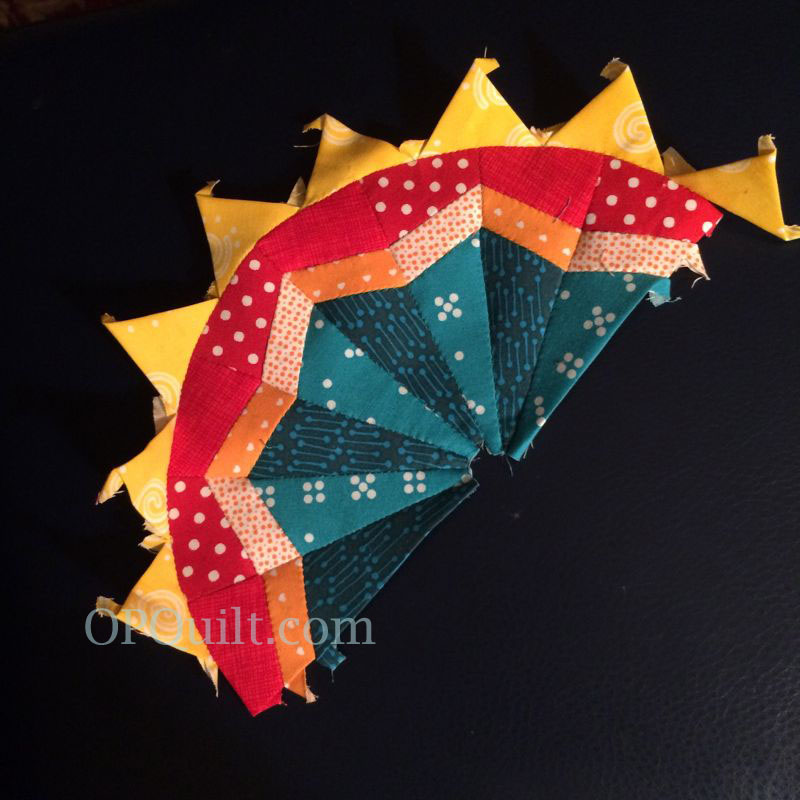
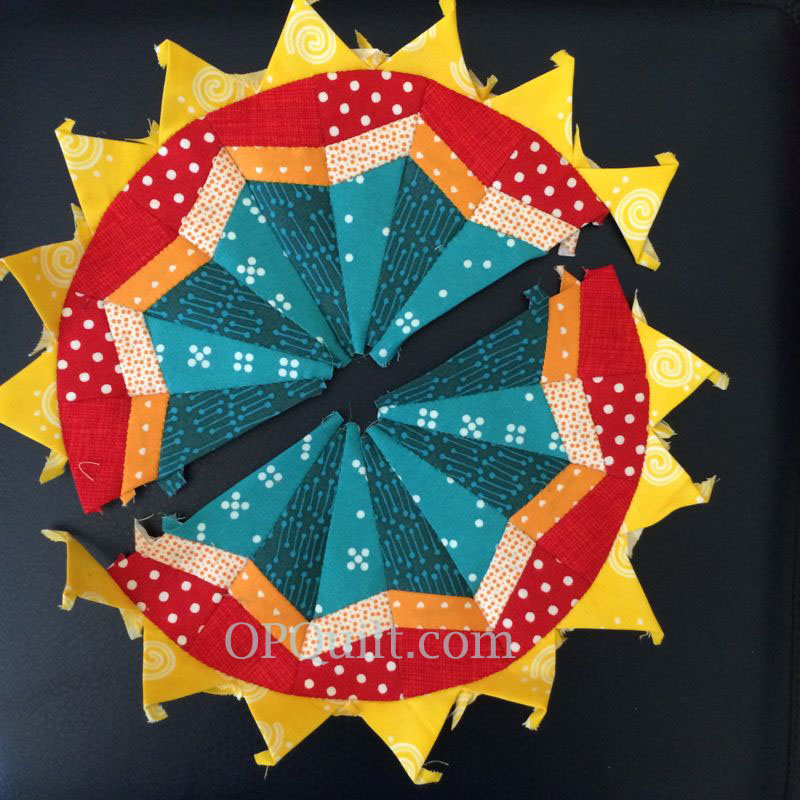
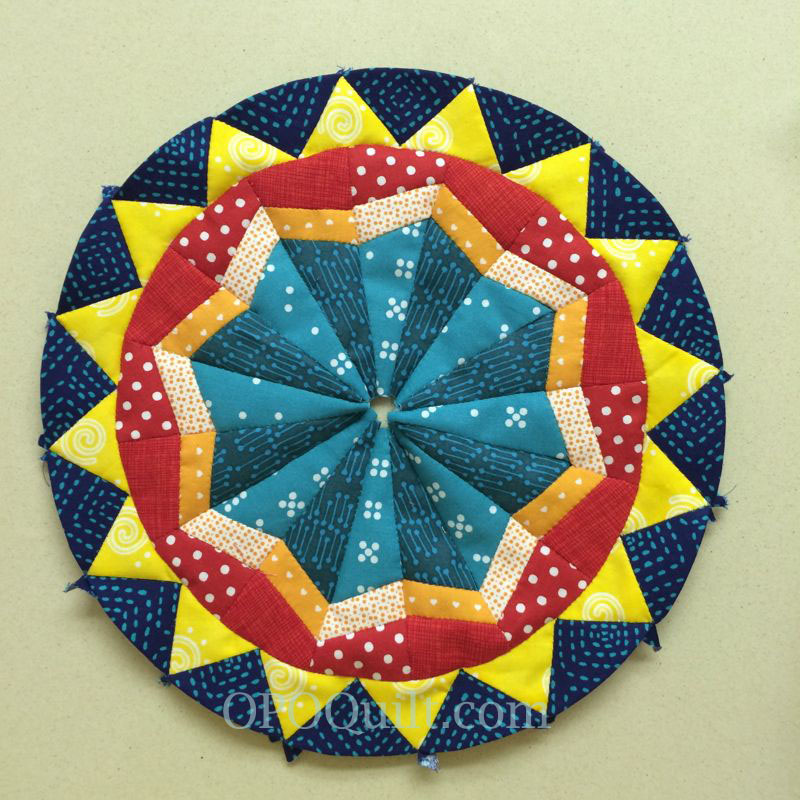
Rolling Rainbow Star–I made one for the Simply Mini Swap and then had to make one for myself.  I changed up the binding on it to tell them apart.

Rainbow Rolling Star_back

I love this backing.

Flying Geese

Flying Rainbow.  The last one I made was for the Schnitzel & Boo swap–the grandmama of all swaps on Instagram, now in it’s fourth year.  I wanted to say I did that one, and now I can.  The quilter I was to send to liked bowling, cooking and classic comic books, so I bought her some bowling score fabric to use the quilt, and backed it with fabric showing wee chefs and bakers.

Flying Geese_back

Now my To-Do list looks like this:

Mutts To Do Lists 10_8

 Just kidding.  Now I have to clean out the garage before our hoped-for El Nino rains arrive.  (Fingers are crossed!)

100 Quilts · Quilts

What Was Old is New Again

Venice Floor Gone Bad_large

After a trip to Venice one year, I got the bright idea to re-create the magnificent floor in the cathedral, but with subterfuge.  Some of the sections would bleed into the others, and others into others, and all of a sudden it got very complicated very fast.  Either this is a really good example of Deconstructionist quilt style, or it’s a Venice Cathedral Floor Gone Bad.

IMG_7320.JPG

IMG_7321.JPG

I’d also taken a class from Hollis Chatelain at Road to California, and had come under the spell of her close, narrow quilting.  Now it’s called matchstick quilting, but then, we didn’t give catchy names to rows and rows of thread, narrowly spaced. The back:

IMG_7323.JPG

I used to hate it, but I must admit, given the hundreds of quilts that are now using Hollis’ matchstick quilting, the quilt is growing on me.  The reason why I’m revisiting this quilt’s new-again-technique, is to also look at this one, too:

IMG_7324.JPG

Every Common Bush Afire, No. 31

A sampler quilt, made when I trekked up several weeks in a row to take classes from Carolyn (of Road to California fame) it hangs every fall in our upstairs hallway, reminding me of fall colors in cooler climates.  I love looking at it, and love the colors.

IMG_7325.JPG IMG_7327.JPG

But this is why it’s being revisited: the large maple leaf on the back.  I made this in the year 2000, but now you see fancy pieced quilt backs everywhere.  I still am of two minds about pieced backs, as getting it on straight seems to be a challenge, as well as dealing with the many seams.  Obviously pieced backs have evolved and it’s more like pieced strips-on-a-back with bits of extra blocks rolled in.  But it’s fun to realize that at the time, I’d given something new a try.

IMG_7331.JPG

IMG_7330.JPG

The label is underneath three overlapping leaves; the quilt shows this has been in are below on little labels from those shows, which lately I haven’t seen given out.  I should still make my own labels, if only to properly identify the quilt’s provenance. Last blast to the past:

IMG_7335.JPG

Nihondaira, No. 53 (2003)

IMG_7334.JPG

I’m revisiting this one for the hand-quilting coupled with the machine quilting.  This one is specific, using sashiko thread, a thicker embroidery thread from Japan.  I began this in a class taught by Roberta Horton, a true master of quilting.

IMG_7333.JPG

She talked about not fretting if you didn’t have enough of the specialized yakuta fabric, but instead to be creative, finishing the shape with the hand-stitching.  So I did.

IMG_7336.JPG

Another pieced back, using a gradated fabric (aren’t you seeing those again?)

IMG_7337.JPG

Yeah, I realize I sound like a quilt geezer.  But this might explain why I don’t get all in a froth when I see these techniques *burst* out into our quilt world as the newest! greatest! most amazing! thing.  I had a conversation with Debbie of A Quilter’s Table not too long ago, and we discussed how some of these people–like Hollis, or Roberta Horton, or even Nancy Crow–seem to have faded into the background of our quilty life.  I love the new and the novel as much as anyone, but I also recognize my debt to these amazing women, who were innovating, even before social media’s sticky grasp.  Do we exist if we are not on Instagram?  Or Facebook?  Or run a blog?  Do techniques from a decade or so ago remain hidden, except when those of us who have done them, bring them out into the light of the internet?

You know the answer.

Quilts

Quilt Abecedary

QA Signature

Starting in January, I will be participating in a one-year term group where we will make words for each other, with the end goal to make a quilt of letters and phrases and words.  Since gathering the group together, though, I realized that although I loved quilty words, I hadn’t the faintest idea about making them.

I bought two books (one recently and one a few whiles back) and read them both cover to cover.  Then I decided I wanted to have the best of both worlds: the fun wonkiness of Tonya Ricucci’s Word Play Quilts and the shapes and precision of Sam Hunter’s Quilt Talk.  I bought the Kindle version of Quilt Talk, which included a digital printout of the letters, but I just couldn’t face doing foundation paper piecing for an entire alphabet, so instead I printed out the pages with her drawings of the letters’ shapes and used that as a guideline.Quilt Abecedary titleAll of this is to say that I started a new blog: Quilt Abecedary.

I, like many of you, are fascinated by font and words and graphic design.  I always say in another life, I would have gotten a graphic design degree, but alas, that life is in the past.  So maybe this is a way for me to have fun with type and typography in a quilty way.

What is an abecedary?  Or an abecedarian?  I wrote about it on my introductory post, but both are known as types of ABC primers, or a record of the alphabet in some fashion.  More info about an early stone abecedary can be found on the post for the Letter B.

I have included a tab above, Quilt Abecedary, where I will link over to individual letters as I get them made.  My goal is to do one a day in the month of October and with tomorrow’s posting, I’ll have finished from A to E.

It’s not really meant to have followers, as it will be a completed reference work, with a finite finish date and serves as a documented journey of my working my way through the alphabet.  If you are going to try your hand at making quilt words, you may want to check it out.  I also have a Pinterest Board dedicated to word quilts, just to inspire you.

˚˚˚˚˚˚˚˚˚˚˚˚˚˚˚˚˚˚˚˚˚˚˚˚˚
My apologies to those of you who received my unfinished post, Rolling Rainbow.  Sometimes things just get the better of me.

tiny nine patchesSometimes my blog software places ads here so I can blog for free.  I do not control the content of these.

EPP · Quilts · Shine: The Circles Quilt

SHINE Circles Block 16, EPP Sew-A-Long

Circles EPP Button

Circles 16_OPQuilt_markedRadiating Compass Rose
Final Block of Shine: The Circles Quilt

This is the Sixteenth and Final Block for my project Shine: The Circles Quilt.  It’s kind of a bittersweet moment, as I spent more than a year designing and sewing these blocks, and have sent them out into the world with a wish and a hope that others may enjoy them, too.  And I hope you have!

The patterns for the another set of nine circle blocks (this one included) can be purchased on PayHip, but I have left the tutorials here, as they are photo-heavy. The Finishing Instructions pattern for Shine: The Circles Quilt is also listed on Payhip.

As I did for the fifteenth circle block, I based my design on the fancy compass/North designator of old maps, throwing my ideas into some quilt software, and having fun.  There are elements of other blocks in this one, with the undulating narrow blades and the small points.

EQ7 Circle 16

For this final block, I liked that this design had echoes of Circles Block Four, and that you can see a dimensionality to it.

Circle 16_1A circle leftover from another center circle for another block.  It worked great here!

Circle 16_2

To get the blades going the same way as shown in the illustration, lay the printed side DOWN.  I include lots of tips and tricks for these circles in each pattern, so if you found this one first, head to the tab up above marked Shine: The Circles Quilt EPP to find the others.   Circle 16_3 Circle 16_4The outer points have no direction, so you can place them printing up. . . or down.

Circle 16_5 Circle 16_6All the pieces are glued down to the papers.

Circle 16_6aI print out a smaller version of the illustrated circle and carry it around with my pieces as I’m working on the project.

Circle 16_7 oopsPay attention to which way you sew on that first blade wedge.  This is an OOPS! on the right.  Un-sew and do it again.

Circle 16_7a

First round all sewn.

Circle 16_8

Second round all sewn.

Circle 16_9

Join the blades of the rays together.  Because I have such strong color shifts in these pieces, I opted to use different colored threads in each section. Here I’m sewing the teal pieces together, then I’ll switch to other thread and join the next band. . . and the next.

Circle 16_10

Start joining the units into pairs.

Circle 16_11

I just thought this was a fun photo of the project tucked into my regular Sew Together Bag.  Now I use the Mini Double Pocket Bag (pattern in my PayHip shop).

Circle 16_12

Okay, back to the sewing.  To place the points on accurately, pinch to find the center of the curved edge.

Circle 16_12a

Align that as shown. I use one pin to keep it in place, but start sewing from the point’s outer corner, as shown in the next photo.

Circle 16_12b Circle 16_12c

Repeat the pinch-to-find-center-action and sew on the next point.  I always take a stitch at the point corners to join them to each other.

Circle 16_13

Here’s how they look when finished.  Keep going until you’ve gotten the points on all your ray-pairs.

Circle 16_13a Circle 16_14

Join a ray pair together.

Circle 16_14a

Then stitch down the loose yellow point. Repeat with the other two pairs.

Circle 16_15

Now you are getting somewhere!  This looks great, doesn’t it?  Don’t sew the two half-circle parts together.  Yet.Circle 16_16

Time to add in the dark blue outer arcs in between the points. Again, I take one stitch at the outer points to join the arcs together too.

Circle 16_17

This is what you have so far.

Circle 16_18

Join the two units, sew down the yellow points, then fill in with the arcs.

Circle 16_19

Nice work!  Here it is from the back with all the papers still in.

Circle 16_19a

Remove all but the outer arc papers.  You’ll need those to appliqué the circle onto the background.

Circle 16_20

Don’t put it on the background just yet.  First appliqué the center circle, as in Circle Block #1.

Circle 16_21

Lay your center circle over the center hole, measuring to get it on evenly, then appliqué with tiny stitches (above).  Changing the size of the center circle is just fine; I decided to make it a little bigger than I’d planned.

Circle 16_21a

I trim out the excess.

Circle 16_21b

And then trim more excess–this time the appliqué center, leaving about 1/4″ seam allowance.

Circle 16_22

Cut a background square 14 1/2″, and as in the other circles, decide the placement of your circle and pin it down.  When you come to a place with the seam allowances. . .

Circle 16_22a

. . . first fold in one side. . .

Circle 16_22b

. . . then the other, and keep stitching it to the background.

Circle 16_trimming away background

When finished, cut away the background.

Circle 16_trimming sa

I also trim off some of the more wild ends of seam allowances, as you don’t need all that bulk.

Circles 16_OPQuilt_markedAnd you are done with all your circles!!  Congratulations!!

Shine_Quilt Top Final800

Now you can finish your quilt.  I wrote the finishing instructions in a pattern and put it up on PayHip so you can finish yours too.

I hope you have enjoyed this series.  It all started when I wanted something to sew by hand at night to relax, but was tired of all the straight edges of hexagons and such.  Just after I started, we visited an ornately painted church in Slovenia, which inspired many of the circle blocks.  If you are sewing them, please send me a note by way of comment, or share a photo with me by way of email.  I can’t wait to see your creations!

There are now more Shine Circles in that last pattern, so you may have an entirely different quilt from this. If you make this, send me a photo!