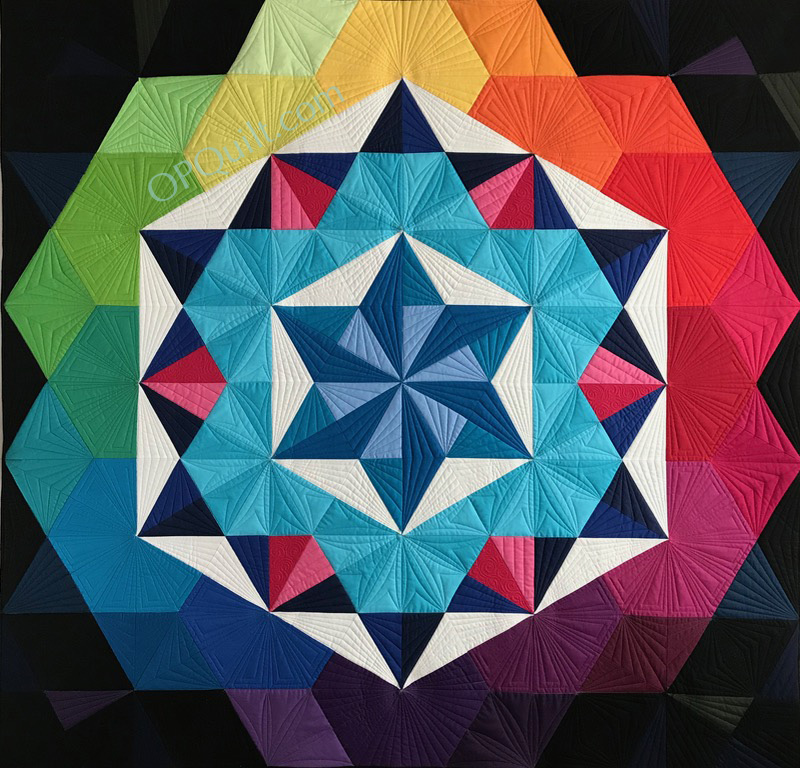
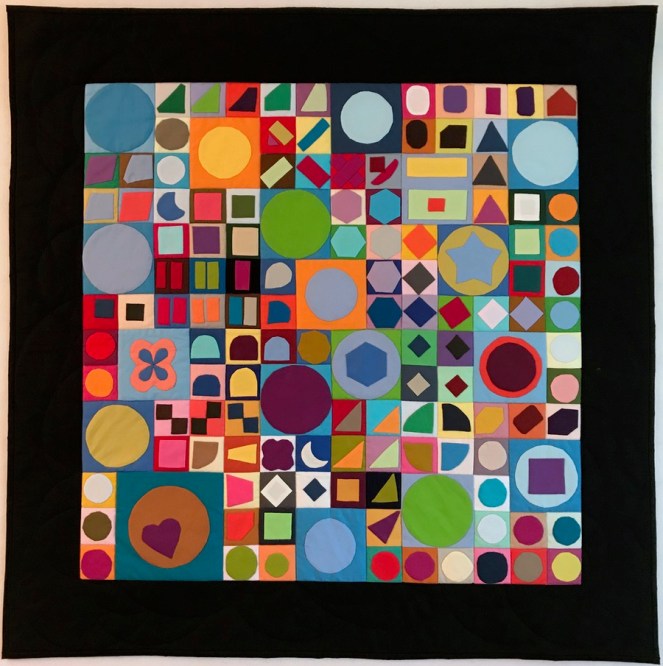
My Rainbow Gardens has made its way out into the world. I was contacted by the Victoria Quilter’s Guild in Victoria, B.C. (Canada) to ask if it was all right if they used my quilt for their poster. The theme of the quilt show and sale is the City of Gardens, which is one of Victoria’s names, according to the website for the city: “Victoria – otherwise known as the “City of Gardens” – is home to a number of spectacular gardens that range from formal to heritage, exotic to west coast, and multi-themed to mostly rhododendron.”
So, a quiet and reserved “YESSSSS!” was my response. I soon will have the poster in my possession, which I plan to tape up on the door to my sewing room studio.

While the real life poster should arrive here soon, I was sent this image of the poster by a an observant reader of mine, who saw the poster and sent me a photo of it. If you are up in that area, put it on your calendar — I would love to go to a quilt show that has live music.
![]()
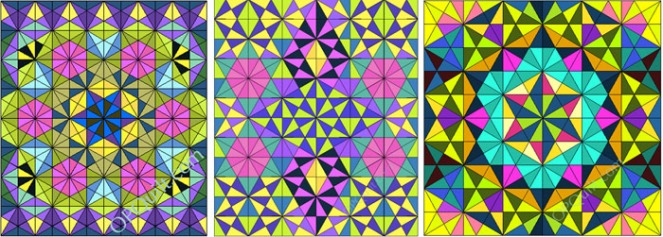
Since we’ve all just finished watching the Olympics in Korea, I thought I would get you prepped up for the Tokyo 2020 Summer Olympics, by showing you their patchwork-like logos. Can we make quilts like this? They are auditioning their mascots now, because no matter where you are in or what you are doing in Japan, there is a mascot for it.
I think we need a quilt mascot.

I made this image in my very first Digital Art Class; the other students thought I was pretty much a nut-case, but I still like Lady Liberty draped in a quilt. But now as we are more international, we need a cute little quilty creature (I vote patchwork with some appliqué) to carry forward our message.
Go to it, you creatives!