Quilts

Keeping the Brain Alive

Yes, my brain is pretty dead after grading a stack of 10-page research papers, but after seeing all the twenty-somethings at school today, I have to say that their brains are pretty dead, too.  We had a hard time stringing words together, but we got through it by watching a video of a David Mamet play (Spanish Prisoner, if you’re interested) to go along with our Drama Unit.

d8b89-christine2527squilt

Christine’s Philadelphia • see original post for more info

So today, while I held my last office hours at school and the internet went out (Panic in the Library!! Panic in the Library!!) I resorted to that old-fashioned entertainment device: a newspaper (having tucked a couple of sections of my New York Times in my bag).  I read from their Education Life issue from April 13th (yeah, I’m a little behind in my reading), about  “Ten Courses with a Twist,” where I found this diagram:

courses-chart-image-tmagSF-v3

This is from a course from Carol S. Dweck of Stanford University whose “groundbreaking research has helped shape current wisdom about success and achievement — that failure and recovering from it are more valuable than sticking with what you already know how to do. Dr. Dweck tells students to tackle something “they have never had the guts to try.”  Her research shows that mind-set is critical at times of transition, and those “with a ‘growth mind-set’ see that struggles can be overcome with effort, strategy and good instruction.”  Hey, if it’s good enough for incoming Stanford freshmen, it’s good enough for me.  By the way, anywhere from 140-200 people try to get in the 16 spots in the class.

Amish Sunshine and Shadow

Why I do bring this all up, especially at the end of the semester when all the teachers/parents/students want to do is find a good beach, a cold drink and go slightly comatose for several hours?  Because after listing to NPR’s report that quilting is good for aging and combating memory loss, I thought could learn something. (LISTEN *here*)

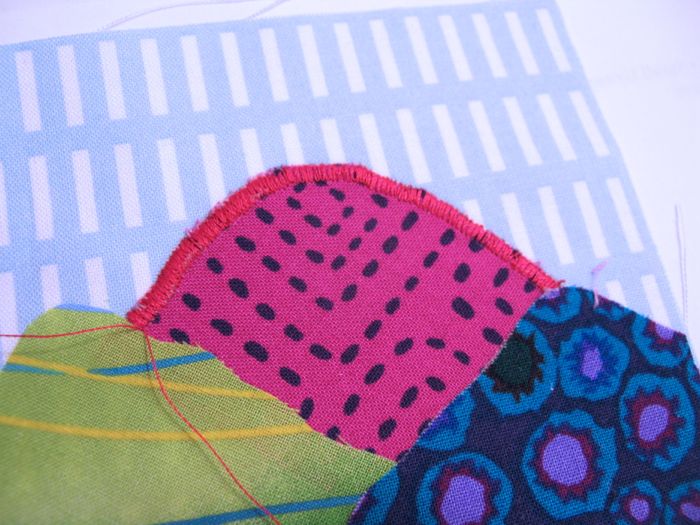
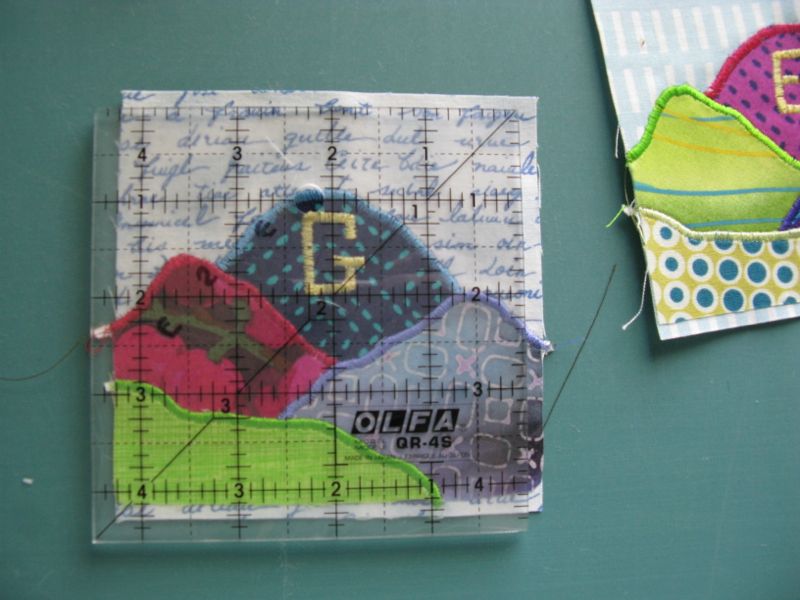
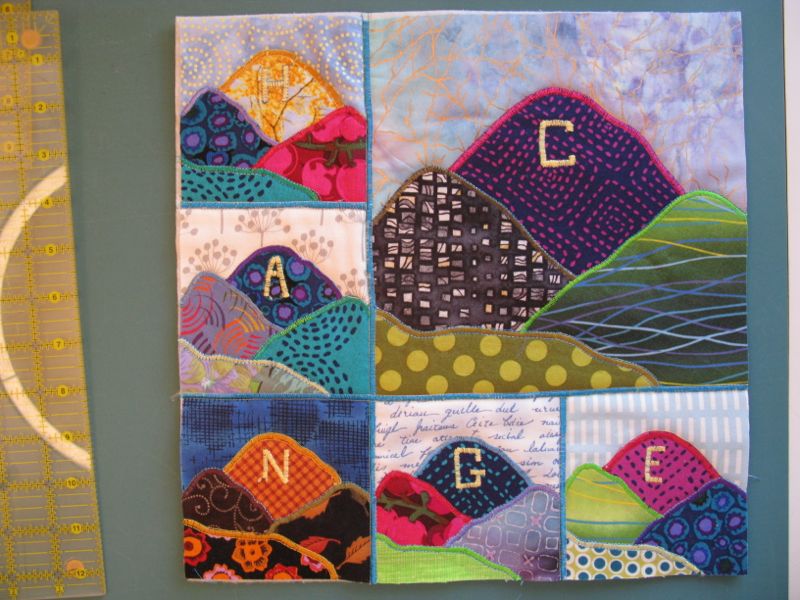
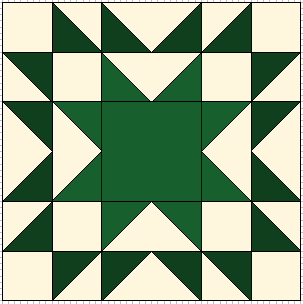
Quilting keeps us on our toes because, as Denise Park, the Neuroscientist who was interviewed said, “people who learned a new skill – quilting, photography – had significant brain gains [in memory] – which held up after a year.”  She continues to say: Quilting might not seem like a mentally challenging task, but try it. If you’re a novice, you’re cutting out all these abstract shapes, you are trying to piece them together in reverse order and manipulate the images. It’s very demanding and complex.”  

And now you know what neuroscientists think about what we do all day.

Memory

So when I’m stuck on a project and it’s giving me fits, I should remember Dweck’s advice and try to cultivate a “growth mind-set” all the while knowing that the manipulation, cutting and sewing my patches is keeping my brain active and healthy.  Or take it from my friend Lisa, who hosts our Summer Quilt Retreats in her home. . .

Lia

Quilting! It’s a Win-Win!

 Now go cut some abstract shapes and piece them together in reverse order.

Quilts

Bee Blocks for May: Angles and Arrows

May 2014 ABL block

Debbie, from the Always Bee Learning Bee, asked us to make giant triangles, following this tutorial from The Modern Quilt Guild.  It was pretty straight forward, but I measured three times before cutting once, just to make sure I was on target.

100 Days Modern Quilting

It was from their series of 100 Days of Modern Quilting, which had all sorts of ideas for blocks and quilts as well as inspirational posts.  On those nights you are tired, but don’t want to sew, you may want to browse through their links.

Different VariationsABL blockThen I played around with them, trying out different arrangements before I sent them off.

MCM May 2014Carla asked for an arrow block because she loved *this quilt*, and wants to make her own.  She has a great tutorial on her blog *here* in case arrows are in your future.  This prompted me to look up Longfellow’s poem, which I present to you in all its glory.  Go and find a song in the heart of a friend today.

The Arrow and the Song
by Henry Wadsworth Longfellow

I shot an arrow into the air,
It fell to earth, I knew not where;
For, so swiftly it flew, the sight
Could not follow it in its flight.
I breathed a song into the air,
It fell to earth, I knew not where;
For who has sight so keen and strong,
That it can follow the flight of song?
Long, long afterward, in an oak
I found the arrow, still unbroke;
And the song, from beginning to end,
I found again in the heart of a friend.

Gene_Kelly_lamppost


Quilts

Elizabeth’s Lollypop Trees, final

Lollypop Trees Quilt_final Front

Elizabeth’s Lollypop Trees
began May 2011 • finished April 2014

Lollypop Trees Quilt_final BackA Kaffee Fassett Lotus Blossom print for the back, and I am finally done.  I know you’ve seen an overabundance of photos of this quilt, so this is just a simple, abbreviated post to say I’m finished.  (Or should I say: I’m FINISHED!!!)

Lollypop All Quilted

Lollypop Tree 1Some time ago, my granddaughter Keagan saw my blocks up on my design wall, and quietly made a picture for me of what she saw. (I think it’s the block in the lower righthand corner of the quilt.)  I love it, so I put it on the label.

Lollypop Trees Quilt_labelQuilt #132 on my 200 Quilts list
73″ square

˚˚˚˚˚˚˚˚˚˚˚˚˚˚˚˚˚˚˚˚˚˚˚˚˚˚˚˚˚˚
This blog software has an excellent search engine box.  If you want to see details about this quilt, type “Lollypop Trees” in the search box to the right, and you’ll get more posts than you know what to do with.  If you have specific questions, feel free to leave a comment and I’ll get back to you.  Thank you to all who cheered me on and kept me going, in spite of days of wondering if I’d ever finish.  It’s very satisfying to see that quilt, to run my fingers over the quilting, and to know that I did it.

That’s three finishes in two weeks.  Now to grade research papers until my brains fall out and my fingers fall off.

Counting Down

 But look!  Only four more days of teaching in this semester!

Quilts

Changes Art Quilt, Deconstructed

Change Art Quilt_front(2)

4-in-art_3

Thursday, May 1st, was the reveal for our second series of Art Quilts.  This year’s theme is Urban, and this quarter’s challenge was Landmark.  And as is my usual, I do a post on how I put it together.

marylin-monroe-in-pop-art-editedMarilyn Monroe, by Andy Warhol was the second step after making list of potential landmarks; I had chosen the hillside letters from a list of six ideas, but how to interpret the idea is always the next challenge. I liked the idea of Warhol’s repetition, and as a commenter on Reddit noted “Warhol does not give us one Marilyn; he gives us twenty-five. Perhaps he wants us to consider our obsession with celebrities, or to suggest that more is always better, especially in the case of a celebrity with an already ubiquitous image.”  Okey-dokey.  I think I just liked the different colorways, and the duplication. Here’s another famous one of his:

Andy-Warhol Soup

Layout Decisions Art Quilt

I thought about two different layouts: one like the Warhol’s Marilyn in a grid of three-over-three, or one where I’d displace some of the repetition with a larger image.

Layout for quilt

Guess which one I chose?  I got out my Steam-A-Seam fusible webbing (it doesn’t gum up the needle too much in machine appliqué), a stack of fabrics from my stash (some are quite ancient), and cut  and cut, and by the time I went to bed that night I had assembled this:

Layered Fabrics Changes Art Quilt

Satin Stitching Changes Art Quilt

The next day, I went back and forth between using a straight stitch to secure the edge or a satin stitch.  I’ve been using satin-stitch appliqué for about half my life, so that won.  It’s my go-to technique when I want that distinct line around my raw-edge pieces and the fusible product holds them in place as I stitch. I dial that stitch length down as far as I can.  I used to stitch using 0.3, but I can only get to 0.5 on this machine.  So I have to “hold it back” a little with pressure from my fingers as I try to get that smooth lay-down of thread. I’ll explain.

Back of Satin Stitching

I have always (ALWAYS) used two pieces of paper underneath my stitching and I *lower the upper tension* on my sewing machine.  I want the bobbin stitches pulled to the underside.  Because I use paper, that’s what I kind of hold onto as I “hold it back.” And by using paper, I also don’t have any buckling of the fabric.  After I finished all my mountains, I stitched my hillside letters.

Back of quilt block

It’s really easy to rip that paper off after you are finished. This is what it looks like after the paper is removed. Look Ma! no buckling of the fabric! (I’m not kidding–use two sheets of paper–it works like a charm.)

Appliqued Blocks

After all the blocks are all satin-stitched (and paper removed), I trim them down.  I had decided I didn’t want to seam them, but instead butt them together, as I didn’t want that heavy ridge line that a seam would bring (all those layers!).

Trimming Blocks

After I trimmed, I cut small strips of interfacing 1″ wide and laid the blocks side by side, fusing them onto the strip.  (I did have a photo, but it was too blurry.)  I assembled the quilt in units:  (first) the three minis below the larger block, then (second) the two minis to the side of the larger block.  Then (third) I attached the two side minis to the large mountain image, and fused those together.  Then (last) I added on the lower three minis.  Hope you are following all this.

Assembling Changes Art Quilt

I then satin-stitched the raw edges, using a slightly larger width (about a 3.5) to cover the seams.  I layered it up with a backing and some batting, and then went to town quilting it.

Outlined Satin Stitching

I decided to quilt it by emphasizing the satin-stitching; I straight stitched on either side of that.  Sometimes I’d use matching thread, sometimes I wouldn’t.  I also lowered the upper tension for this step, but not as much as I did when I was doing the satin-stitching.  I was happier when I had some King Tut thread to outline my satin-stitching (it’s a bit weightier thread and shows up better).

Outlined letter H

I also stitched around the H, as it just disappears into that autumn-colored mountain.

Quilted and Trimmed Art Quilt

Here it is, quilted and trimmed.  I used my preferred binding, of a strip 2″ wide, folded in half (this *post* tells how), as I like that look.

Change Art Quilt_back

I made the usual triangle pockets in the corners for hanging, then attached the label.

Change Art Quilt_front

Thanks for enjoying our little art show yesterday, of all the Four-in-Art Quilters.  As per my usual (and I hear others in our group do the same thing!), I procrastinate too long, letting other chores, correspondence, phone calls and the usual detritus of life take up the space I need for creativity.  The deadline gets me focused again, and I’m pretty happy to have this little quilt at the end of it all.

˚˚˚˚˚˚˚˚˚˚˚˚˚˚˚˚˚˚˚˚˚˚˚˚˚˚˚˚˚˚˚˚˚˚˚˚˚˚˚˚

Mountain
Sketch of Mountain

If you want to make yourself a little mountain quilt, with your own set of letters, here’s a jpeg of the mountain, which should measure 4″ when printed.  Enlarge it 200% for the bigger mountain so it’s double that, or 8″.  This idea and technique can be used for any simple sketch: a baby’s hand, a simplified portrait, a household object (like Warhol’s Campbell’s Soup Cans?).  Let your creativity lead you where it will, and if you do make a similar art quilt, drop me a note and let me know!


Our next Four-In-Art reveal is August 1st.