I’ve been haunting the IG feed #ohchristmastreeqal and love seeing all the progress of where the trees are and how things are coming along. We’ll finish this tree up in no time flat, but I think I’d like to keep sticking to the schedule (below).
 We also have a giveaway at the end of this post, so please read all the way through, and then follow the steps to enter.
First up, this post is co-authored by Wendy of Wendy’s Quilts and More (blog) and wendyquiltsandmore (IG). Wendy has been a great partner in this Oh Christmas Tree QAL. Because she is about 4 months ahead of us, and I can send her different questions and she is unfailingly helpful. I asked her if we could use a lot of her photos for this particular post about the flowers, and she was happy to allow me to post them, so get ready for a photo-heavy post.
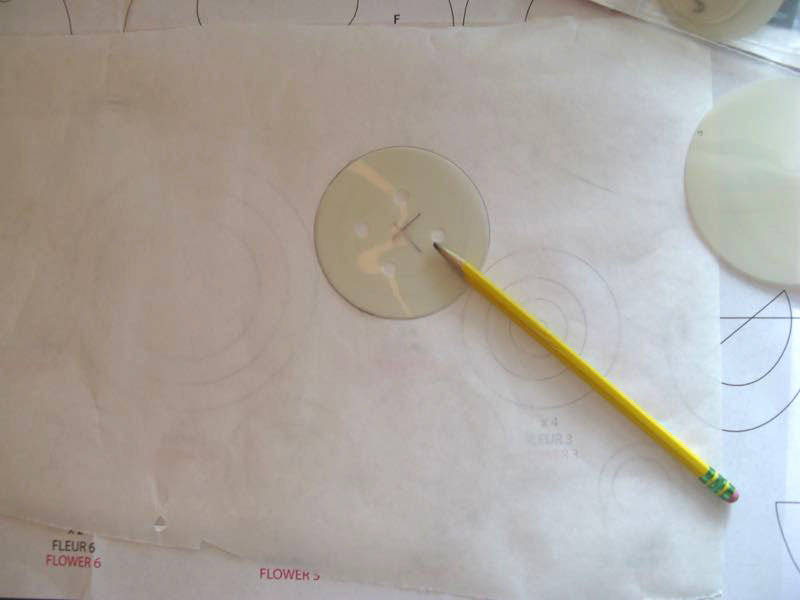
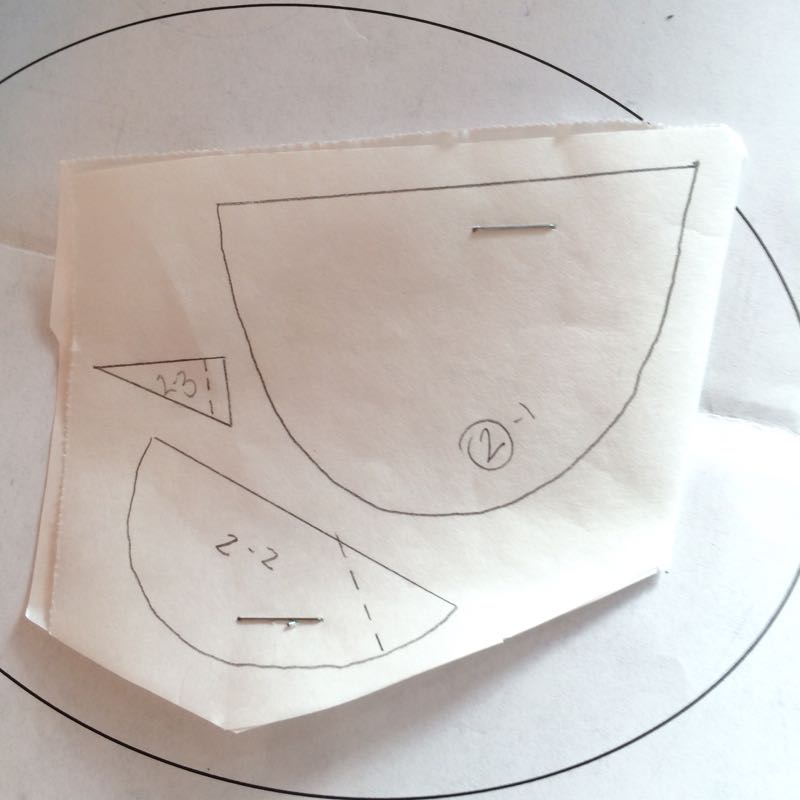
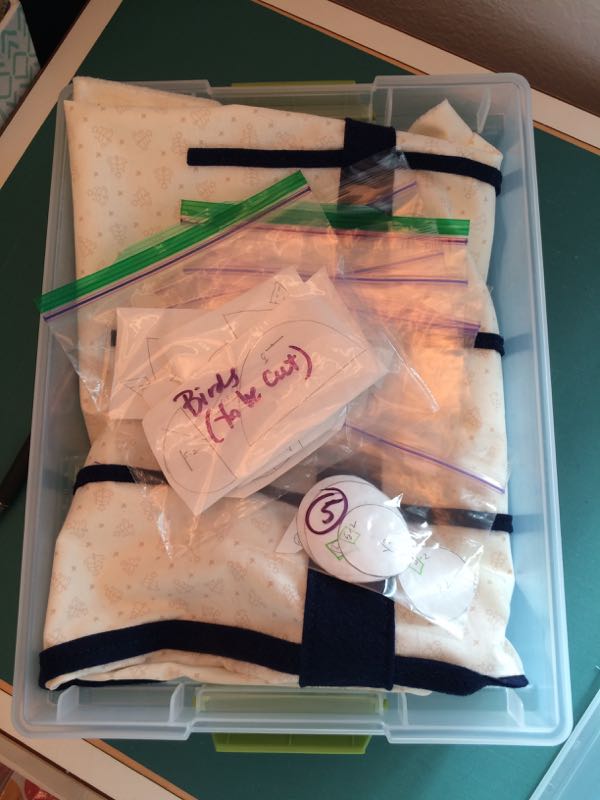
This month is the flowers. The basic idea is to layer up felt circles, or use a piece of medallion-style fabric appliquéd to a felt circle, then embellish it with embroidery stitches, using pearl cotton. I originally started cutting out a lot of circles, from the prepped up freezer paper circles in my numbered baggies (see previous Oh Christmas Tree QAL post on tab above), but realized that it might be better to be more of a one-by-one process. So let’s do one circle and you’ll see what I mean.

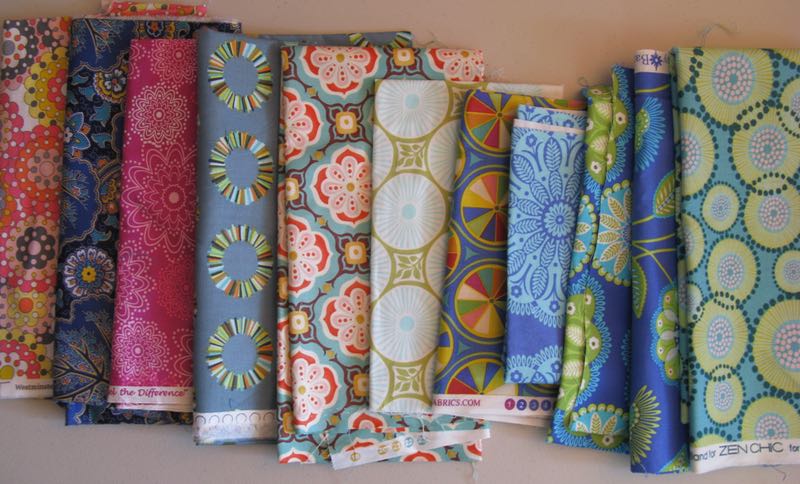
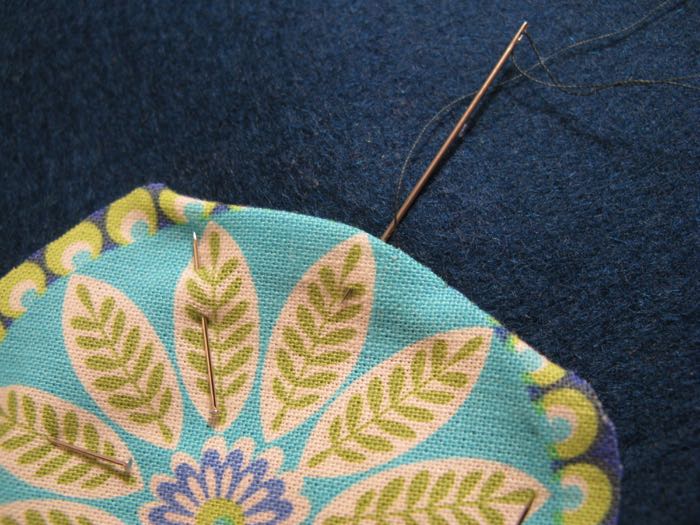
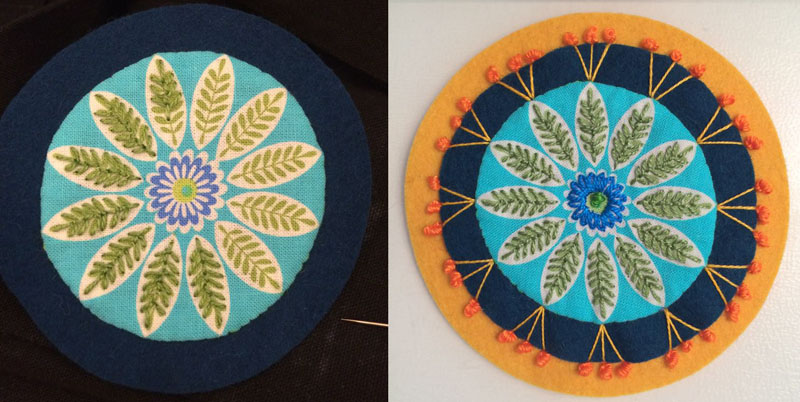
I cut out a medallion print (meaning that it’s a design that is self-contained in a circle), and pinched the edge under all the way around the outside, to set the edge for turning under (a Becky Goldsmith tip for appliqué). Here are some examples of medallion fabrics, from Wendy:


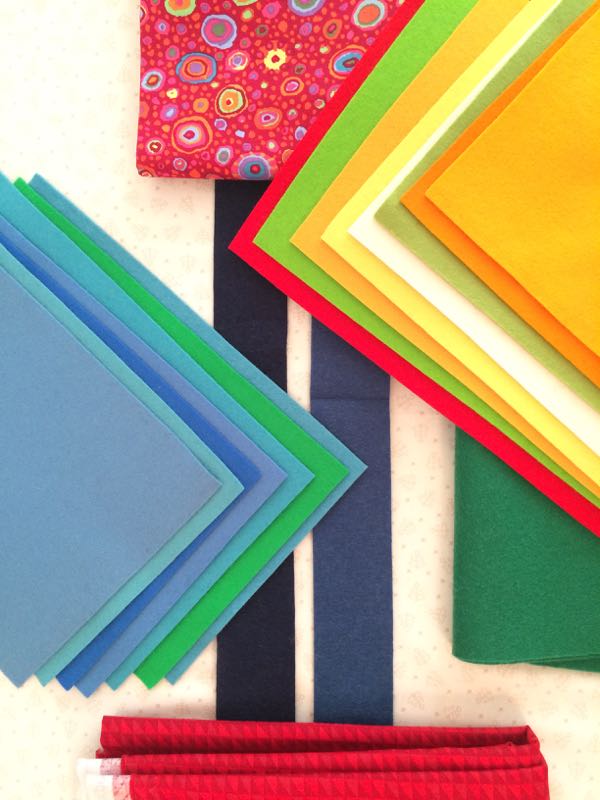
And here are some of mine (above). After writing back and forth with Wendy, I went through all my fabric stash and found even more than this. It’s surprising how many I’d overlooked. We do have some the same. Okay, back to the stitching.
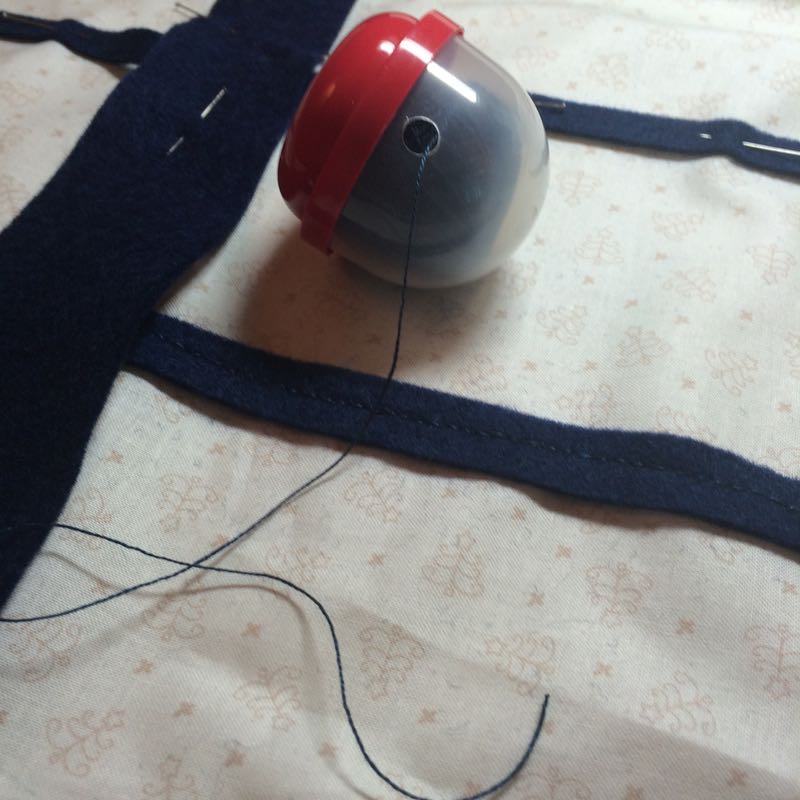
Placing the circle on a larger piece of felt, I sewed down the edge, stitch by stitch, scooping the raw edge under with my needle, sometimes swishing the needle tip left and right under that edge if there was a tuck/sharp point (above). Often it’s what’s happening underneath that bumpy edge which determines the smoothness of your appliqué, so pay attention to what your seam allowances are doing, even trimming them further to a scant 1/4″ inch if you need to. I also try to have my needle come out the “center” of that folded edge, not on the top. That way the stitches won’t be too obvious, and then I don’t pull it too tightly. I want my circle to float.

As I mentioned, I am appliquéing this medallion to a larger piece of felt. Wendy picked up this tip from Wendy Williams, the author of this pattern (and found on IG at Flying Fish Kits–also a resource for stitching ideas), and this tip is also found in Williams’ book, Wild Blooms and Colorful Creatures.

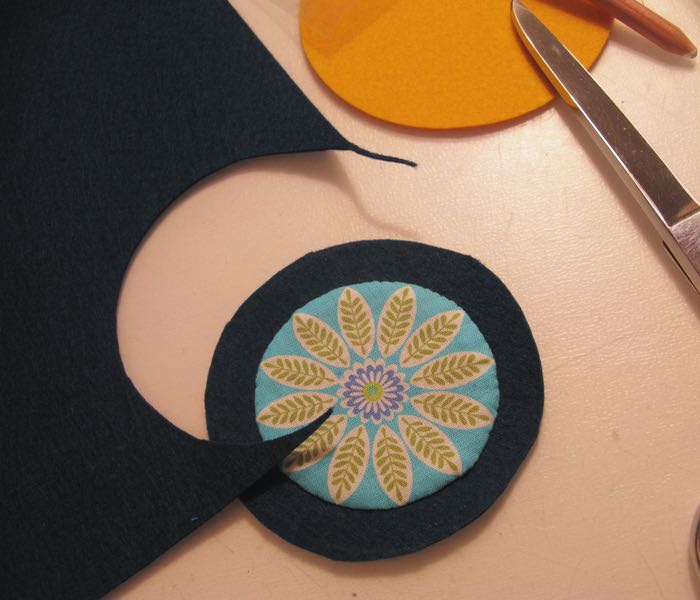
Then just cut around the circle evenly, and you have your first completed appliquéd medallion. Wendy of Quilts and More recommends a medium-blade scissor (although I used a lightweight pair of larger shears, shown in the photo, but they are SHARP). Her scissors are below:

She writes “Once the fabric flowers are on, Wendy just cuts the felt circle free hand, keeping an even margin around the fabric. She says it’s meant to look hand made, and the circle doesn’t need to be perfect. Keep the scissors in the same position and turn the felt with the other hand, rather than cutting around corners. Use very sharp scissors with medium length blades. Not tiny embroidery scissors, not huge dress making scissors. I use the orange ones in this photo.”

Layer it up, and save it for a good TV program (Wendy of Quilts and More has a great shot of herself stitching while she watched a cricket match) when you can stitch away. This is circle #1, and is the largest circle of the bunch.

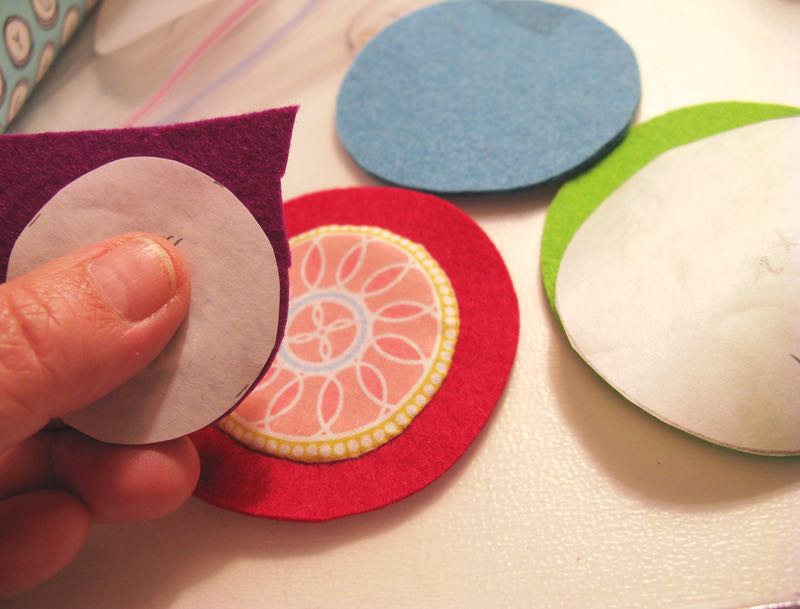
Next up is my auditioning another fabric medallion against several colors of wool felt. I added more info about where to buy wool felt to the original “Prepare” post, and yes, you can mix the felted wools and the wool felt, without any Quilt Police coming after you, if you want to purchase some. I am using Kaye Buckley’s scissors, which have one serrated edge that grips the fabric and helps me trim them evenly. 

Being the Nervous Nelly that I am (it took me weeks to screw up the courage to start the flowers), I layered the circle over one of the smaller appliquéd flowers to kind of get the size I needed, then cut halfway around. I took off the freezer paper, and finished up the job.
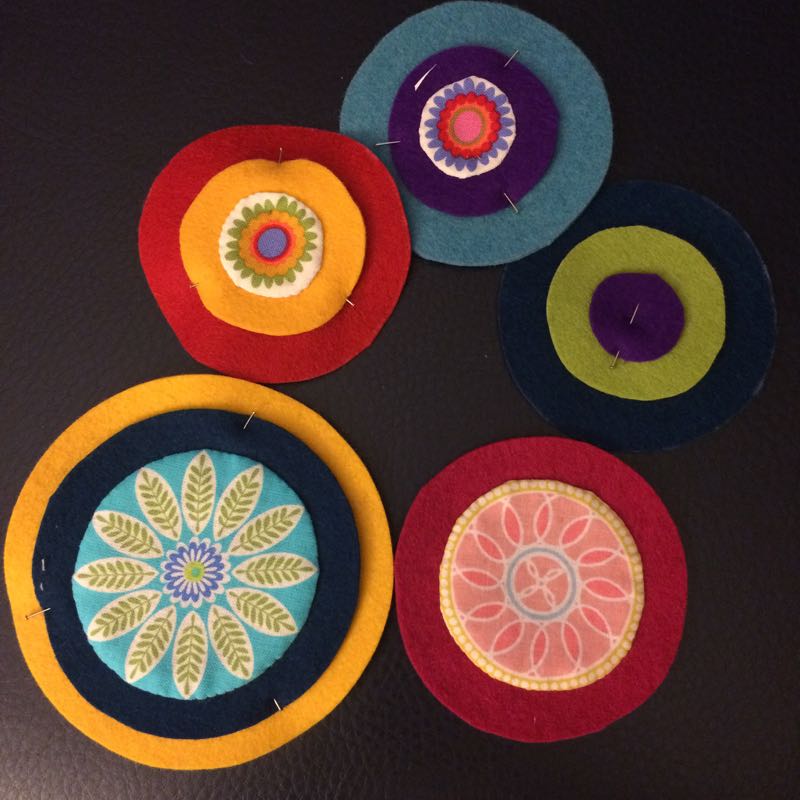
So here is my first batch of prepped-up circles; some have fabric and one doesn’t.

To make my life easy, I pulled out my Sue Spargo book and leafed through some ideas. 
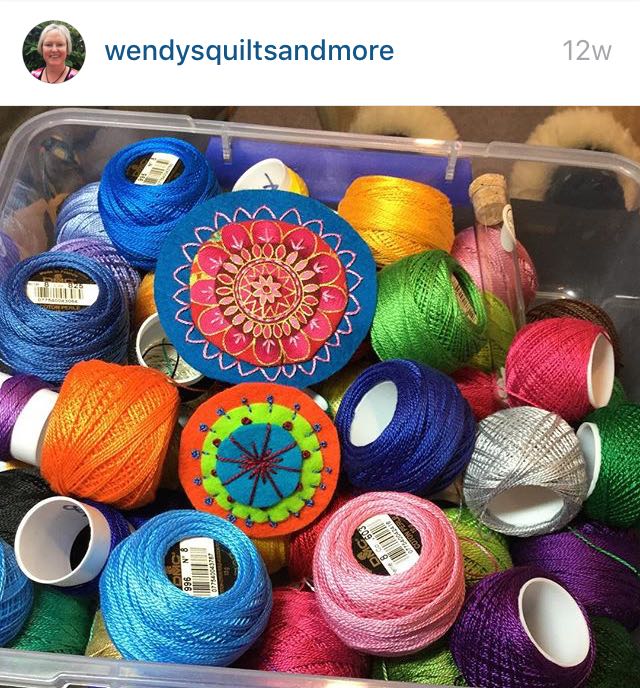
I’m using two weights of pearl cotton: size 12 (recommended) and size 5 (larger, more visible).

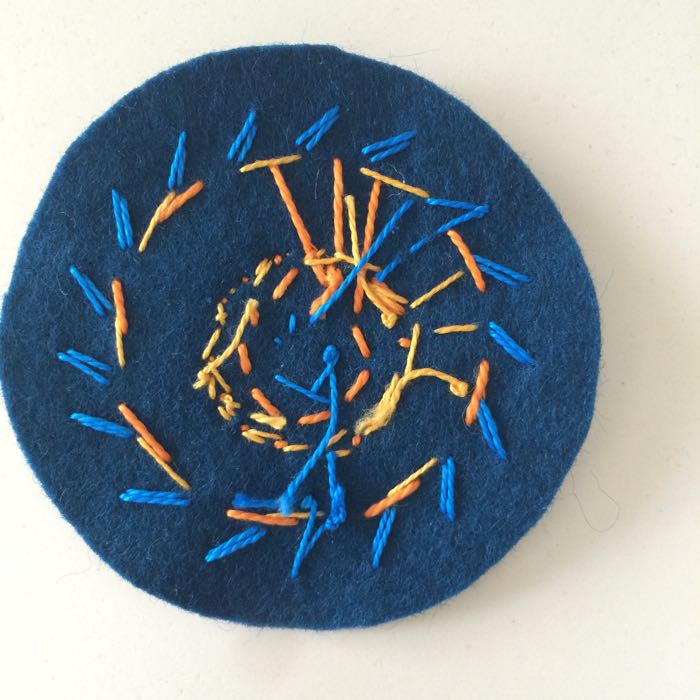
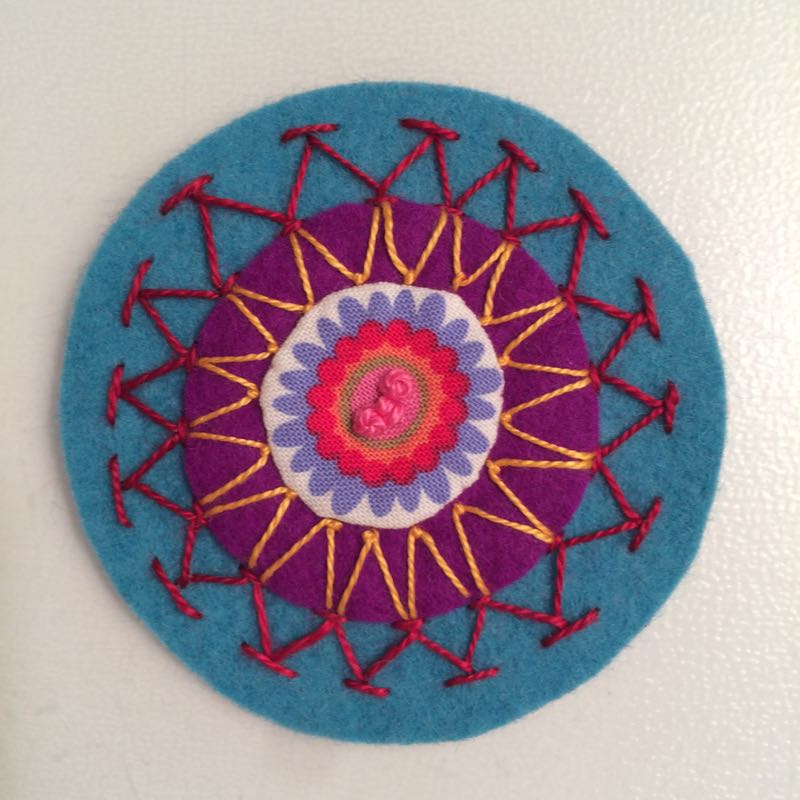
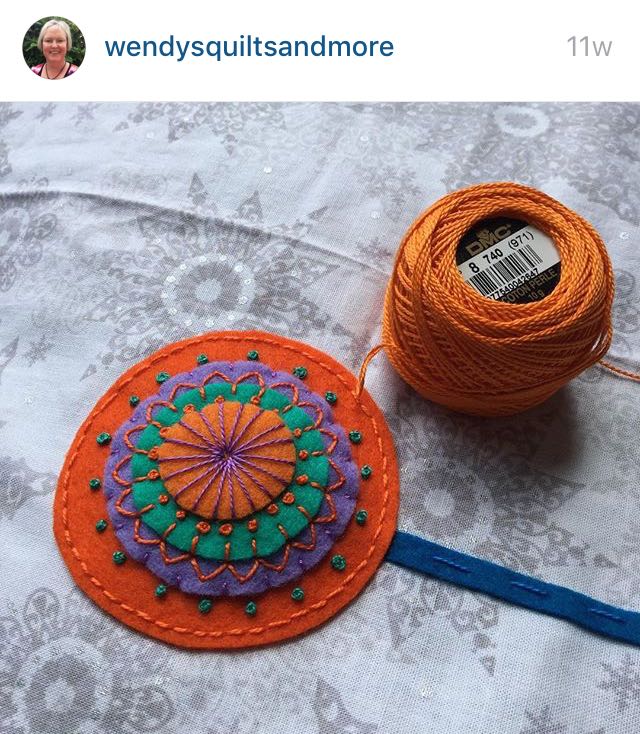
I am using wool appliqué size #22 needles, which have a nice big eye and a sharp point and aren’t too long. Then I pulled up Wendy’s IG feed (all the photos below) and got a few more ideas, then just put my needle in the center and began.  I happened to think about what I wanted to do and decided to stitch them all layered up like this. However, you may, on some circles, choose to embroider one circle, then add it to the next. I was still trying to gather my courage when I began this, so stabbed my needles into the center of the magenta circle, close to the edge and ran the orange #5 thread all the way out to the edge of the yellow-green circle, working my way around. Then, I took a small catch stitch over each of those “rays,” close to the outer edge of the magenta circle.
I switched to the thinner #8 thread and did straight stitches in between the others, then went back and added the yellow French knots at the top of each of those “rays.” I threaded on the blue thread, and did a few more French knots (odd number) in the center, not really caring how they landed, as I wanted a clustery look to them. Then I did an open Laisy-Daisy stitch on the outside, creating a row of “petals” with my thread.

Truth-in-Stitching: the back.

Here’s another. On the left, the beginning. You can see on this flower, I chose to echo the print of the center fabric. I am doing the first layer of felt by itself. I then layered it onto the second (gold) layer and kept stitching. This is the biggest flower, destined for the top of the tree, so I wanted something bright, yet echoed the colors throughout.

Again, here they are, unadorned.

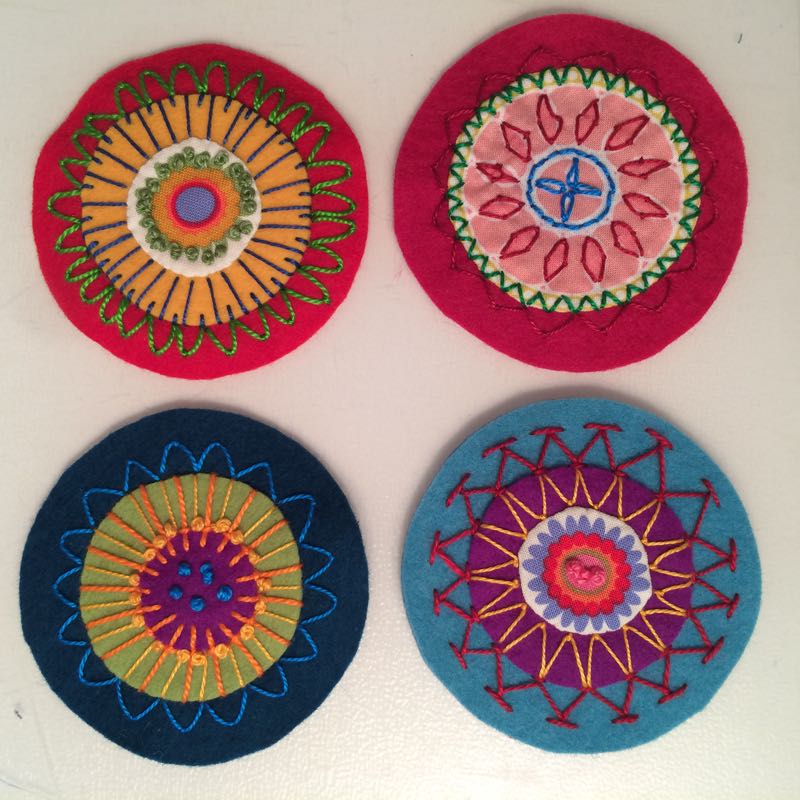
After a couple episodes of Downton Abbey, they are embellished. I wrote to Wendy and asked her how long they took her to stitch (hence that hashtag on IG of #startyourneedles), and she replied that she can get two done in an evening. That’s about my speed, although I think I as get more familiar with stitches, I’ll be faster. Pay attention to your pearl cotton/felt colors. I loved the fabric in the pink one, upper right, but after I stitched it? Not so much. Either I’ll put that one where it’s not really noticed, or stitch another. I also started with the bigger circles; I’m sure the smaller ones will go faster.

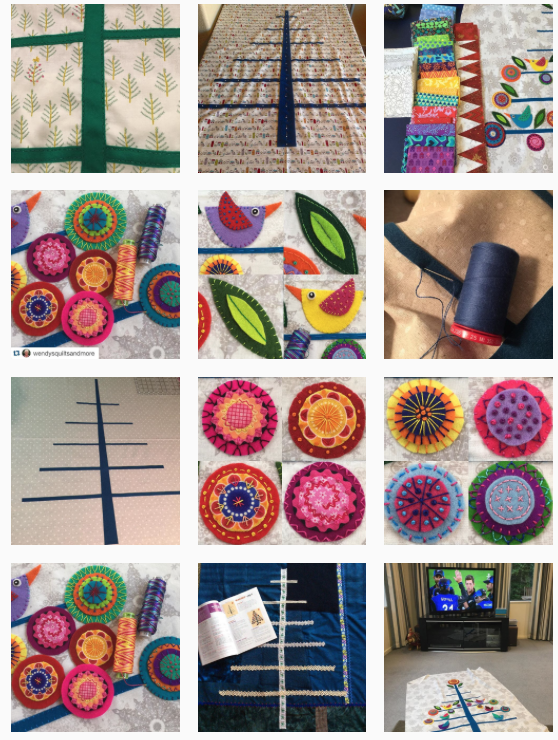
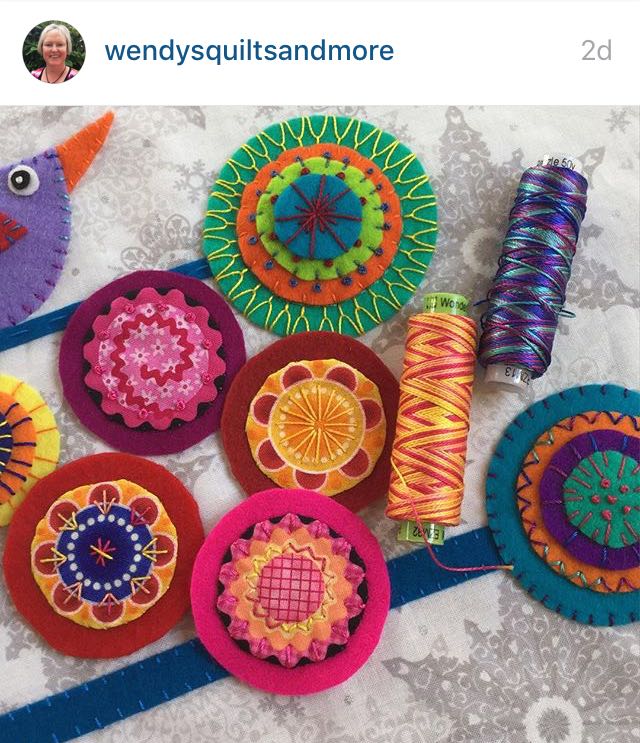
Okay, now for the photo gallery from Wendy:


You can see Wendy has a great variety of stitches, and uses the appliquéd fabrics to great effect.
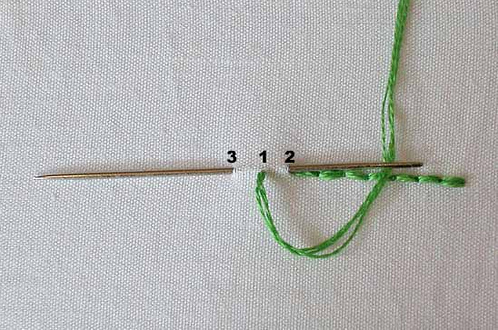
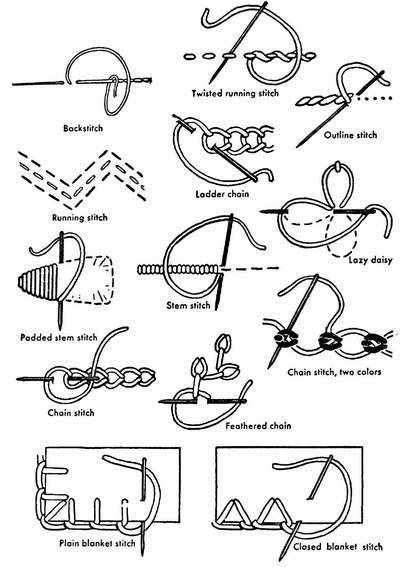
I searched “embroidery stitches” on Google Image and came up with tons, including these two:

A recap of where we are:
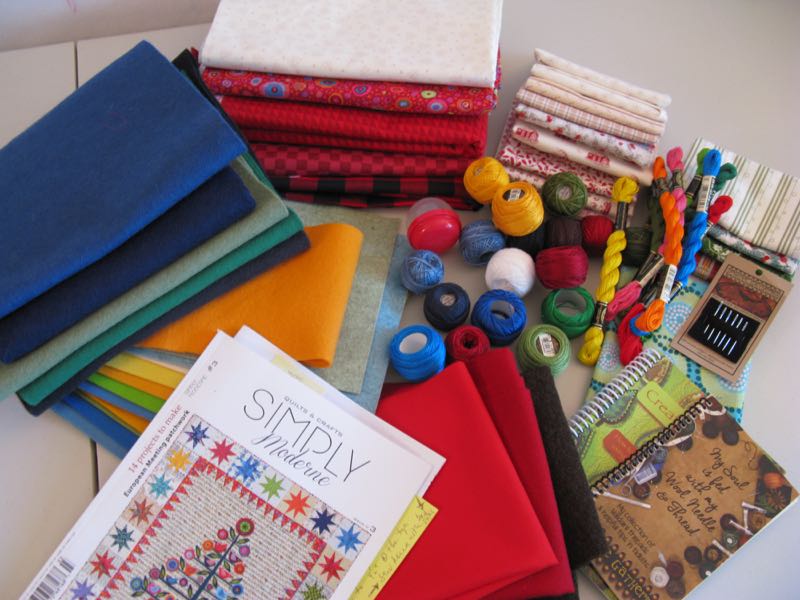
January, Step “prepare”: buy the magazine, books, gather your fabrics, buy the felt/wool, buy/find the pearl cotton.
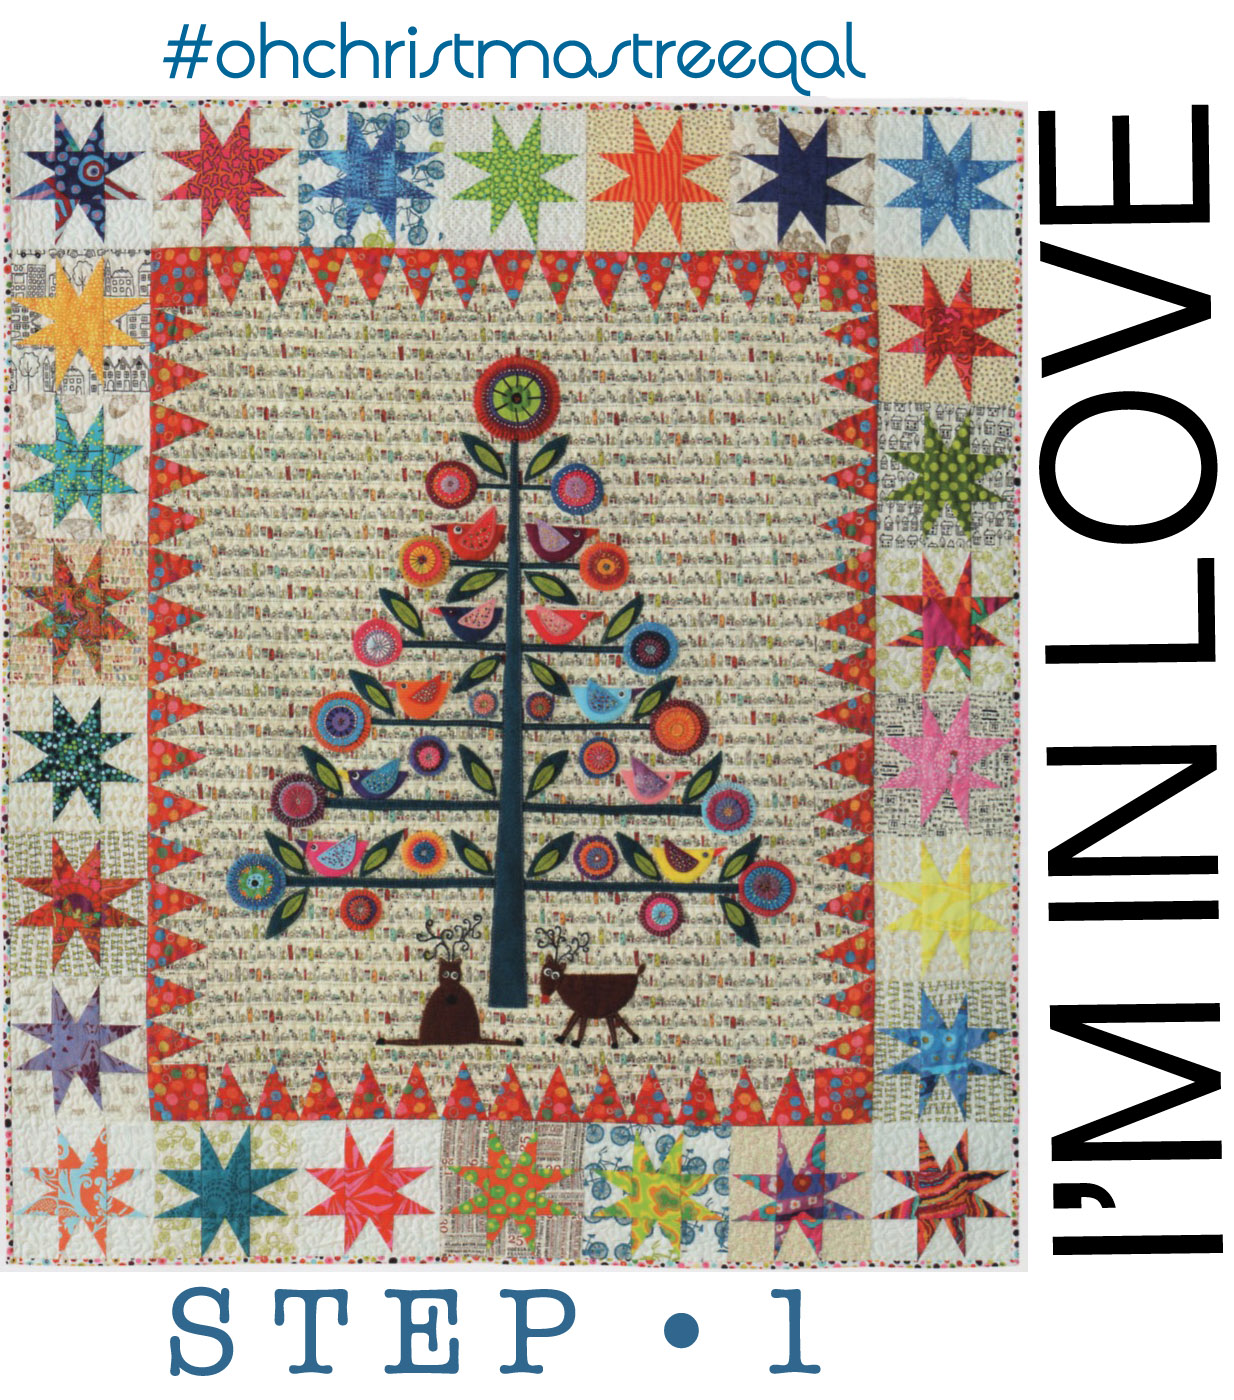
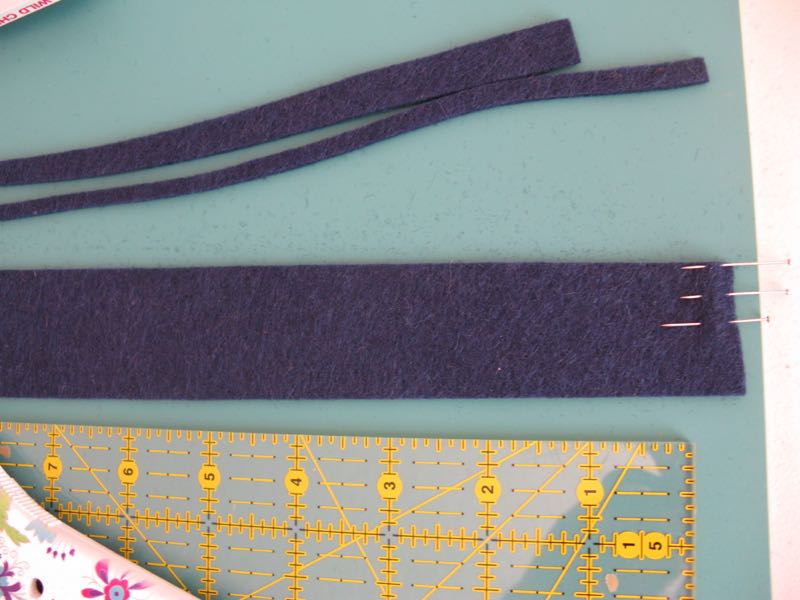
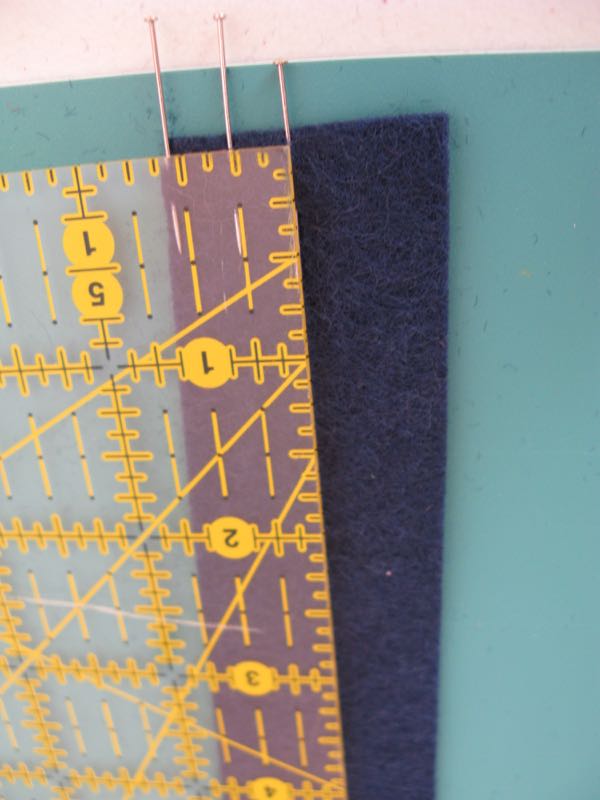
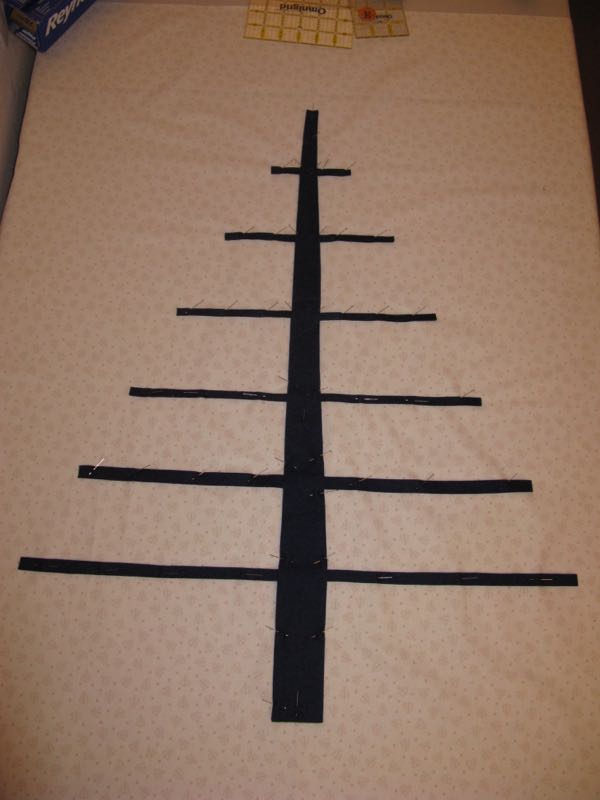
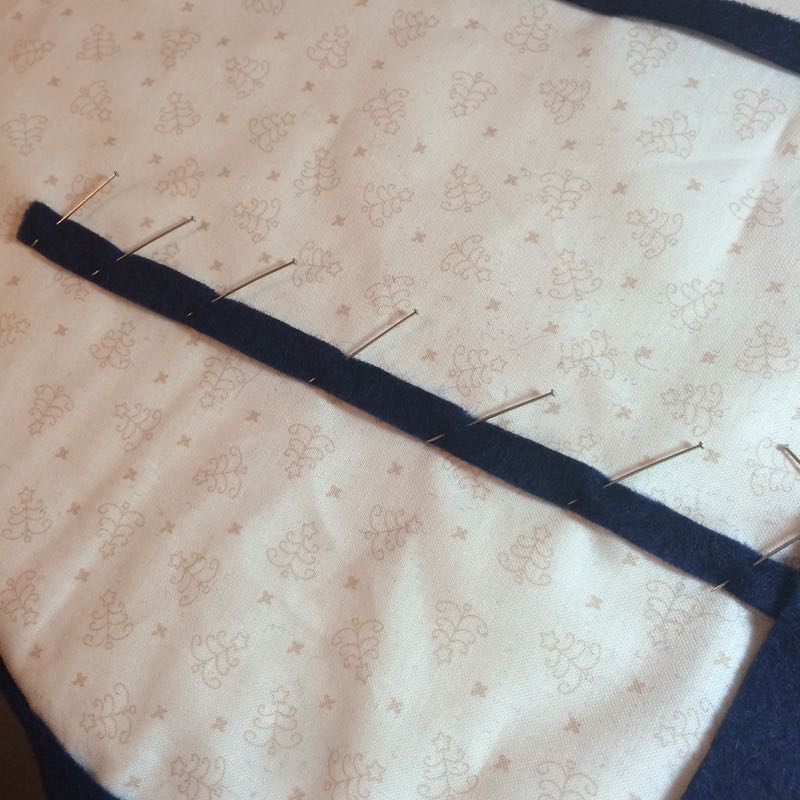
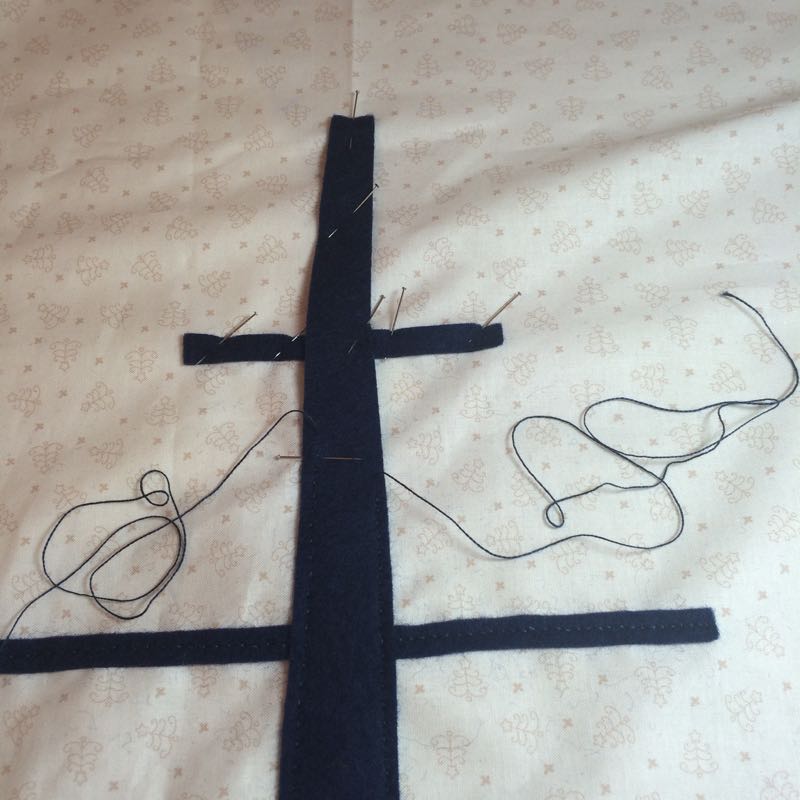
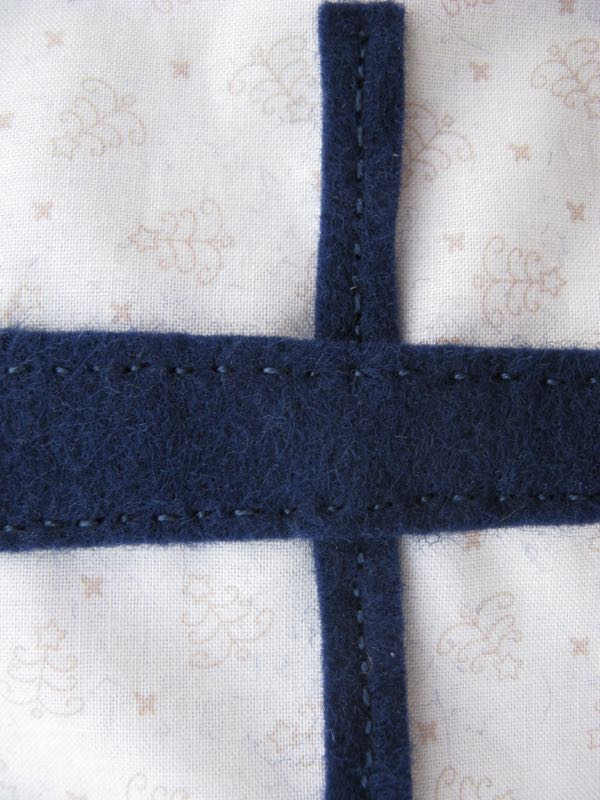
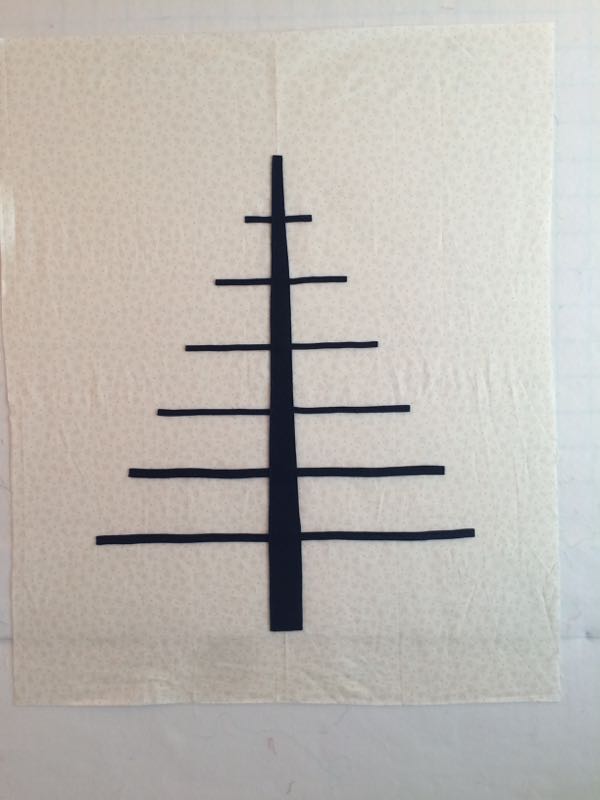
February, Step 1: Make the tree on the background and stitch it down.
March, Step 2: Make 21 flowers.
—-> I just have to make a comment here. We have until June to get our flowers done, as well as the birds (which will go really fast because we’ll be so experienced, right?) So no panicking, please. Just #startyourneedles, steadily stitching and by the time it comes to stitch down the flowers, you’ll be ready.
April, Step 3: Make 10 birds.
May, Step 4: Scene at bottom of tree.
June, Step 5: Appliqué down the flowers. (Wendy gave me some tips for this last week, which I’ll pass along.)
July, Step 6: Appliqué down the birds and the scene.
August, Step 7: Sawtooth border (reds); sew together and attach.
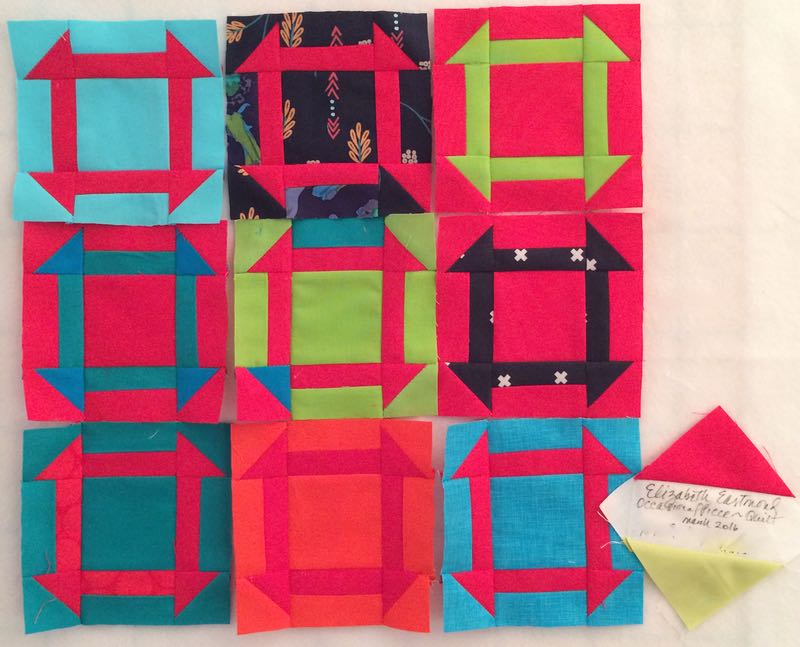
September, Step 8 (finish up Quilt-A-Long): Make wonky star blocks, sew them together and attach border #2.
See you April 2nd for the next step: birds. I have a few tips on these, too, courtesy of Wendy. You’ll enjoy visiting both her website and her IG feed for great ideas and to see a master quilter and stitcher at work, and take a look at how far she is on her tree. Inspiration! Thank you, Wendy, for all your help.
Reminder: If you tag your IG photos with #ohchristmastreeqal, we can all help each other out with ideas for stitching, plus it’s just fun to see what you are all doing!
Here we go. I have two giveaways, and I’ll choose the winners from comments here.
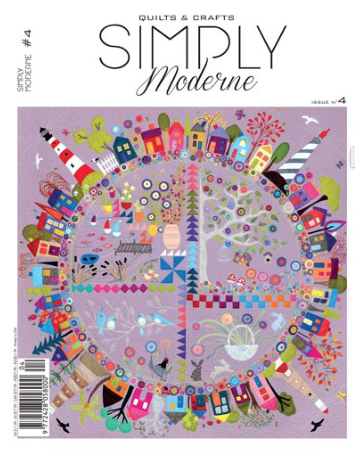
 First is another magazine, if you know someone who wants to jump in, or doesn’t have their own copy. It’s courtesy of QuiltMania, who gave it to me at QuiltCon, when I explained what we were doing. I’m sure if you wanted to subscribe, they wouldn’t mind a bit, or order the Simply Moderne #4, if you want another eye-popping design (way below).
Second giveaway is an envelope full of fabric medallions, my choice (I’ll cut from my extensive stash of medallions). You can use some, share some. There will be at least a dozen to help you get going on your stitching.
I’ll announce the two winners on Friday. Indicate in your comment which you are most interested in: Simply Moderne #3 magazine (with our tree on it) or medallions. Yea, you have to choose.
UPDATE: Comments closed. Winner announced tomorrow mid-morning.
#startyourneedles for the #ohchristmastreeqal
See you April 2nd for Step Three!

Of course you want to subscribe! (I’m an enabler, for sure)