You knew this was coming, right? After you saw that last post about squircles, I’ll bet you knew I’d go hunting and fall down a rabbit hole. You are very perceptive.
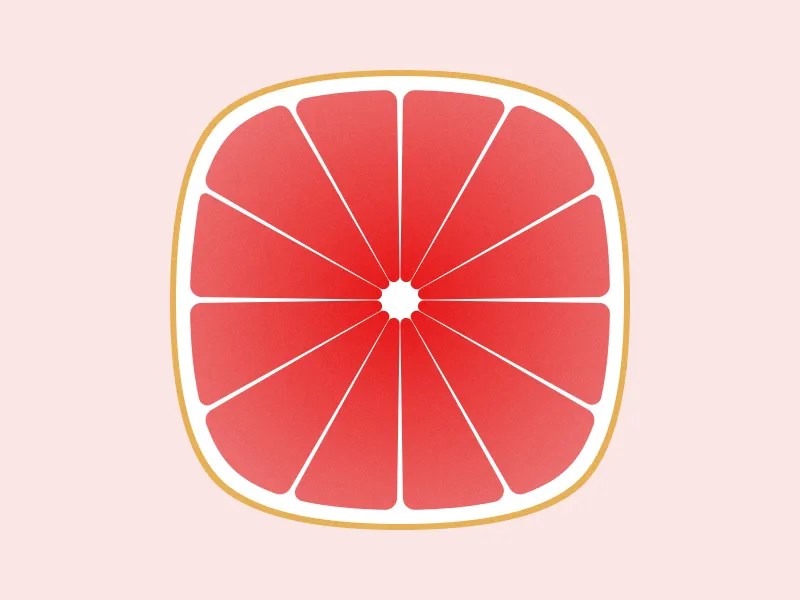
This is a squircle grapefruit from designer Tai Tan. I found it on Dribble, which is also a website I didn’t know about before.
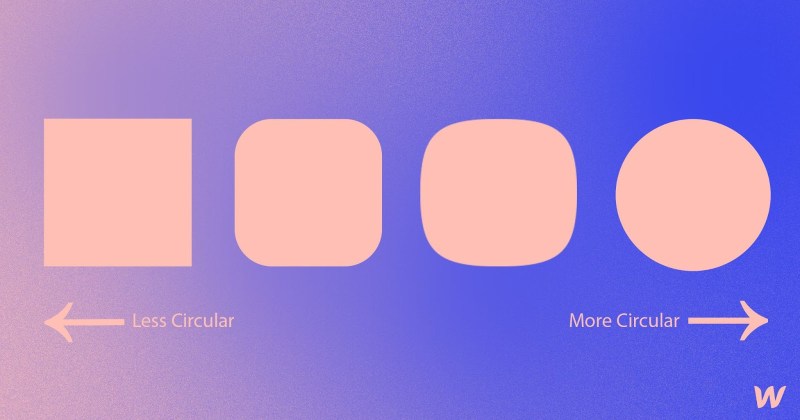
A squircle is not a rounded square, apparently. There is some design technique that can explain it, and it has to do with the flat edges. In a rounded square there are flat edges. In a squircle, they may LOOK flat, but they are every-so-slightly rounded (from here).
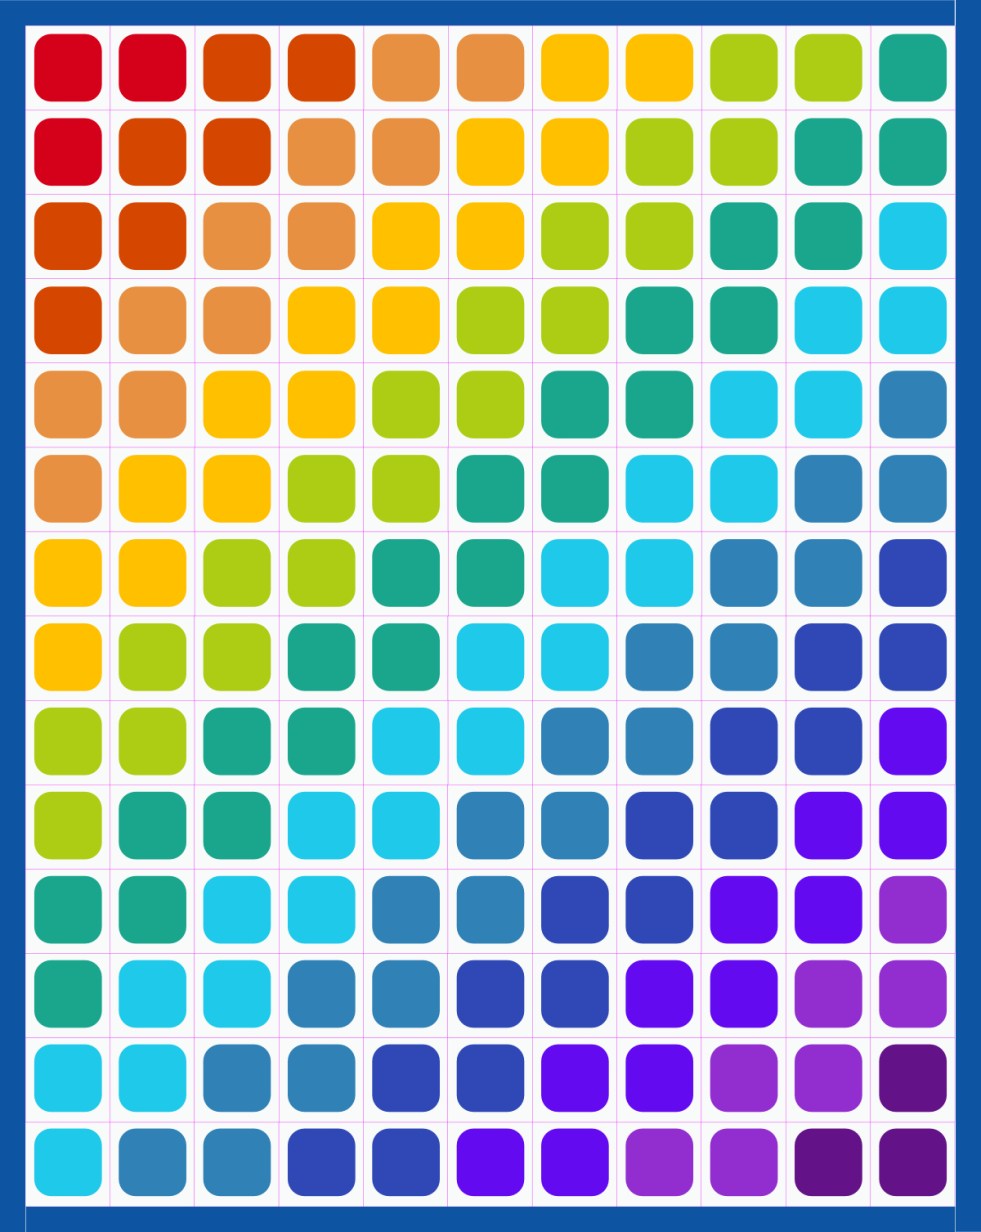
John Uttley also has a nice grid of squircles to admire, and here’s more to see if you want.
Lisa, my quilty friend in the previous post, was as happy as I was with these quilts, so we thought we cook up a project. It went like this:
1st idea: make blocks and swap
2nd idea: swap backgrounds but still do your own appliqué
3rd idea: set up a challenge to do *so many* each month, and check in with each other.
Third time’s the charm. We’re doing a Squircle Challenge. So I went looking and besides the designers, I found some quilters:

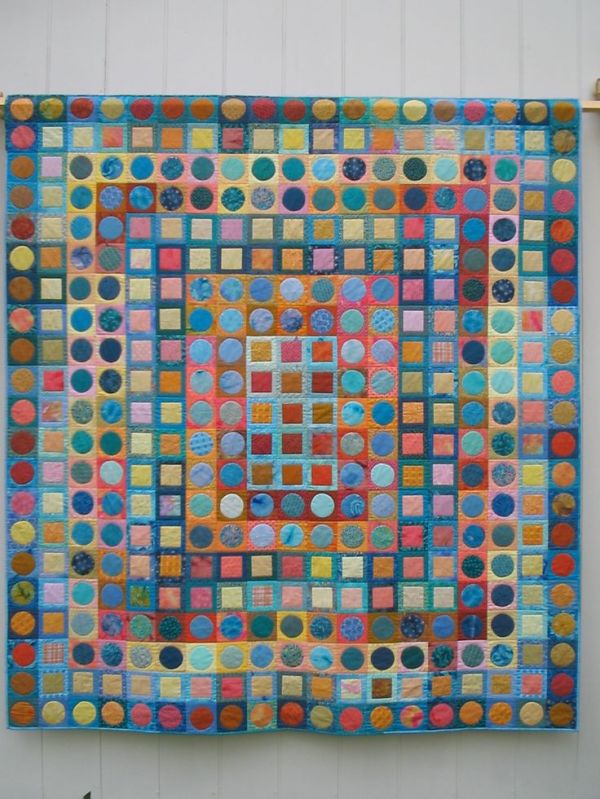
Marla Varner’s blog, Penny Lane, feels like the OG.
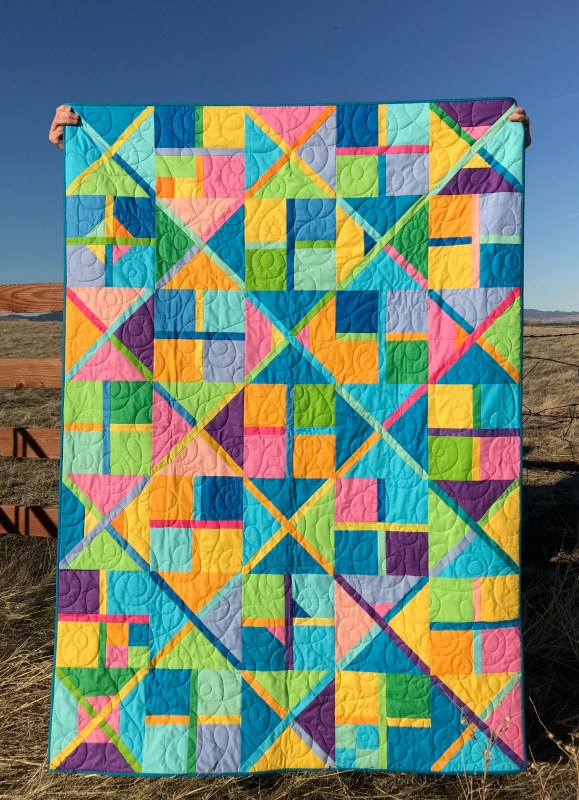
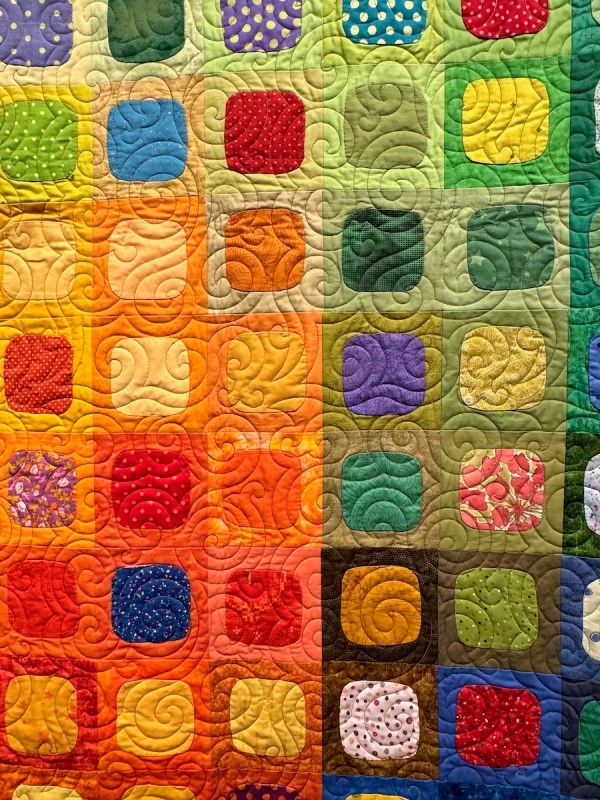
I did an image search and was able to source this image to Zippy Quilts, my friend Mary’s blog. This quilt alternated squares on squares, and squircles on squares. It was made by Carolyn Brown.
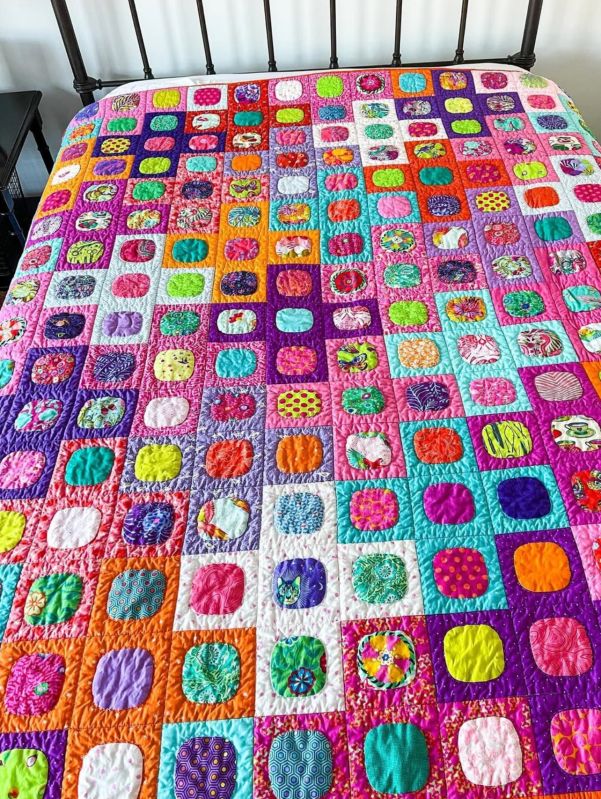
This is from the Instagram feed of laurispringer.
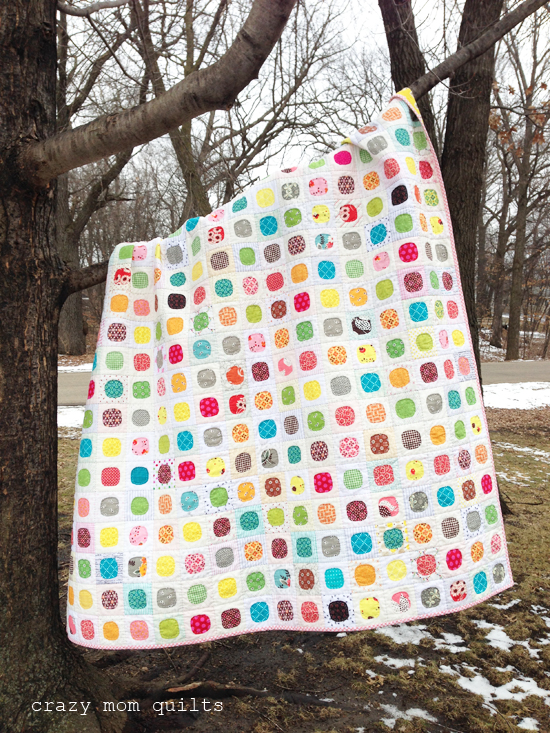
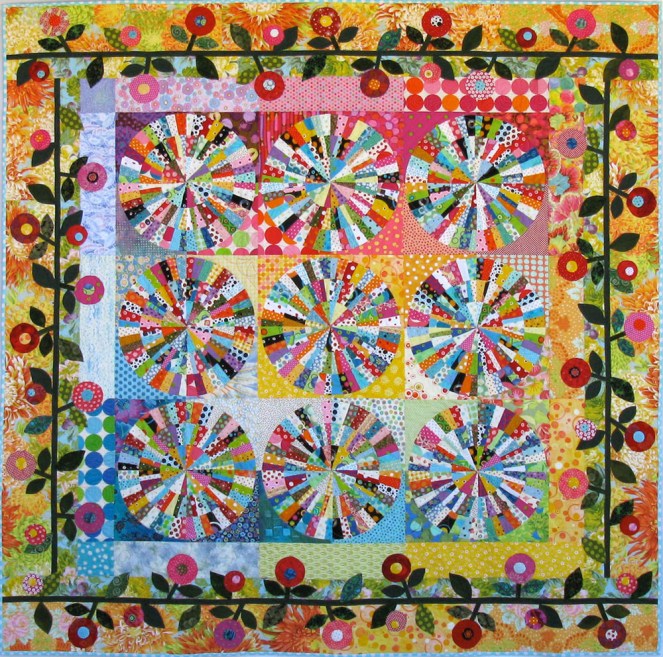
Last quilt I found was from Amanda Jean Nyberg’s website, and she calls it “dot your i’s quilt.” This is different because of the low-value backgrounds.
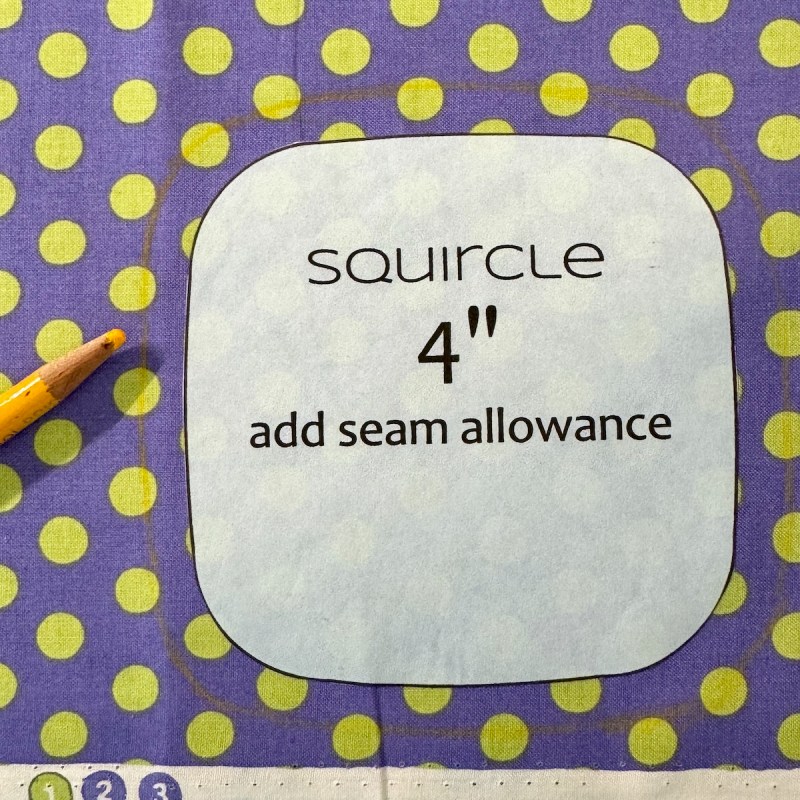
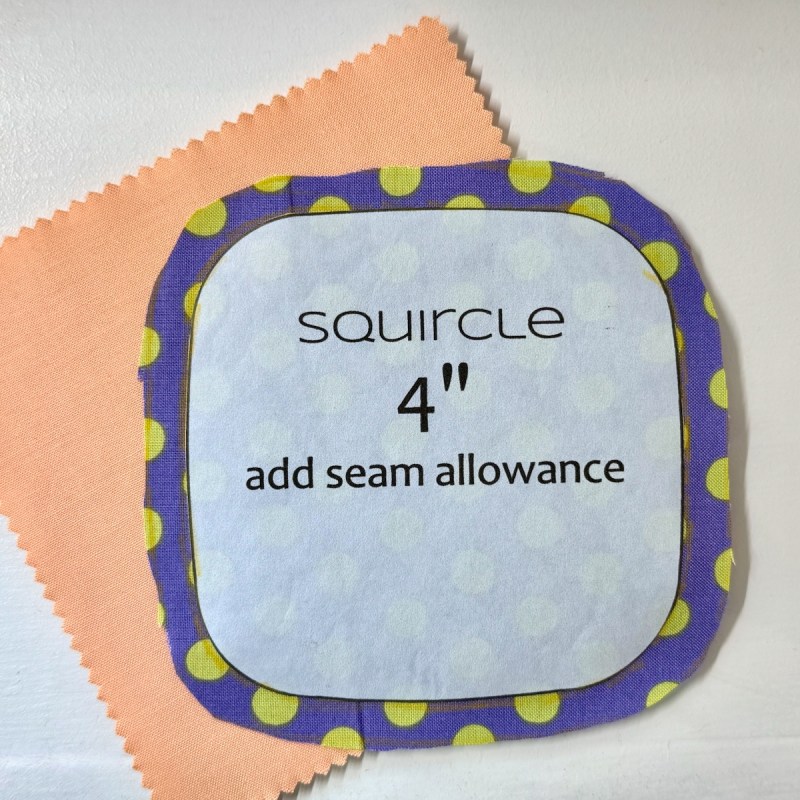
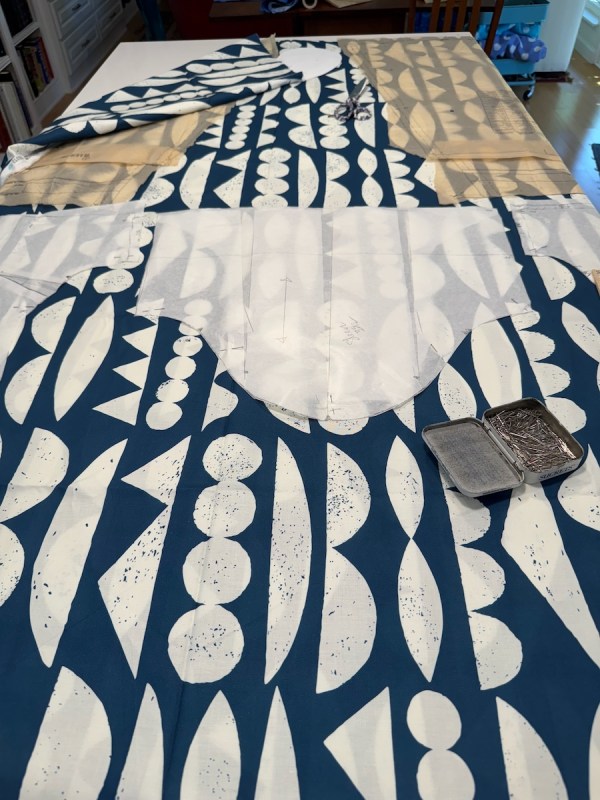
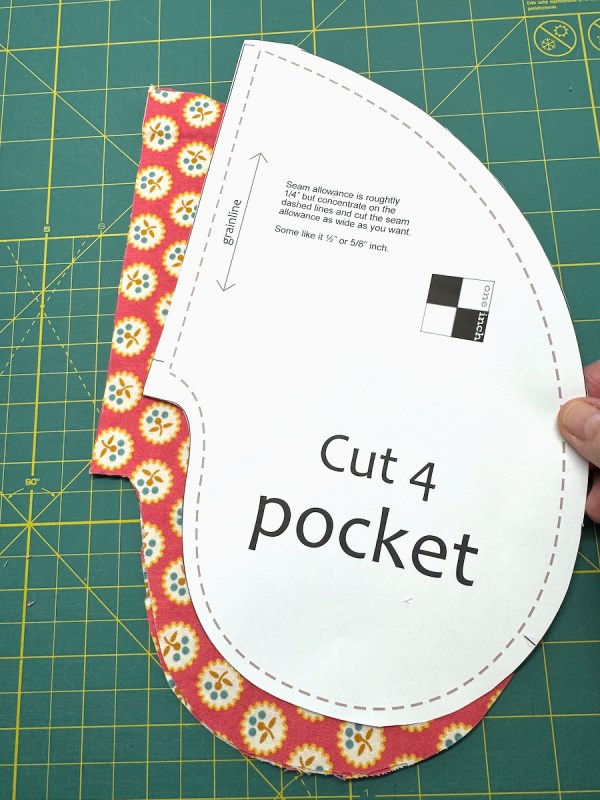
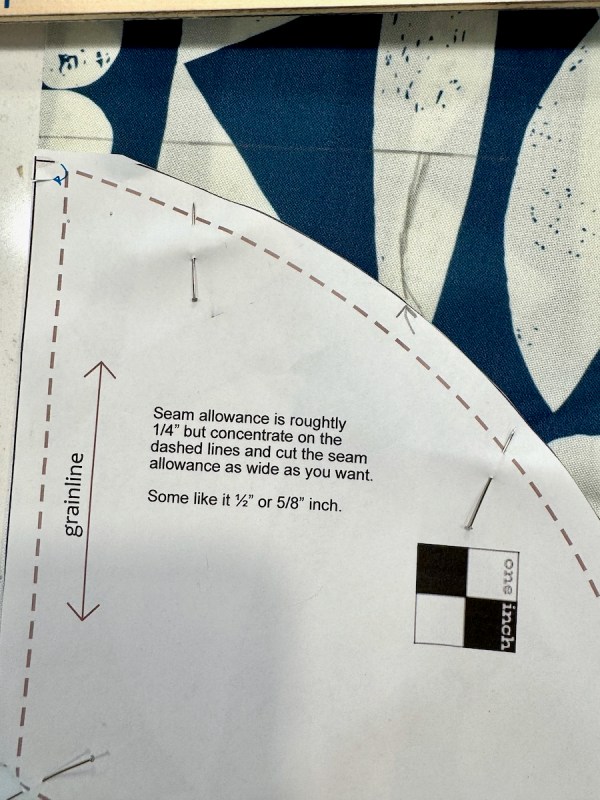
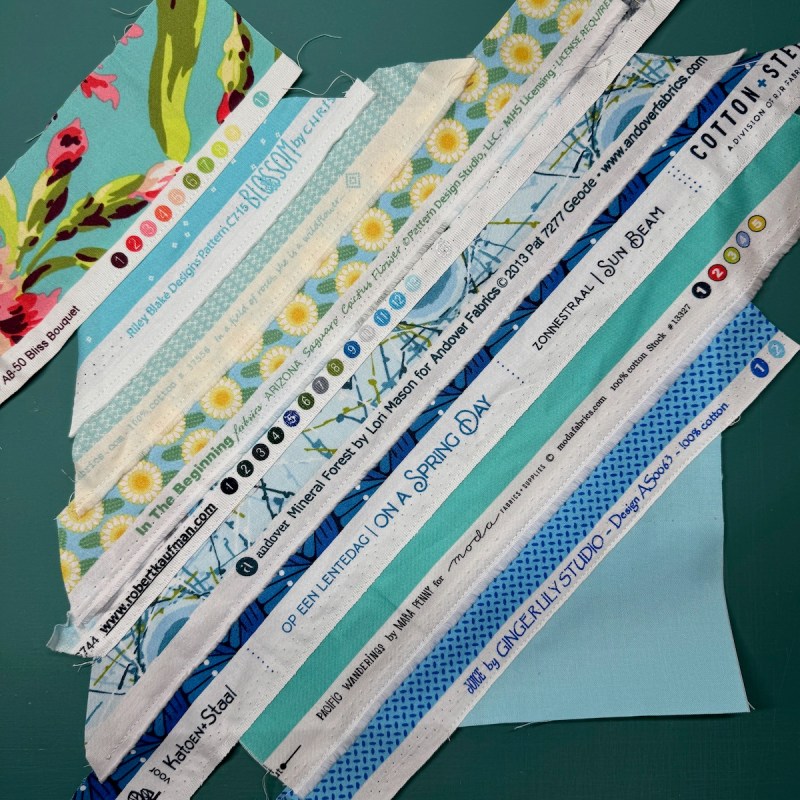
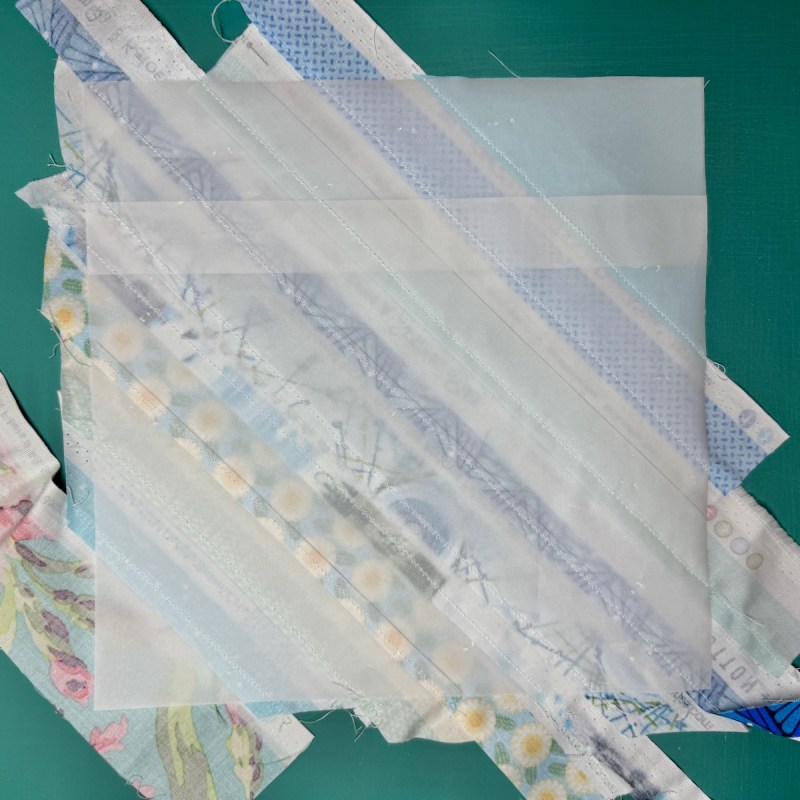
So here’s the story. I started the PatternLite with using a 5″ block (5 1/2″ with seam allowance) and that’s the first one in the pattern. But then in my stash box, way in the back of the closet, I found a stack of Charm Squares in Painter’s Palette Solids, my favorite brand. The 4″ squircle just looked too crowded.
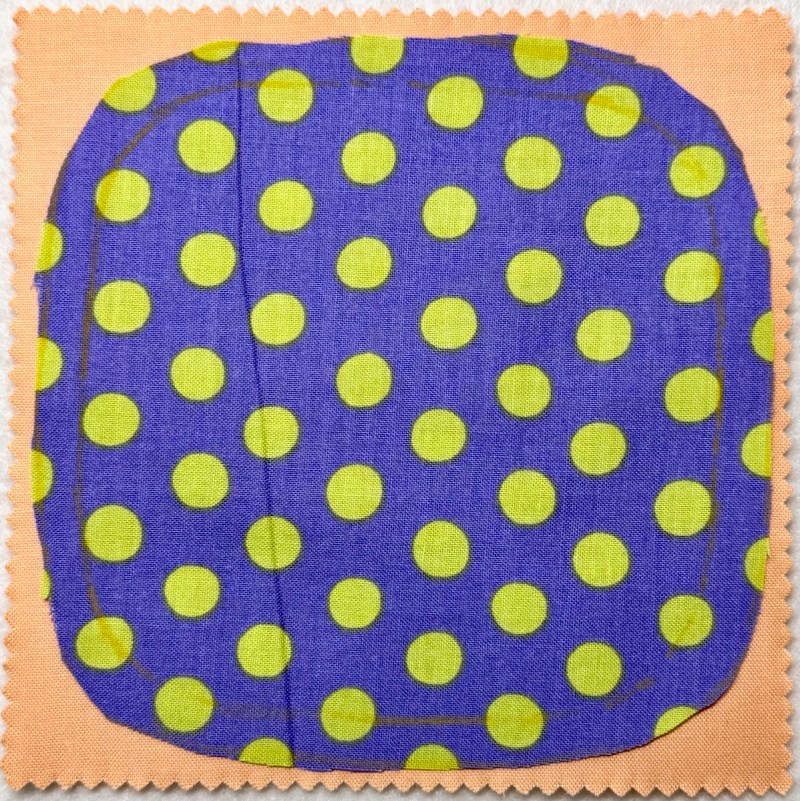
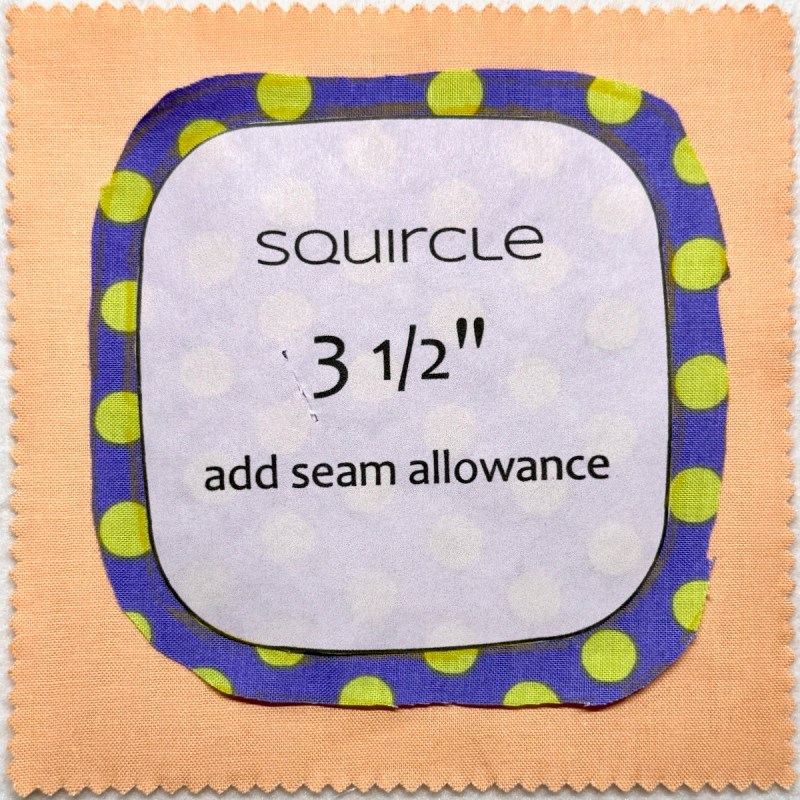
So I redrew the squircle, to be more squircle-y, with slightly rounded sides. Then I resized it to fit — making it a 3 1/2″ (finished) size. That seemed to fit the backgrounds much better. So you have two sizes and two shapes in the free pattern.
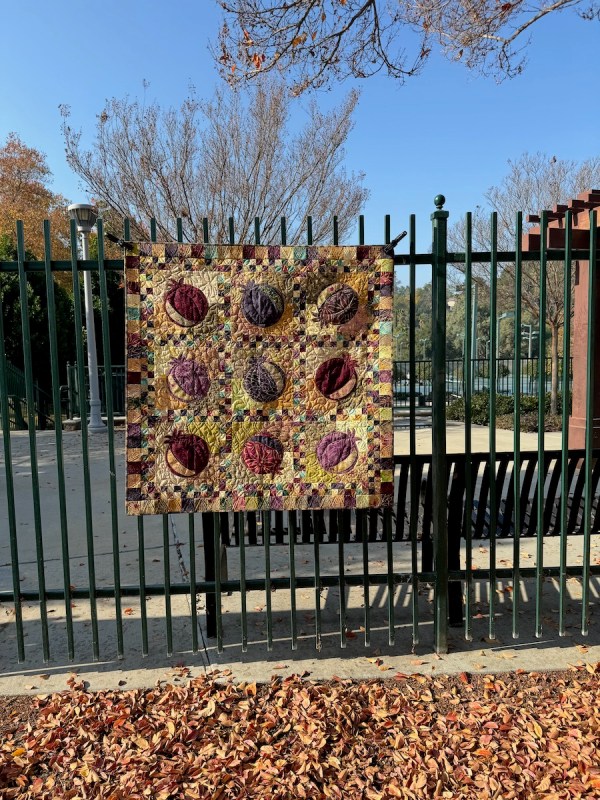
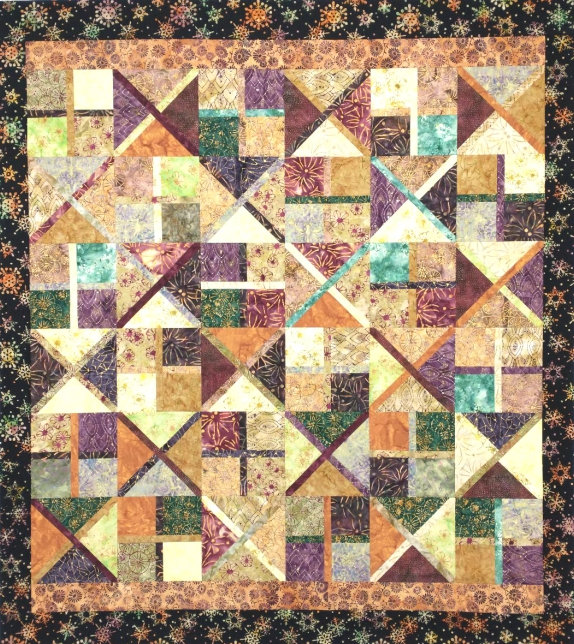
I spotted my purple/lime green polka dot fabric at the top of this photo of Machelle Preston’s quilt, in the current Springville Quilt Show (see previous post).
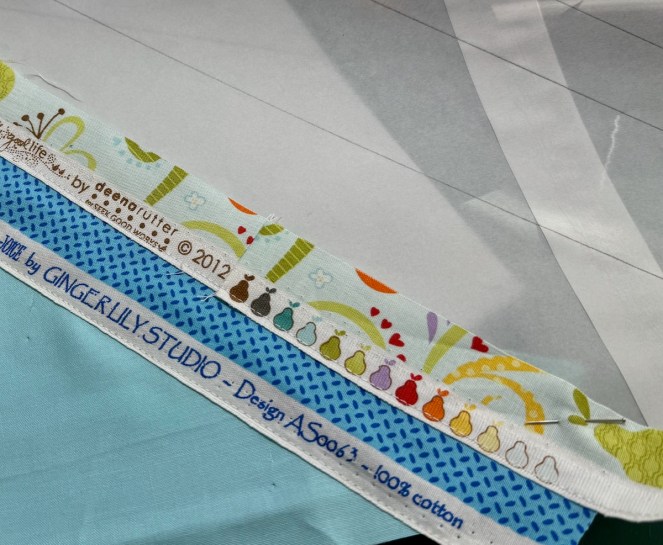
I have been hoarding collecting polka dots for years now. This is why: Come A-Round, from earlier in my making (Quilt #90).
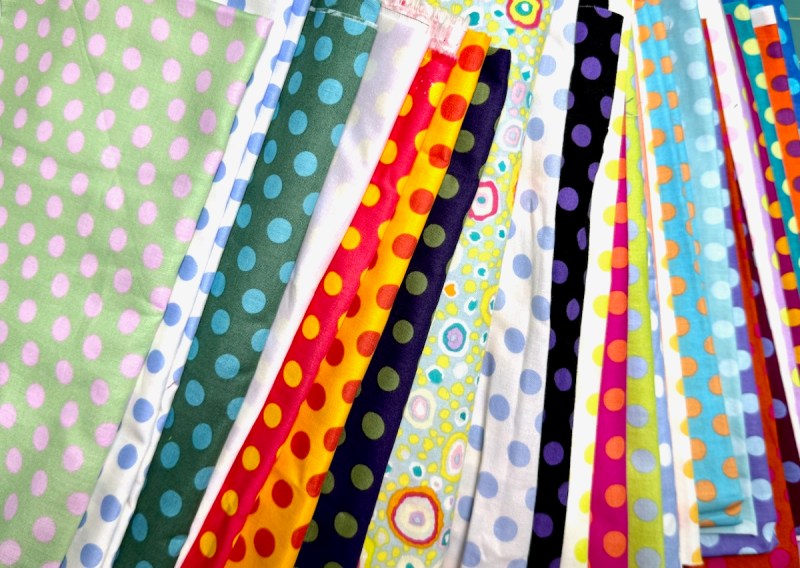
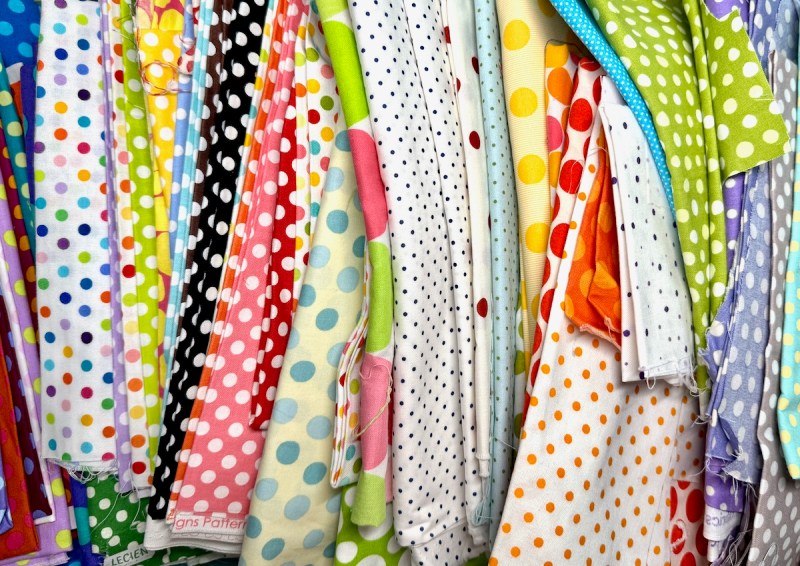
However…I noticed that I seem to have plenty more dotty fabrics, so why not use them again, borrowing Machelle’s idea?
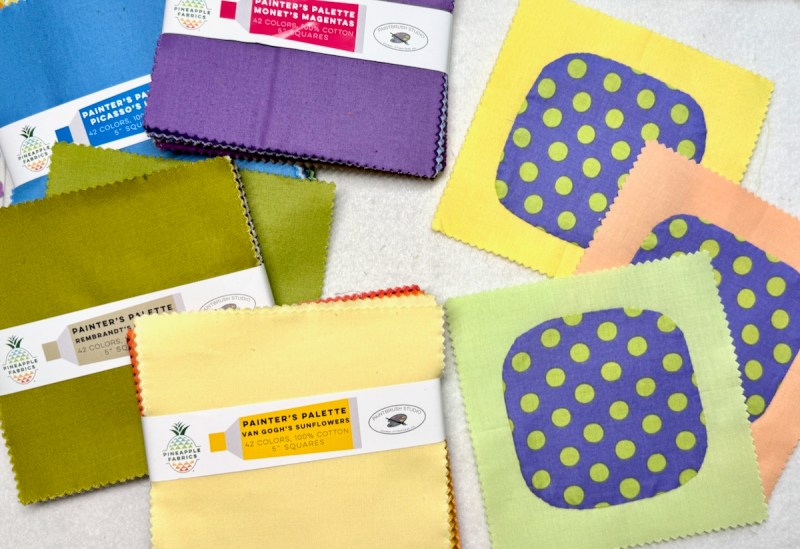
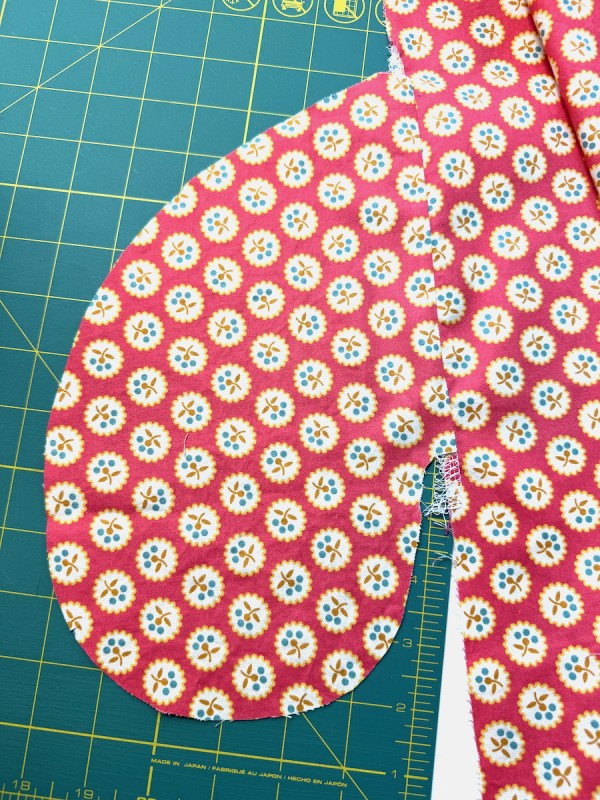
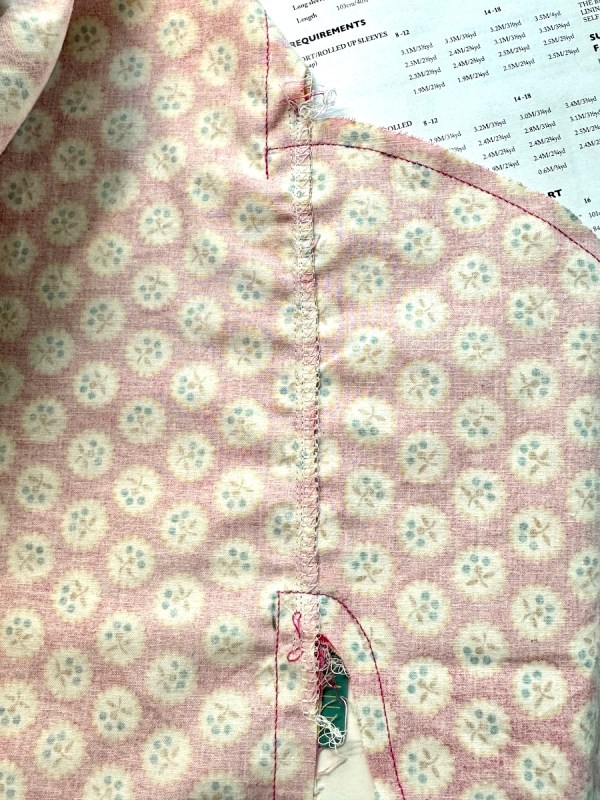
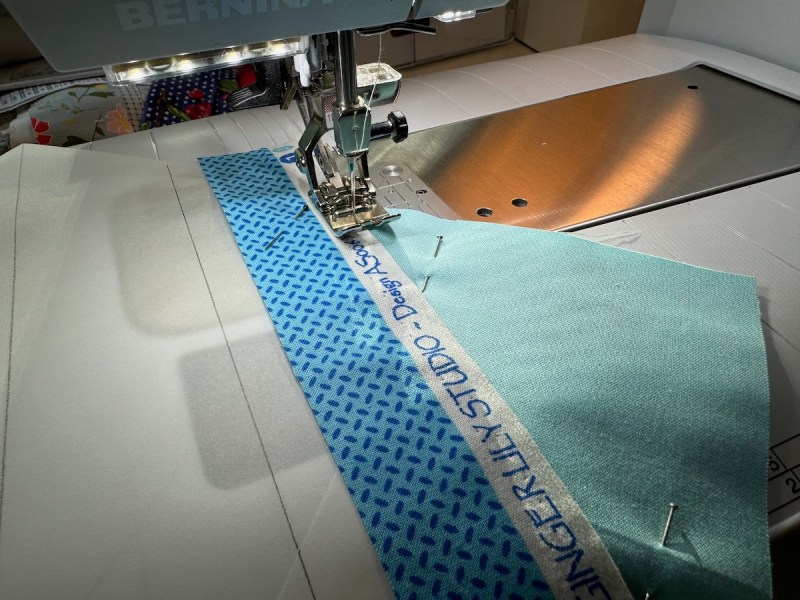
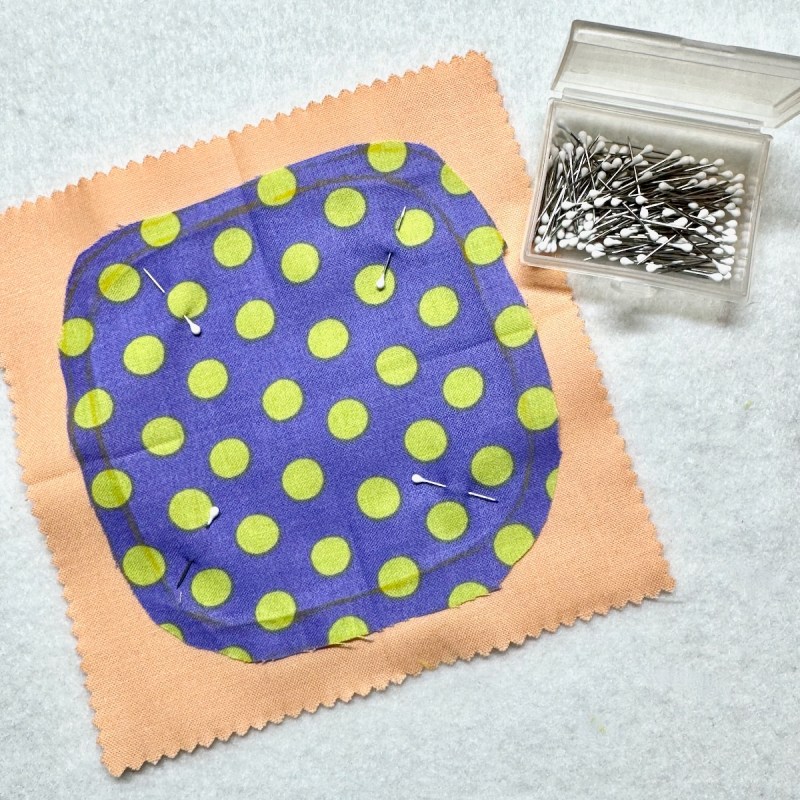
So here are the first three, courtesy of one of those sleepless nights that come along once in a while (if you haven’t seen Melanie, you are missing out). Now I just have about 177 more to go, but don’t worry, in the pattern there are two sizes (the 5-inch requires fewer blocks), and a helpful chart so you don’t panic. Just tote this project around to doctor’s offices, pick it up while watching TV, or while you are hiding from your family in a quiet room.
Because we dreamed this collaboration up in August, and everyone’s going back to school, that’s our theme. Our hashtag is #backtosquircle, a play on Back To School. We have an easy schedule, for who needs more pressure in their lives? The drill:
- choose your block size/quilt size
- make a bunch
- every 20 blocks made, post it up on Instagram with our hashtag #backtosquircle (if you use that social)
- take it slowly!
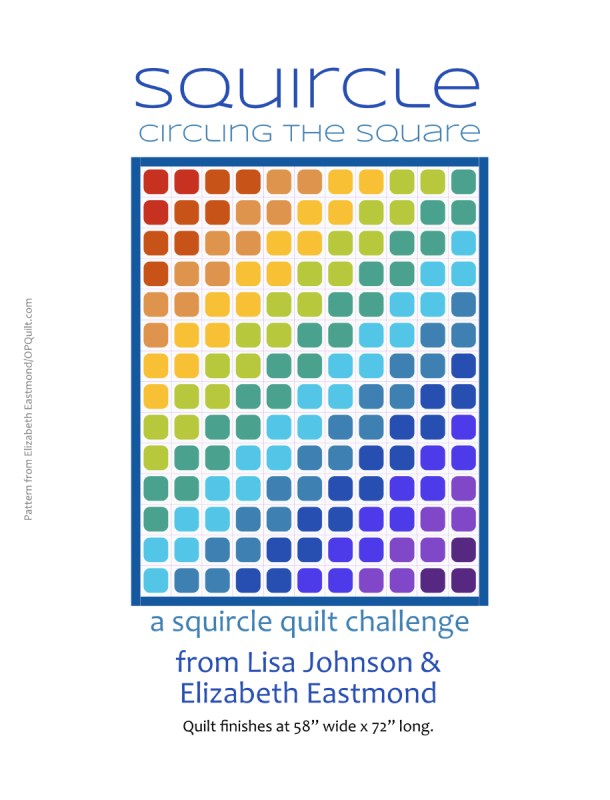
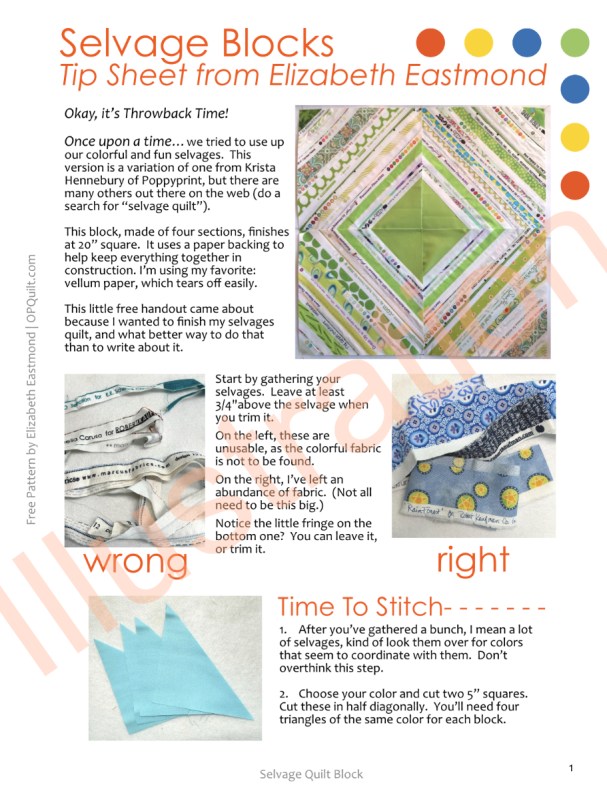
Here’s your free 5-page Squircles handout. It has the templates for the 5″ blocks, for a 4″ block and some basic directions.
You know the usual: send your friends over here to download it, rather than making copies for them.
CLICK ON DOWNLOAD BUTTON, below.
(Updated Version as of August 2025)
Happy Squircling!

(This is the squircle-ish font I could find.)
Bibliography
- Squircles vs. round squares: everything designers need to know — this has a great list at the end, if you want to follow your own path through the rabbit hole system
- The Meaning of Round Corners (with this great line: “In interface design, the rounded rectangle is sometimes called “the happy rectangle”.) I can always use some more happy in my life.
- Squirclemorphism
- Circling the Square: Designing with “Squircles” Instead of Rounded Rectangles
- Technical Mumbo-Jumbo about the math behind squircles
- Dribble, with the search term “squircle”