Well, actually Rabelais said “The dress does not make the monk,” but since I’m not a monk like Rabelais — although I do sit monk-like day after day at the sewing machine — I prefer my variation for the title of this post.
There comes a day when an occasion arrives and even though Thoreau cautioned us to “Beware of all enterprises that require new clothes,” it was time for a new dress for a granddaughter’s wedding, even though I’m aware that I’ll be mostly on the sidelines as this newer generation Does Things Differently so I need to get with it and adjust. But still, maybe it’s that I wanted a new dress? And that my sister had been making a lot of outfits from Merchant and Mills patterns and I Wanted In On The Fun.

IDK how you feel about me sliding a dress post into a quilting blog, but this is what I’ve been doing with my sewing machine and time. The idea was to make a wearable toile out of each of the three patterns I was auditioning. Which meant that the dresses made from the flat folds picked up for cheep at M & L fabric shop probably wouldn’t fit me as well as I would want them to, which is why I’m not modeling them in this post. I also remember why I leapt over to quilting long ago: The Fitting Question. I remember at age 20 feeling like I was as large as a barn. And at 30, I thought I was zaftig. Oh, honey, I now want to say. You looked fabulous. The problem is that I was trained to sew on that 20/30-yo person, and now this person (some years down the road) is not who I know how to sew for. But I’m trying.
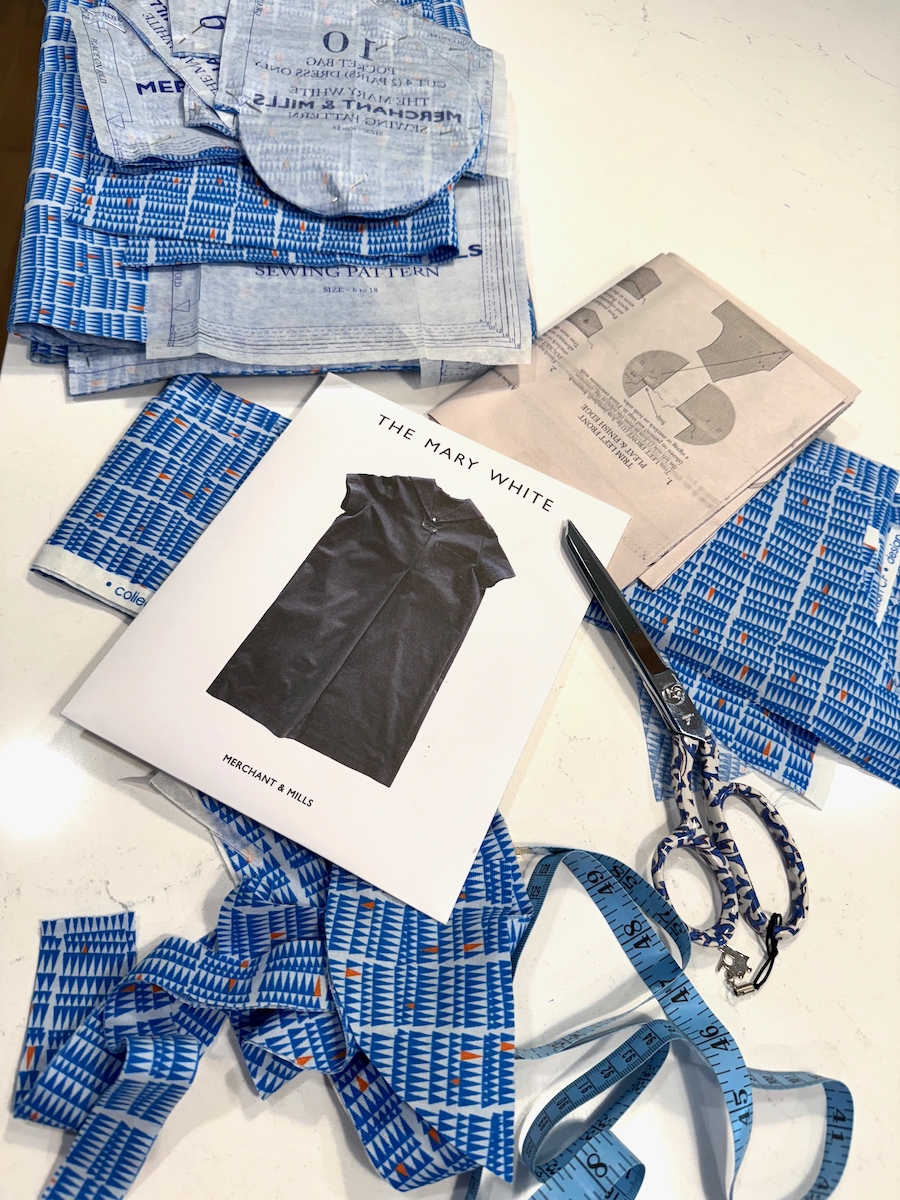
Dress Number One
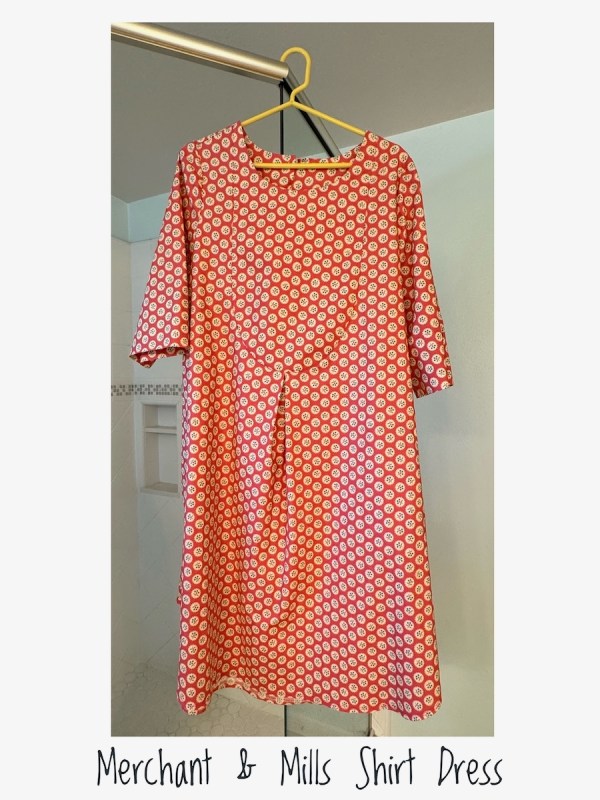
I need to take out most of the extra ease I put in, but I wore it out anyway, along with beads from a quilt show. Jewelry rights a lot of wrongs.

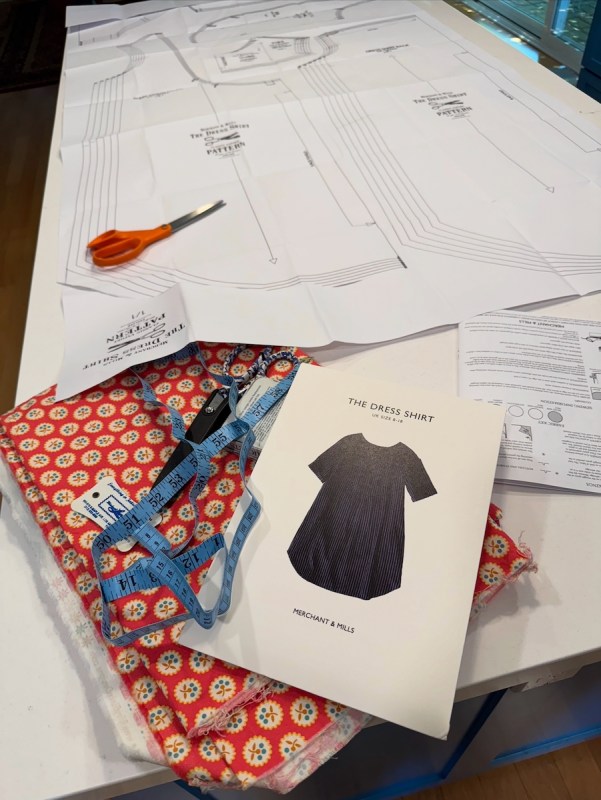
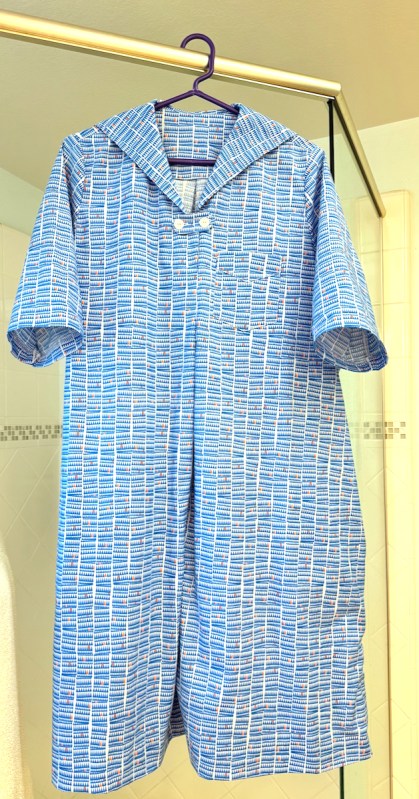
Dress Number Two

Again, I put too much ease into this wearable toile (again, struggling with fit), and if I choose this one to make for the wedding, I’ll make it more like the pattern. I got all my patterns from Hart’s Fabrics in Santa Cruz, California and they came lickety-split, especially considering that Merchant and Mills patterns are from England.
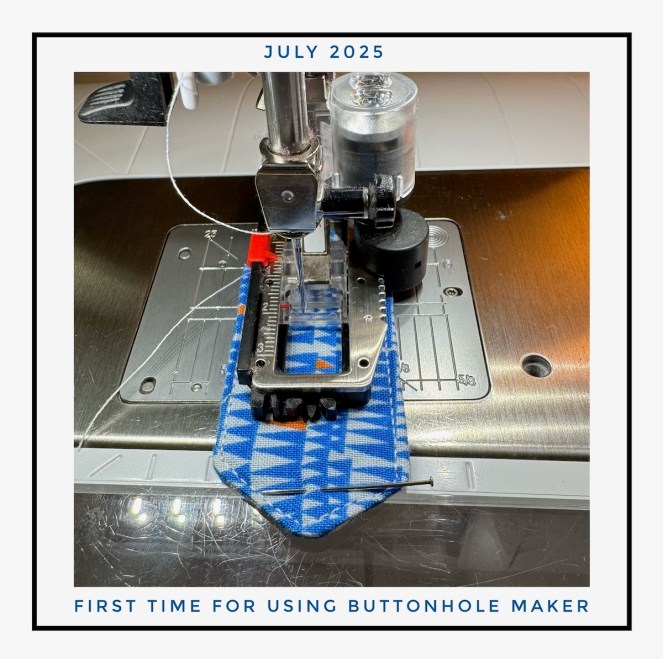
In five years of owning my sewing machine, purchased in December 2020, I’d never used my buttonholer. I had to watch a video online to figure out how, but it worked like a charm the other night.
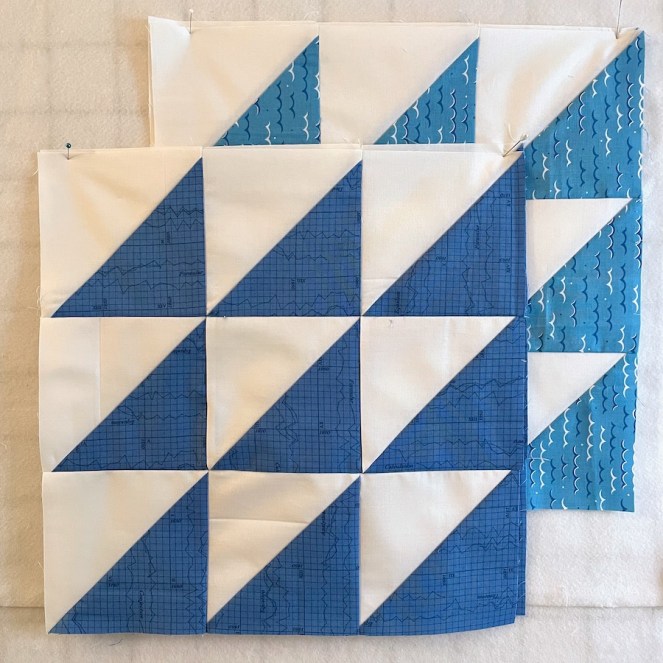
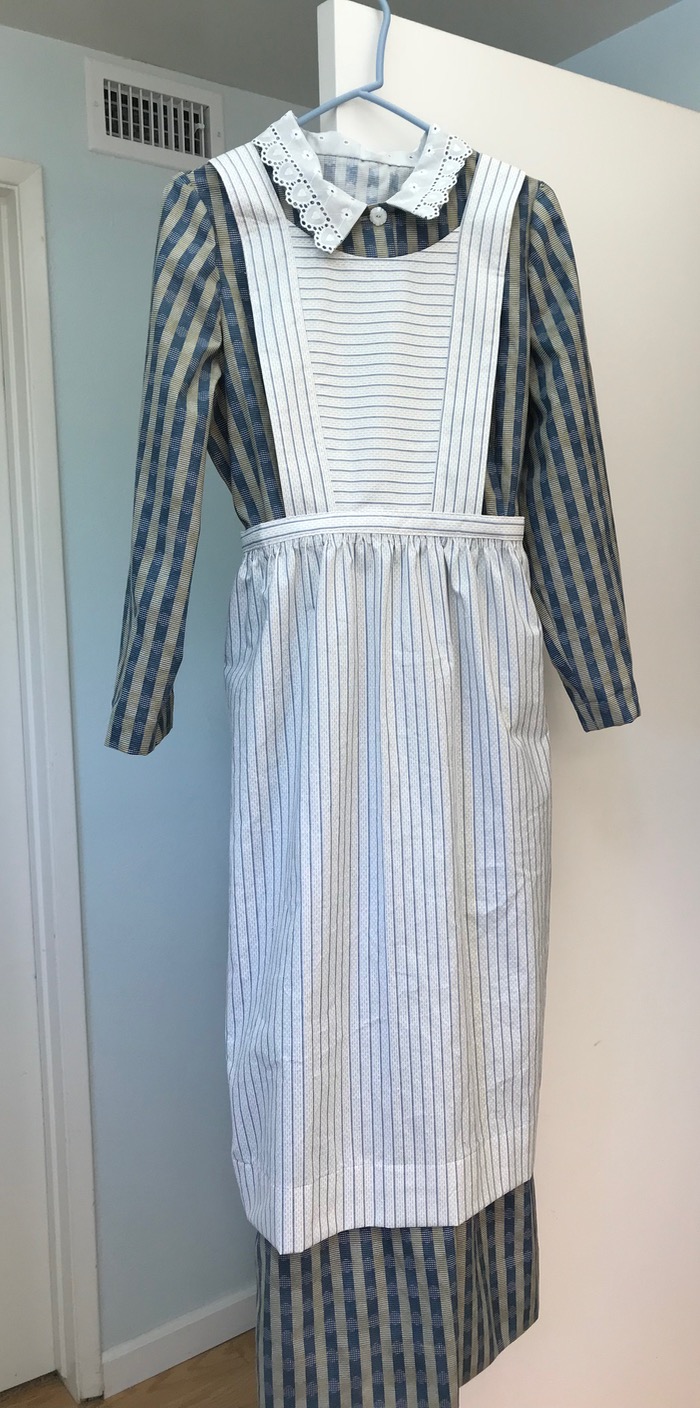
Dress Number Three
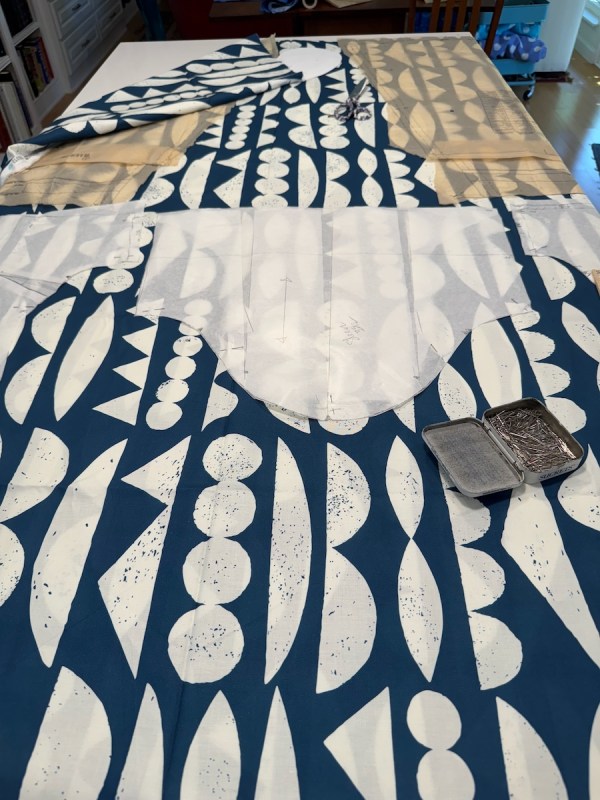
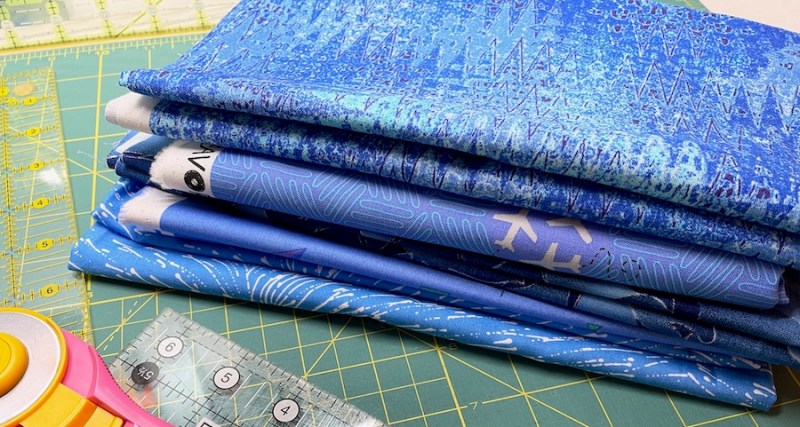
I’m still in the middle of Dress #3. It’s a Simplicity pattern I’ve had forever, and is a plain-Jane shirtwaist dress. I found two lengths of this blue-and-white fabric in my stash. Guess I forgot and ordered it twice, but it came in handy when I needed to make one more wearable toile. I’ve re-cut the sleeve piece twice; I like my sleeves a little longer — like to my elbow — but we’ll see how this turns out.
Pockets
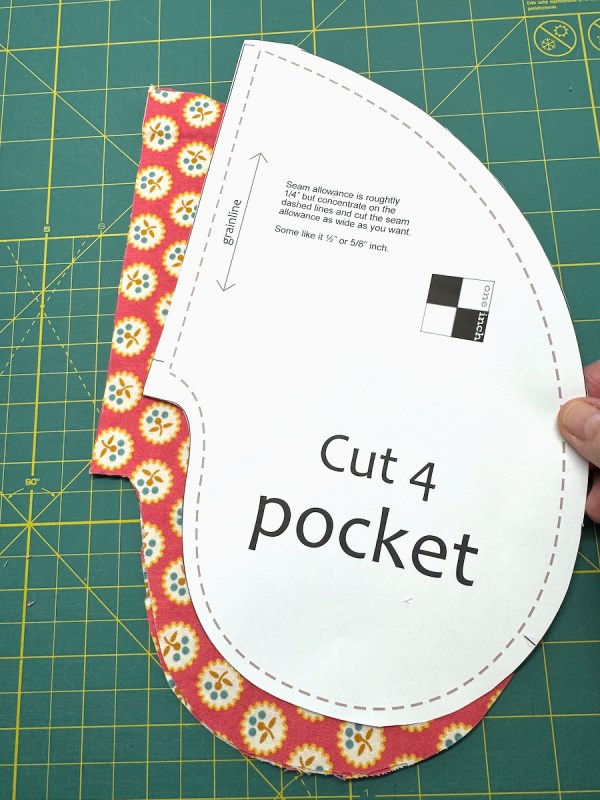
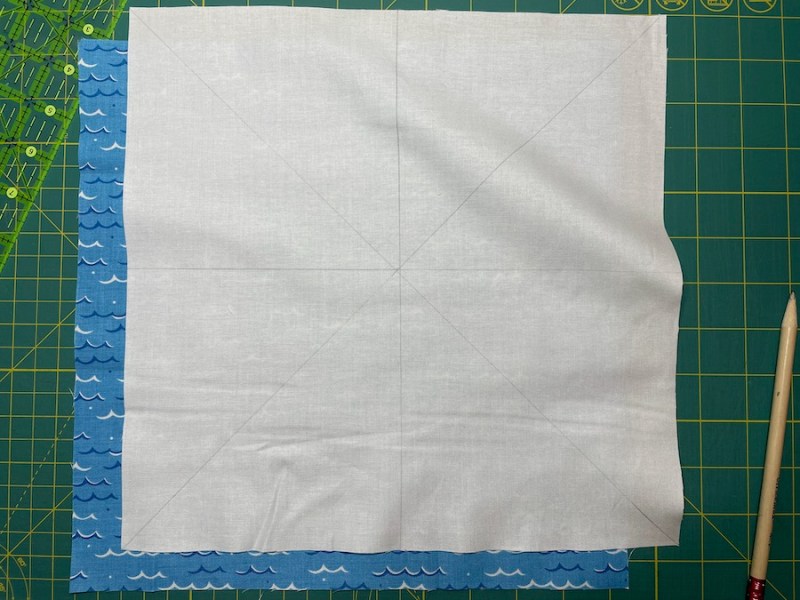
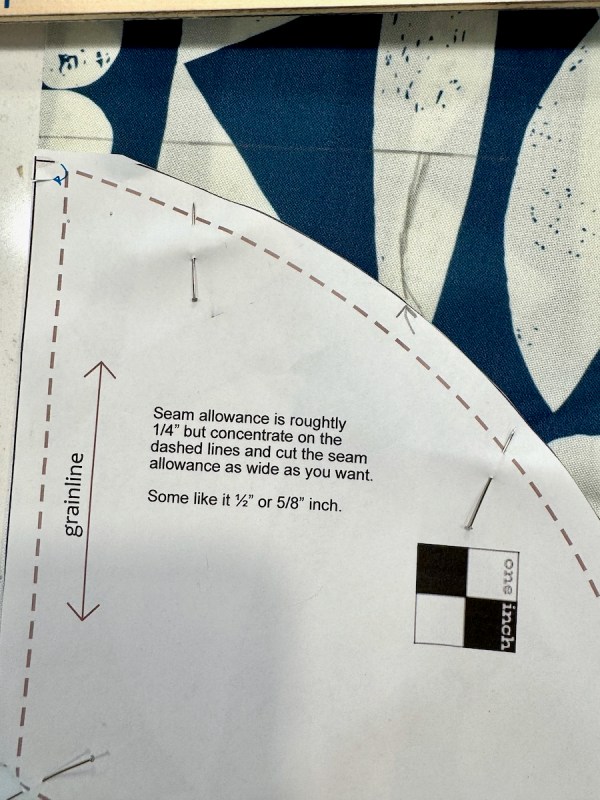
I don’t know about you, but to me a good pocket is mandatory. I traced off an old pattern to make myself a basic pocket pattern, and here it is for a Free Download:
It basically looks like what’s in the photo, above. I used fat quarter-inch seam allowance on the outside edge, but you can cut it larger, if you want.
For placement on your dress, when holding up the main section of your pattern to your body, bend your elbow and figure out where you’d like your hand to slide in. Think also about where the bottom edge will be; you don’t want to be reaching down to get the car keys out of your pocket. Then mark that.
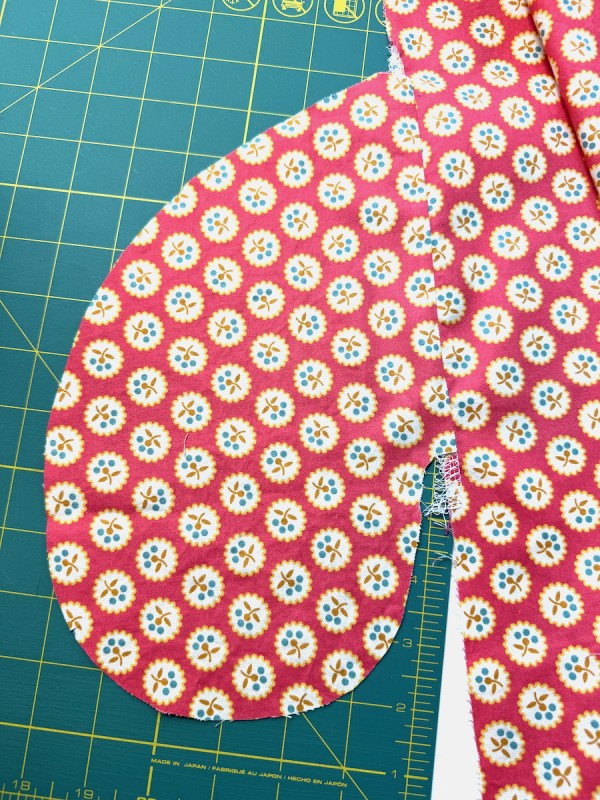
I sew the pocket onto the side of the dress in a 1/4-inch seam, press to the pocket, then serge that section only. After pinning the side seams/pockets together sew about 1″ below the top edge of the pocket piece, then all the way around the pocket, then to a point on the seamline and then down the seam to the hem. Like this:
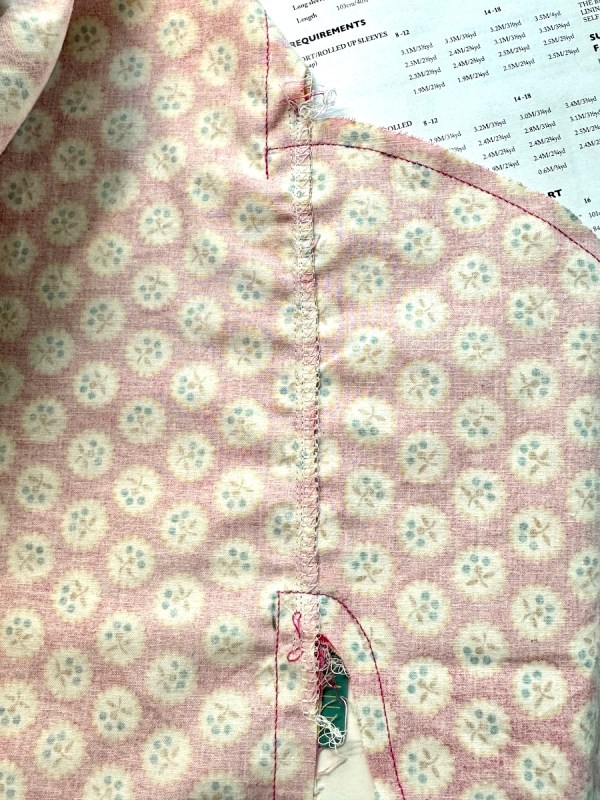
Serge or zig-zag the raw edge. Or as Merchant and Mills patterns say, “Tidy up the edge.”
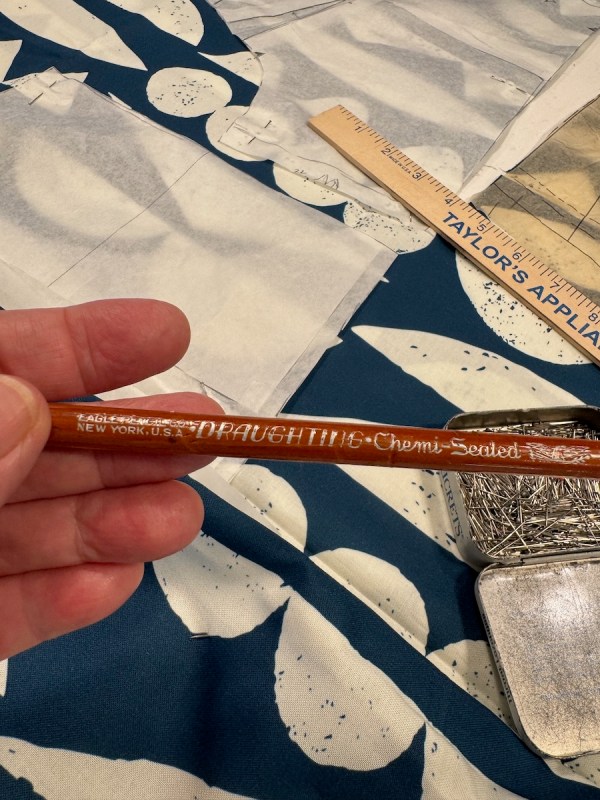
You can also stabilize the pocket by sewing it into a waist seam. To adjust for that, grab a pencil, like the one from your Dad’s art box, and draw a curvy line upward. Try to make it match your waist seamline. This is the cheesy way. Watch the following Video (That May Confuse You or Help You) to see it done more professionally than just a pencil line: How to sew a waist-anchored pocket (this also helps you draft your own)
What else?
Whichever one I think will work best will get sewn up into a light blue linen print I’ve been hoarding for a couple of years. Then I think I’ll sew a skirt or two when I return. I’ve seriously neglected my wardrobe the last few years, and I generally hate all clothes in the stores. (Or maybe it’s just trying them on that I hate.) Thankfully my sister is cheering me on, and my husband is an angel and has learned to say nice things about my wearable toiles, such as “You’ve never looked better,” and tries not to choke as he delivers his scripted lines.
I’m skipping my A Quilting Life QAL update post this month, mainly because I haven’t yet worked on it. I’ll just do both July and August together, after I return from the wedding of this lovely grandchild #3. And then I’ll launch back into some of my Economy Block sewing, too, as well as some quilting on the New York Beauties. Oh! and seaming together my Posh Penelope. August will be busy!
It’s heating up here…enjoy your July–

Pocket Links
Reforming a pocket to get anchored at the waist, from In The Folds
Design Your Own In-Seam Pockets
Professor Pincushion Talks You Through Adding a Pocket
Bernadette shows you the same thing, but also how to figure out where to put the pocket