300 Quilts · Patterns by Elizabeth of OPQuilt · Quilt Finish

Quilt Finish: Aerial Beacon

To get across great distances, way back in the day, early airplane pilots would focus on visual landmarks, or sometimes lit bonfires if they needed to find their way in the dark: “In February 1921, an airmail pilot named Jack Knight put this to the test with his all-night flight to Chicago from North Platte, Nebraska. Knight found his way across the black prairie with the help of bonfires lit by Post Office staff, farmers, and the public” (from here). When I found this Aerial Beacon block, it sent me gathering information about this idea: that there were physical beacons to guide those airmail pilots before we had modern navigation. Really? I’d never even thought about this.

An early map showing one of the routes across the United States.

Many aerial beacons were atop tall city buildings. This is from a vintage postcard of Chicago.

Some aerial beacon were little huts with a number painted on the roof. They were next to the tall beacon, with a concrete arrow pointing on to the next one. These are still found in the United States on hilltops, beside cities, although there are very few extant arrows.

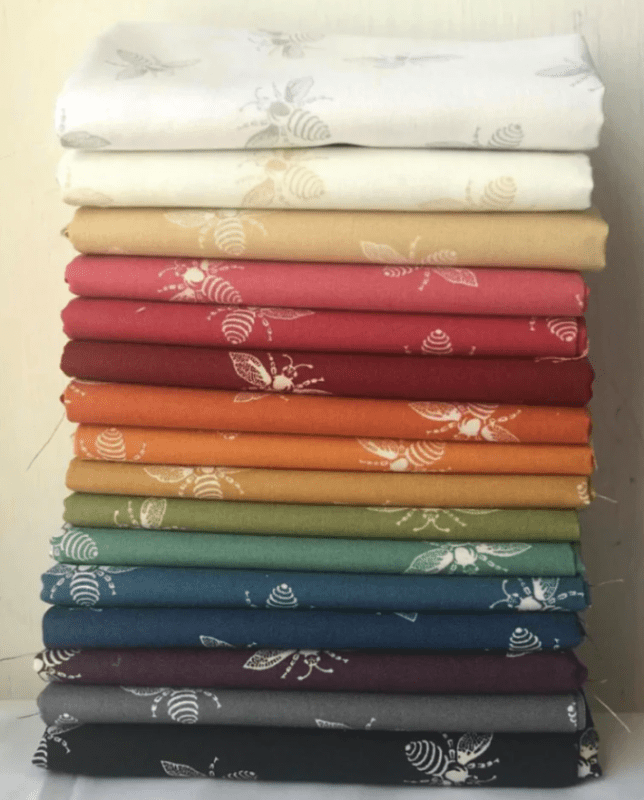
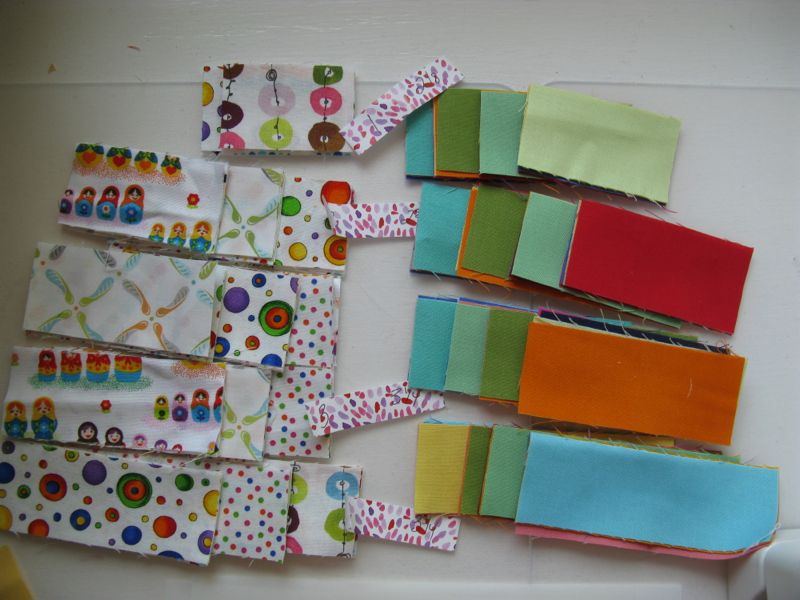
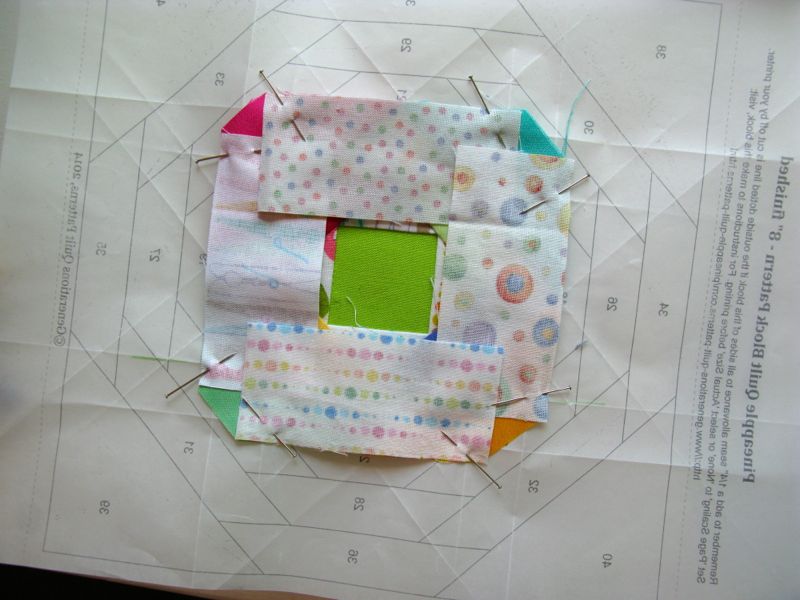
This quilt began with these French Bee fabrics by Renee Nanneman. I kept trying to think of names for the bees, and thought up “sky pilots.” Nope. That’s an established term for clergymen/women, which I also didn’t know. So I kept looking, and then found this:

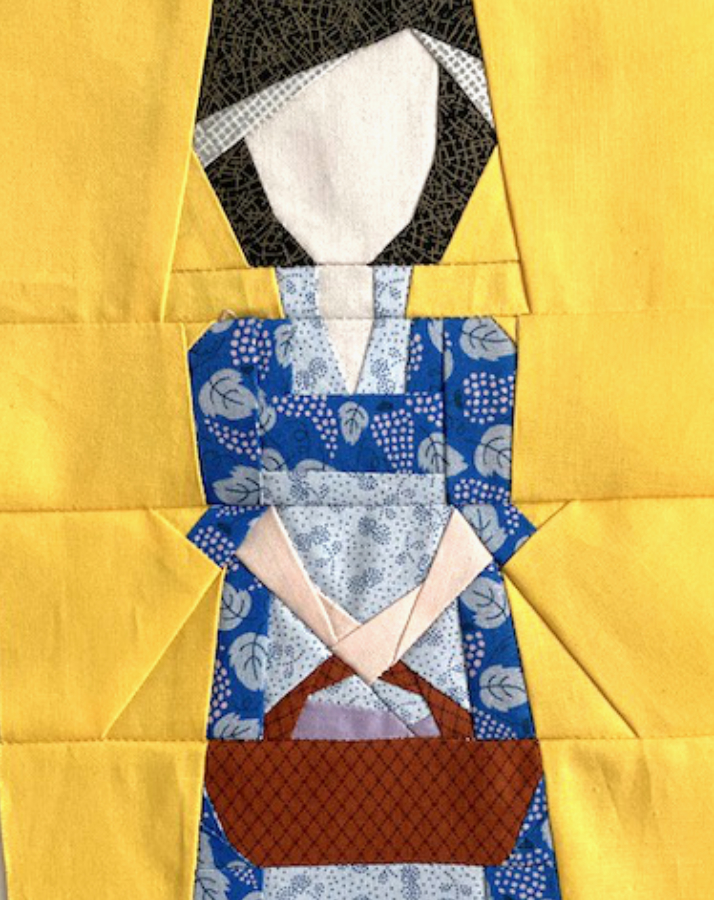
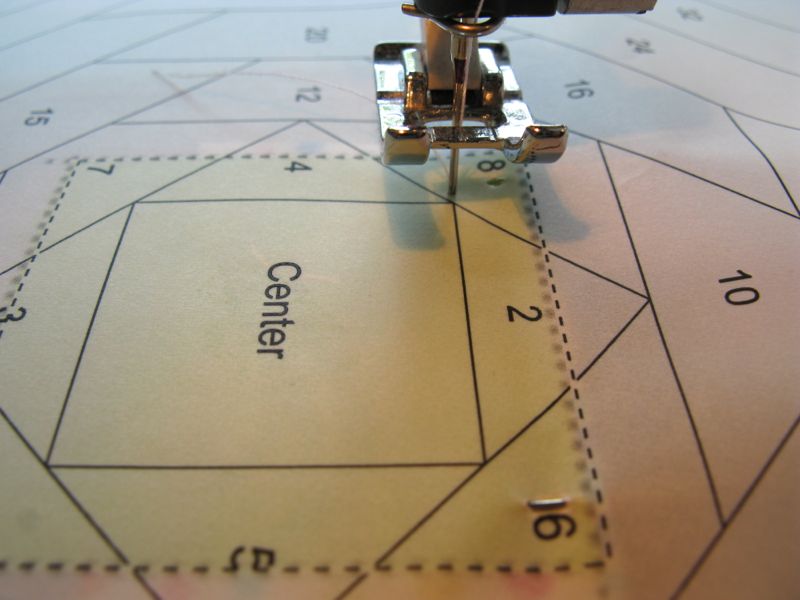
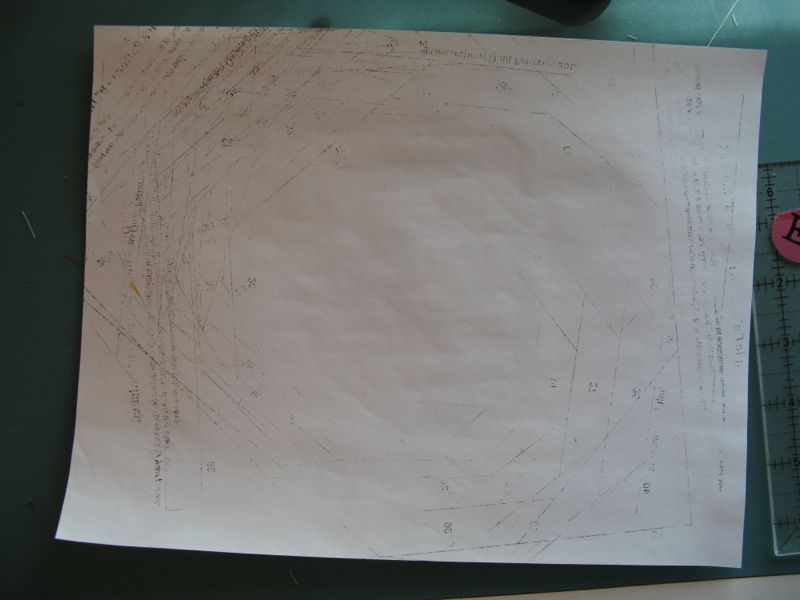
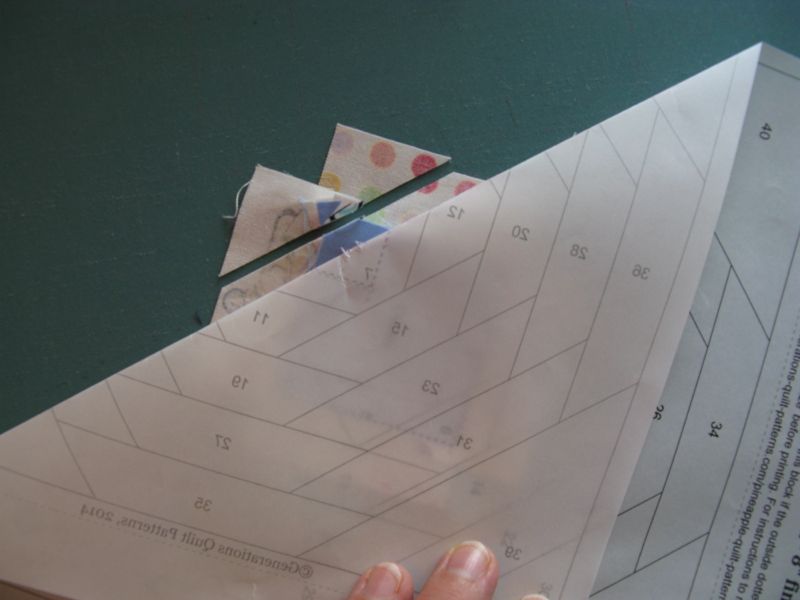
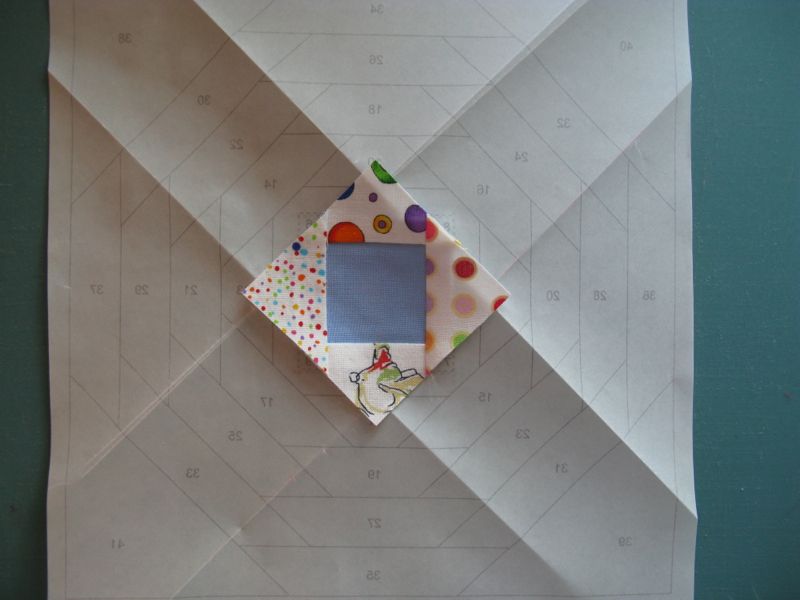
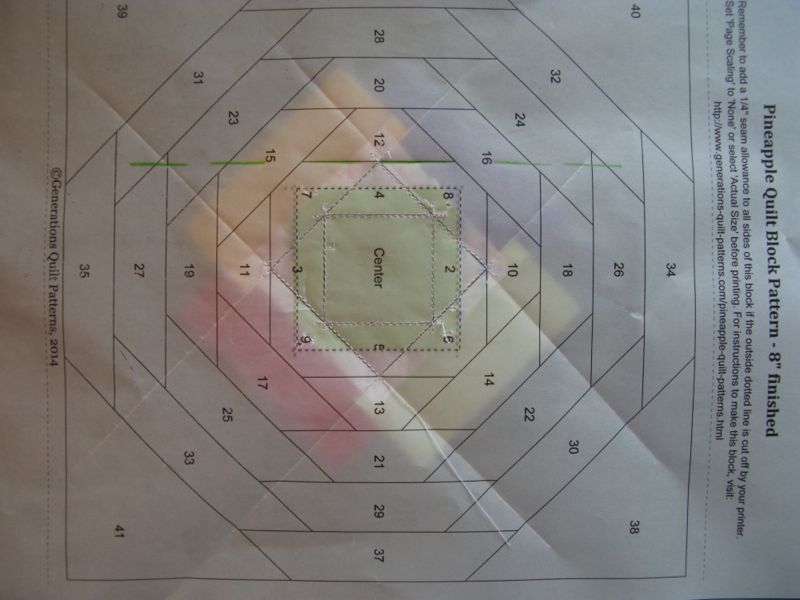
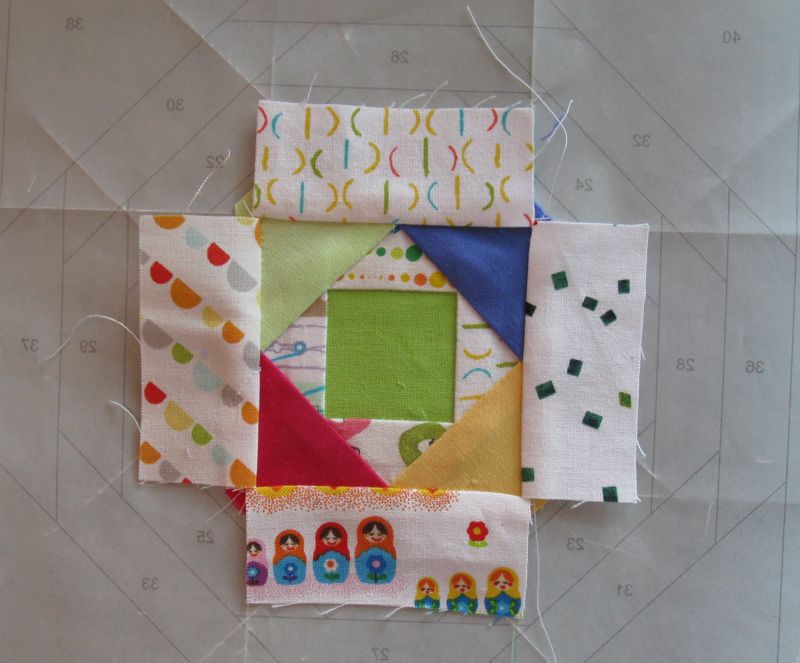
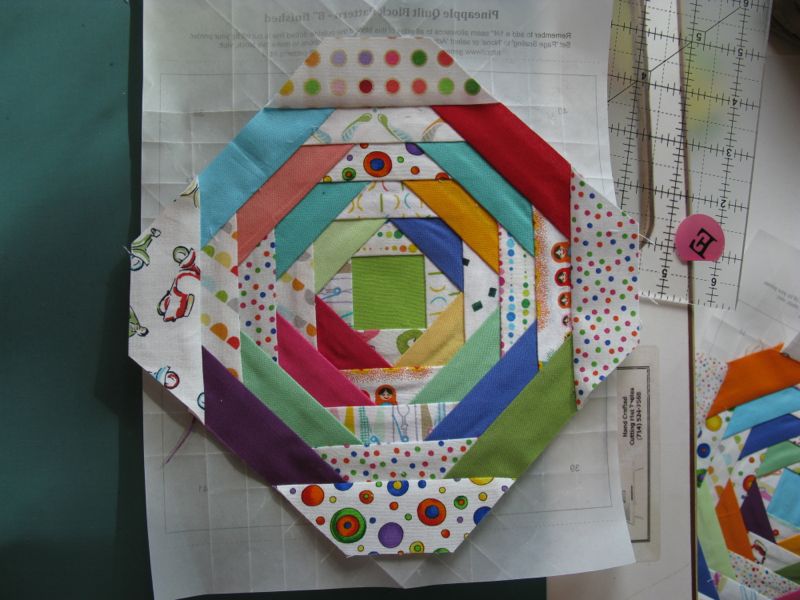
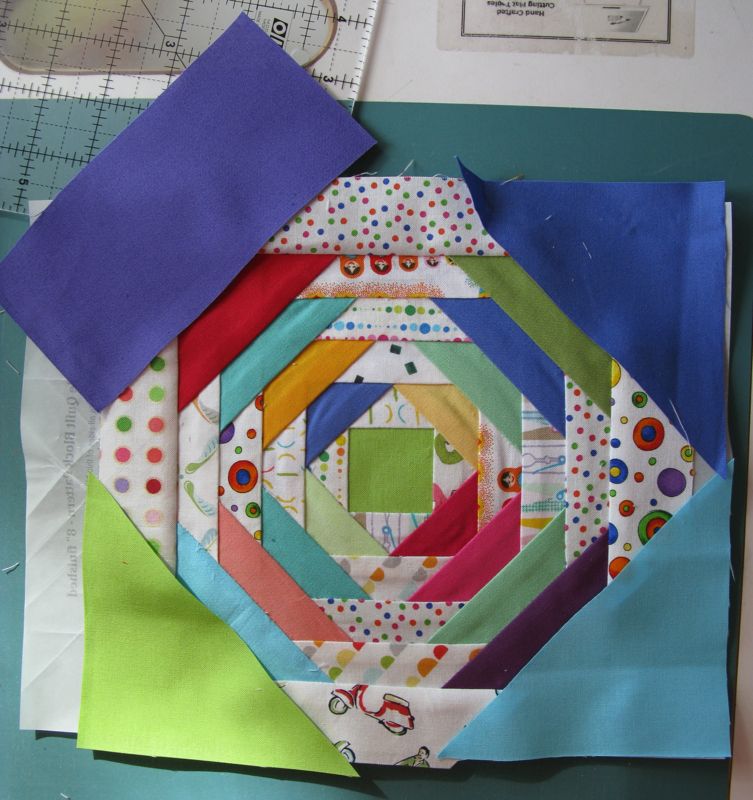
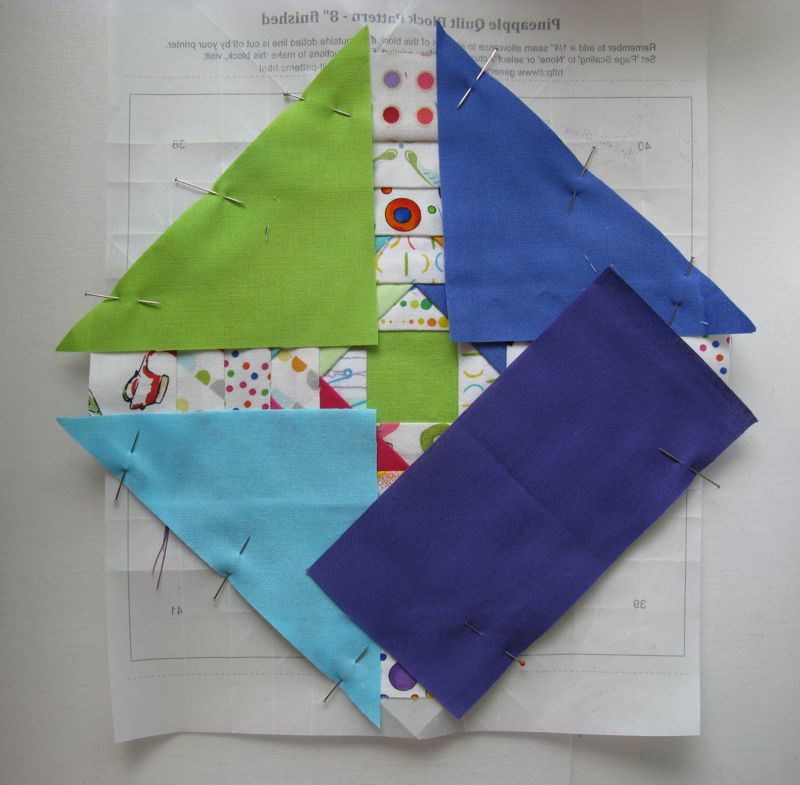
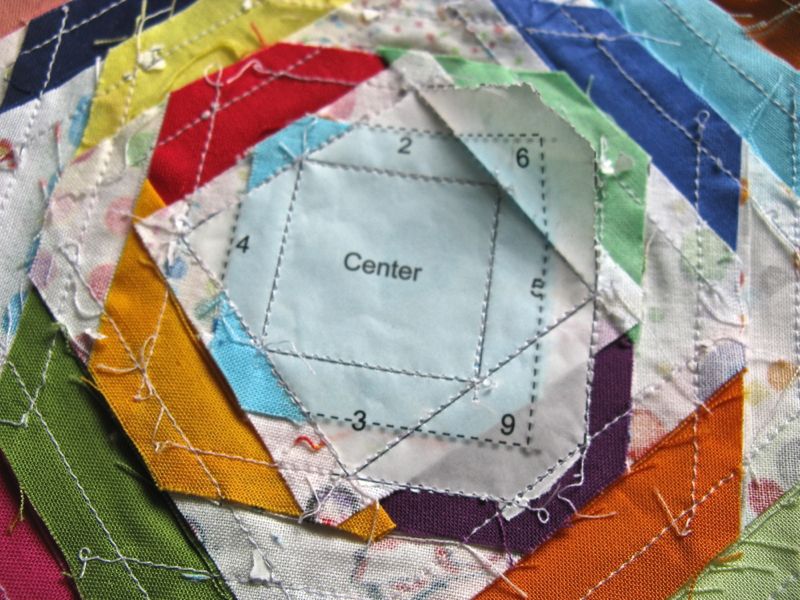
A traditional block, which would let the bees show off nicely, as well as the coordinating fabrics. I loved those four big triangles; sort of like propeller blades (another reference to flight). So I made my first block, wondering if could I even do this? I chose to make this a foundation paper-pieced block, so as to get those snappy points and to keep everything in place (pattern coming next year some time).

ultra-high radio frequency waves (RFID, or radio frequency identification)

Then, thinking about the idea of RFID waves, and the communications that replaced the aerial beacon huts, I referenced them with a waved border made with bias binding. It was a good exercise to figure it out, and I love how it looks.

Jen of Sew-Mazing Quilting went the extra mile in the quilting. I had many strong colors in the blocks and a very light border and backgrounds and I asked her to use Superior’s MicroQuilter thread in silver (7007). Bob Purcell (who founded Superior) told me it was their best blender, and he was right.

late-night sewing

I did begin making the blocks way back in October, first thinking about a design with nine blocks. But there was so much fabric left from each French bee color, that I made more. And took trips to Utah. And tried to sew. And took trips to Utah. And I kept trying to write the pattern, because it was such a fun block. And took a final trip to Utah. Then unlike those early pilots ferrying mail, in the next few weeks I felt more than once like I had lost my way. This quilt spent a lot of time wadded up in the corner, as I just didn’t have the moxie to work on it.

I even had the backing ready to go as I dithered and dithered about whether I should quilt it myself or not. I finally realized that given my current state, you-know-what would freeze over before I got around it it. When Jen returned the quilt, it sat some more time. Finally this past week, I found my way to binding it. (Binding is a lot less stressful since learning this trick.) And then I indexed it: Quilt #273.

the back of the quilt, held by the best Quilt-Holding Husband, at a local park

Since I often write about my own life on this blog, I will share that I have often wondered how I would react when my mother died. I thought about it off and on in my life, sometimes thinking I’d be perfectly fine and then other times thinking I’d be a total wreck. My mother lived to be 94, so she had been with me my entire life and really, truly, I liked her a lot. Yes, we had our differences, and no, she was not perfect, but in her later years (before it got really hard for her), we had an easy camaraderie. The truth is many days I am perfectly fine, and at other moments, in other days, I’m quite tender around the edges, breaking into tears. You probably know how it goes. When I was a teenager, Dad got all the credit, but I came to realize — and even more now that she is gone — that she did all the heavy lifting of relationships, of sending me little gifts, of checking in with me. I always knew she was my best cheerleader.

I had a chance a couple of years ago, after a presentation with the Utah Valley Quilt Guild, to go up to her condo and give her and Dad and one of her friends a mini Guild Presentation. Her eyesight was failing then, but we passed around the quilts so she could look at them up close and feel them; she enjoyed it all. She apologized that she didn’t have more of her friends there, but that wasn’t who the show was for.

It was for her, my mother, now my very own aerial beacon.

Other posts about this quilt:

Bias Binding Fun

the label, a simple one this time
Quilting Techniques

Confessions of a former FPP Hater

Newly arrived in a bee in 2013, this was my first attempt at foundation paper-piecing, or FPP for short.

The Queen Bee had sent the fabric in graduated-sizes of strips; the cloth was finite which made me stress even more. This is what I wrote that day:

“Seventy-two pieces per block (4 quadrants).  It took me over 7 hours, closer to eight hours, to finish the two blocks.  I began wondering about this quilter–who would send out such a complicated block to the bee and expect us to do not only ONE, but TWO blocks? I began wondering about what a sheep I was to follow along, when I should have just sent back the unused fabric after the first block and the scraps for the little triangles, and kept it to one.”

I was pretty grumpy, and no, I don’t hate that quilter (she’s amazing). But I decided right then to hate all FPP and avoid those blocks whenever I could. In the double flying geese block, it was the figuring out how to gauge the size of what you needed to cut and how to arrange it so it covered the piece, all without running out of fabric. Whenever someone in one of my bees would bring up FPP, I shuddered and knew I would pretty much fail at this technique.

So why did I sign up for not one, but TWO, FPP classes at QuiltCon? Because I had because I’d seen this on Instagram:

This quilt won First in Piecing and Viewer’s Choice. Before going to Phoenix, I had even tried to give away this class; it was right after my finger injury and I couldn’t even write, let alone handle the mess that was FPP. To compensate, I swapped out her pattern for a smaller one of my choosing, the Lizabeth from Karen Ackva. I also knew that if your project is smaller, you’ll get more done. Instead of being out of sorts about my swap, the teacher at QuiltCon, Verushka Zarate of Pride and Joy Quilting, was always kind, polite, cheerful and called us “friends” throughout the class. She even started the class with us telling a joke–not everyone had one–so the day was off to a great start. Her demos were helpful, and she explained everything really well, and constantly walked around to make sure we were not drowning in FPP.

At one point, she mentioned her Online Class, and I perked up. It would be great to be able to follow up and have that resource. More about that in a minute.

I finished the head, the skirt, the neck in class. Here’s the rest:

I chose this pattern for its size (5″ wide) and because of the name (Lizabeth).

I also took Cassandra Beaver’s class at night, where she demo-ed on a light table. She went step by step and these two classes together really made a difference. (Plus I’ve been Cassandra’s fangirl for a while.)
This was her pattern:

I fixed the eye with a little reverse appliqué this week, changing from white (oops) to black.

I had ordered a different kind of roller, one made of hard rubber, and I liked it because it was flat and really set the creases. Cassandra gave everyone in her class pair of flowered tweezers, and I already had the fine tipped tweezers. Both work well for extracting the paper, which I’m still not so fond of, but I’ve gotten better.

Normal life after FPP. I use vellum paper when printing out my patterns, and it’s crisp and tears off really easily. It’s sturdy and slightly transparent, which also helps.

Today I found some time and watched portions of her online class. It sells for $45 and it is so helpful! (This is Verushka.)

She has the segments well-labeled and you work with the pattern we did at QuiltCon, which covers a wide range of FPP challenges. She has the BEST TIPS EVER for figuring out how to cut the correct shape of fabric to cut for the piece you are working on, and how to position your FPP so you’ll never get turned around. (I didn’t share them here, because they are her tips.)

I have seen the light.

I no longer hate FPP. I’m not like some people who Absolutely Love It, but I’m making progress. I even designed a leaf signature block for my Gridster Bee month:

I feel like I’m getting the hang of this, and have become a new woman quilter.

Last week I had a giveaway, and it took me too long to get responses to you–but they were all so lovely and so like poetry, I was determined to write you back. Susan won the pattern and it will be on the way to her soon. Thank you all for sharing with me your idea of “poems” to help smooth away the weariness.

A long time ago–showing me her first sewing project (a doll)

This next little while I’ll be assisting my grown daughter with her surgery in another state — my husband and I picking her up in a third state, driving her to surgery, helping with convalescence and then after a few days, driving her back home again. (All the details for that have kept me a bit preoccupied in the correspondence department.) I’ve got some EPP for the long road trip, and even a stitchery that is about 25 years old.

Happy Quilting FPP-ing–

Quilts

Pineapple Quilt Block (for Bee-mates)

Queen Bee

As my friend Susan of Patchworknplay says, I’m Queen Bee.  I wrote this post as I had both my bees,  the Always Bee Learning Bee (August) and the Mid-Century Modern Bee (November), make this block for me.

Pineapple Block August ABL

When thinking about what I wanted, I thought I’d try a Pineapple Quilt Block, but use a paper foundation piecing technique to keep everything true and accurate during the process.  This is an 8″ block when finished (8 1/2″ when you finish your block for me), and I’m using solid fabrics coupled with small print fabrics with a WHITE background — no grey, no tan, no beiges, just white.  In this bee we also mail out fabrics, and some of my bee-mates have already received theirs; I mailed them out early because of traveling and family visits in the last half of July.  Idid this as well in November for the Mid-Century Modern Bee, but for that bee we typically don’t mail fabrics, but simply provide descriptions and examples.  **NOTE: If you feel you have too many of the same prints, feel free to substitute in any from your stash, as long as the print background is bright white, and the figures are small rainbow-colored designs.  Ditto for the substituting the solids. I tried to distribute them randomly, but you know how things go.**

I’ve written up some step-by-step directions (below) but I got the paper foundation from Generations Quilt Patterns, another website with a really good tutorial on Pineapple Blocks. (They have a discussion of setting the blocks on this page.)  Their ideas and explanations are top-notch, so if you find my step-by-step confusing, feel free to step over to that site and take a look.  If you want the pattern, head over *here* and download the 8″ size of the Pineapple Quilt Block.

Cutting Chart Pineapple(Chart modified from Generations Quilt Patterns.  Used with permission.)

Using the diagram above, which is modified from Generations Quilt Patterns *here* cut your pieces to size, keeping track of which is which (solids vs. light bright prints). I cut all my strips 1 and a 1/2″ wide as I didn’t ever want to have to mess with unpicking if it went on slightly skewed.  (NOTE: for the outer corners (#38-41), sometimes I just cut a 3″ piece of fabric by 6″ piece of fabric.  I know the corner will be on the bias that way, but that’s okay with me.)

5_ Pieces Lined Up

Here they are, all cut out and ready to go (I am doing multiple blocks, so don’t get confused by what you see above).

Step One

1_Center Square affixed

Using a glue stick, dab a small amount of glue on the small square and glue it to the back (unprinted side) of your paper foundation chart.

Step Two

2_Beginning of First Row

One by one, align, then sew on the first set of print strips, using a 1/4″ seam.

3_ Beginning of Stitching Line

When stitching on this, and all other rows, start your stitching a couple of stitches before the line, and finish a couple of stitches beyond the line, so as to secure the sewing.

4_Ending First Row

I sewed on the first two, pressed them to the side, then did the next two.  I learned to pin the fabrics so as not to have slippage.

Messy Ironing Paper

I printed out your parchment paper on my Laserjet, which can leave a residue on the ironing board, so I put down a piece of paper and pressed on that.  This is the messy paper at the end of my pressing session (sorry about all the transfer stuff).

Step Three

6_Cutting and Folding_1

Fold back your parchment paper in order to trim it up.  I sketched in the first fold, above, in pink.

6a_Cutting and Folding

Lay your ruler so that 1/4″ peeks out, then trim.  Again, I used Generations Quilt Patterns as a reference, if you need to read or see it differently.

7_First Row On

All four sides have been trimmed (those fold lines look so crisp in this paper!).

7a_Stitching First Row

Here’s what the stitching looks like from the printed side.  Notice I’m a couple of stitches over the line every time.  Generations recommends a full quarter-inch over, but it tore the parchment paper too much.  Two or three stitches will be fine.

Step Four

8_Second Row

Repeat this process, using the solids this time.  At this point you can do two at a time (opposite sides, like the yellow and green shown above).  Stitch those, press out, then add on the remaining two solid strips.  Stitch, then press open.

9_Cutting and Folding

You’ll turn the paper and fold back again, as shown this time by the green line, above.  Trim as in the previous step, all four corners.

10_Second Row Sewn

It’s looking pretty cute!  I like how now I start to see blunt ends on the corners.

Step Five

11_Third Row Beginning

Add on the next row of light bright print strips, again doing two (only) at a time.  Soon you can do all four, just not yet. Trust me on this.

12_Third Row Sewn and Pressed

Press open, then trim.

13_Third Row Trimmed

One nice thing about paper-foundation piecing is how nicely the points come out and how it is all perfectly aligned.

Step Six

14_Fourth Row

Still doing only two at a time (opposites) add on the next row of solids.

15_Fourth Row Sewn Pressed Trimmed

All pressed and trimmed up.  The blunt end is becoming more pronounced.

Step Seven

16_Fifth Row Pinned

Okay, now!  You can now pin on all four light bright print strips onto your pineapple, and lifting your needle/presser foot in between to pivot the paper and move to the new stitching place, then begin sewing again.  Clip through the traveling threads after you are finished sewing.

17_Fifth Row Sewn Pressed

It’s pressed.

18_Fifth RowTrimmed

And now, trimmed.  Keep going, keeping track of which row is solids and which row is light bright prints until you only have the corners left to do.

19_Penultimate Row Sewn

Step Eight

20_Outer Blocks placed

Some of you have 4 1/2″ triangles in your packet and some of you have 3″ x 6″ strips.  I show both in the following photos. To figure out the alignment, Generations Quilt Pattern uses a nifty trick of letting the point of the triangle guide you.

21_Outer Block Aligned

Line up the outer raw edges of the diagonally cut triangle, with the point centered in the square, as shown by the bright blue (above).  Stitch.

22_Outer Blocks Pinned

For the 3″ by 6″ strip, fold in half to find the center, then line that up with the center square, as shown.  Pin, then stitch.

22a_Outer Blocks SewnPressed

Corner blocks pressed.

Step Nine

23_Trimming

Okay, I know this ruler isn’t perfectly aligned (the phone rang right as I was going to snap the photo and startled me, and I didn’t find out until later how crooked it was). So, don’t do as I show, do as I did: make sure to only trim 1/4″ outside the solid line, all the way around.  DON’T TRIM ON THE SOLID LINE.

Ripping Off Paper

Once trimmed, turn it over and use Katie Pasquini-Masopust’s famous “Fatty Thigh” method for removing foundation papers (I learned this from her at Houston one year).  As she instructed us: lay it over your fatty thigh, and pop the papers off, starting on the outside, working in.  The parchment paper comes off so much easier for me than regular paper, so I hope you have an easy time of it.  Thank you, thank you!!  You are done!

Final Four

Here are four together.  I look forward to seeing all of yours!

–Final notes–

Boys in the Boat

I listened to The Boys in the Boat while working on this project, a fascinating story.  I’ll never look at this sport the same way again.

Parchment Paper

And the paper? Here’s a photograph of the information on the edge of my ream of paper.  I bought this paper several years ago, beginning with my Come A-Round quilt (below), a foundation-pieced quilt, and have used if for several other projects (including Scrappy Stars and I am currently using it for my selvage quilt).  It will probably last me until I die, and although not cheap (I think I paid 35 bucks for this ream) I feel like it was a great investment.  I bought mine at my local Kelly Paper store.

Come A-Round, full SM

Yep,  all those spiral dotty circles in the middle were arcs that were paper-foundation pieced on this paper.  The pattern is a Piece O’ Cake Design, titled Everyday Best.

˚˚˚˚˚˚˚˚˚˚˚˚˚˚˚˚˚˚˚˚˚˚˚˚˚˚˚˚˚˚˚˚˚˚˚˚˚˚˚˚˚˚˚˚˚˚˚˚˚

My blogging software places ads here so I can use this site for free.  I do not control the content of these ads.