Or, the Almighty Sawtooth. Or the Magnificent Sawtooth. Or the Sawtooth Supreme. But first:
The famous novelist, Joyce Carol Oates, talked about what she turns to after she finishes a novel, as she described herself then as spent, and empty. Poetry, she said. I was sitting in that audience when she gave that talk, and it taught me the value of not abandoning the craft when weary. But it also taught me that it’s okay to take a moment after going full steam ahead, a thousand hours a week, pedal-to-the-metal. This week was one like that, maybe not like writing a novel, but the always On, always Going, and by Thursday, I turned to my kind of poetry: sawtooth stars.
A rendering of a current popular pattern, but I’ve done this before:
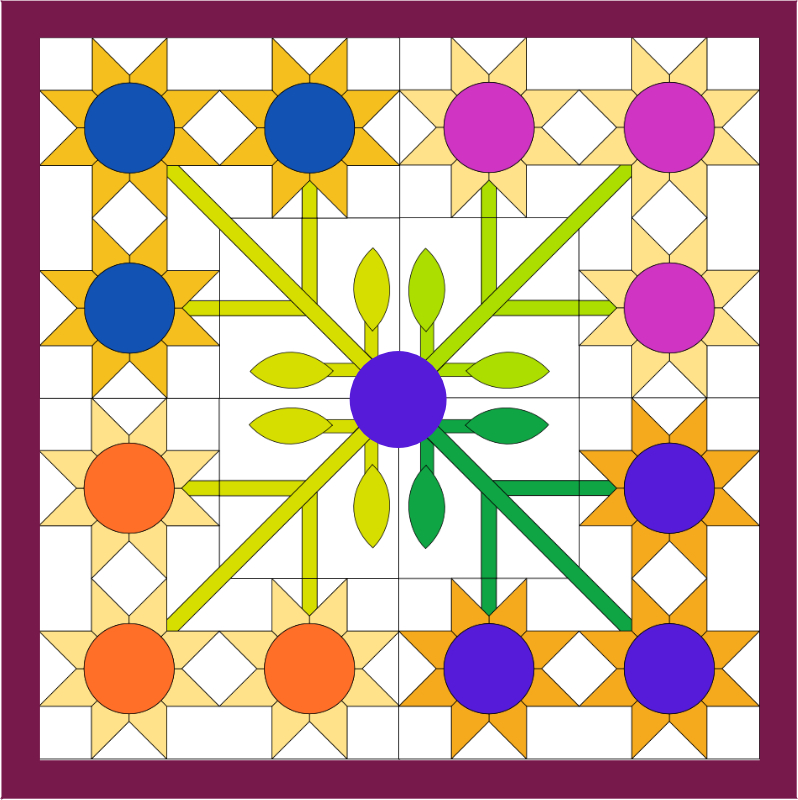
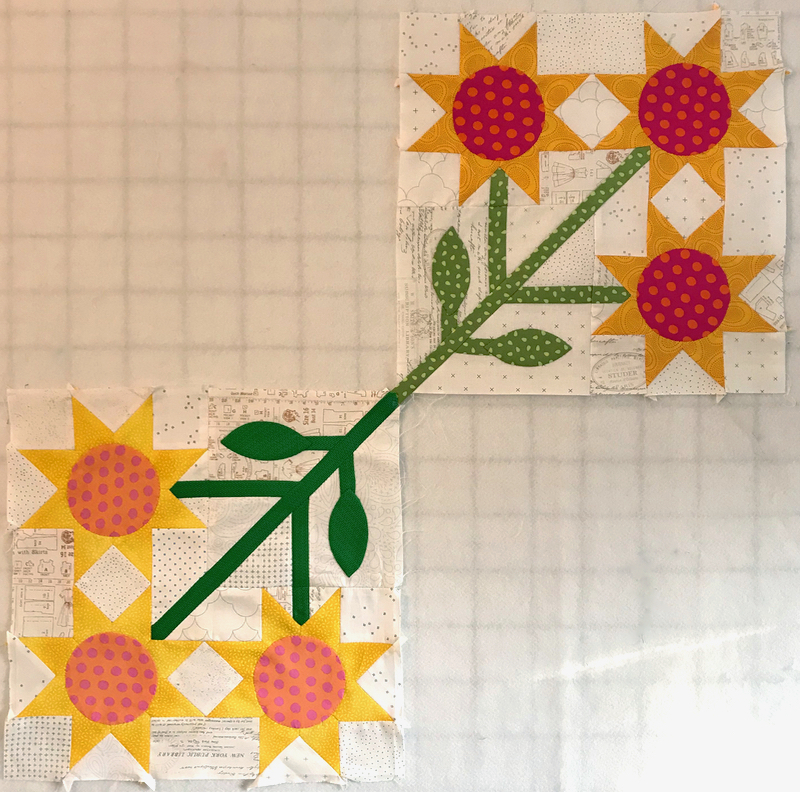
“This” being to make an outer frame of the sawtooth’s Flying Geese blocks, and insert a design in the center. Why do we like the Sawtooth Star so much? I think the answer to that lies also in why we like star blocks so much. And it was to this I returned this week, after dancing around with multiple combinations of everything for the Granny Square blocks.

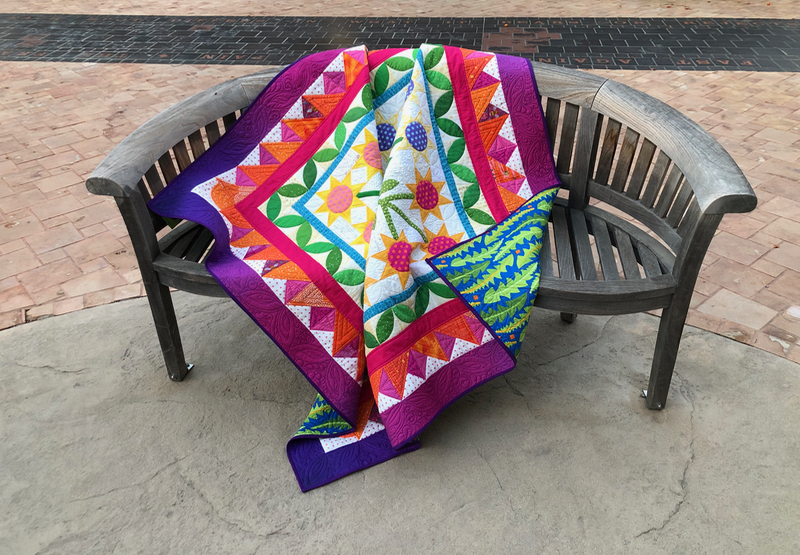
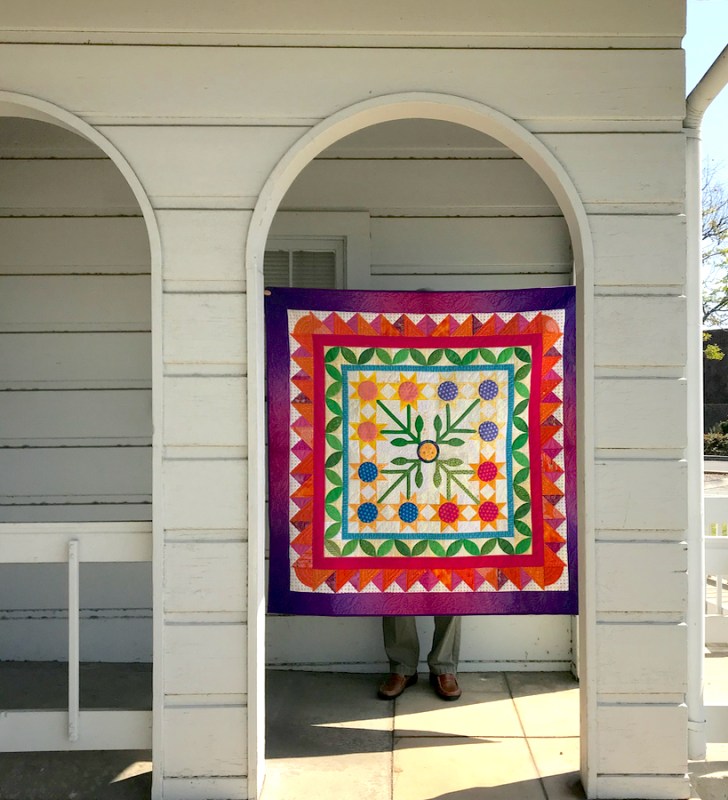
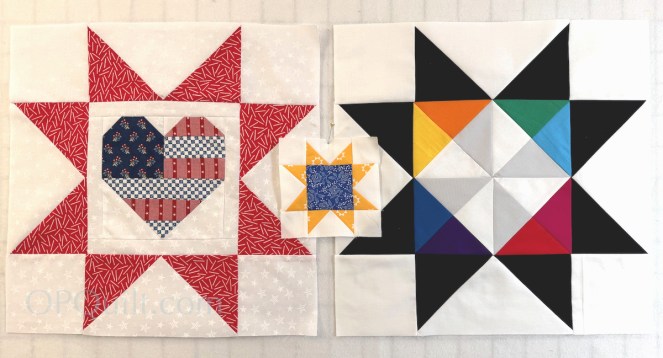
I’ve had this sawtooth star idea floating around my sewing room for probably five years, the how-to sheet pinned to my design wall just to the side (see the free download at the end). It was time. The large block measures 20″ finished.
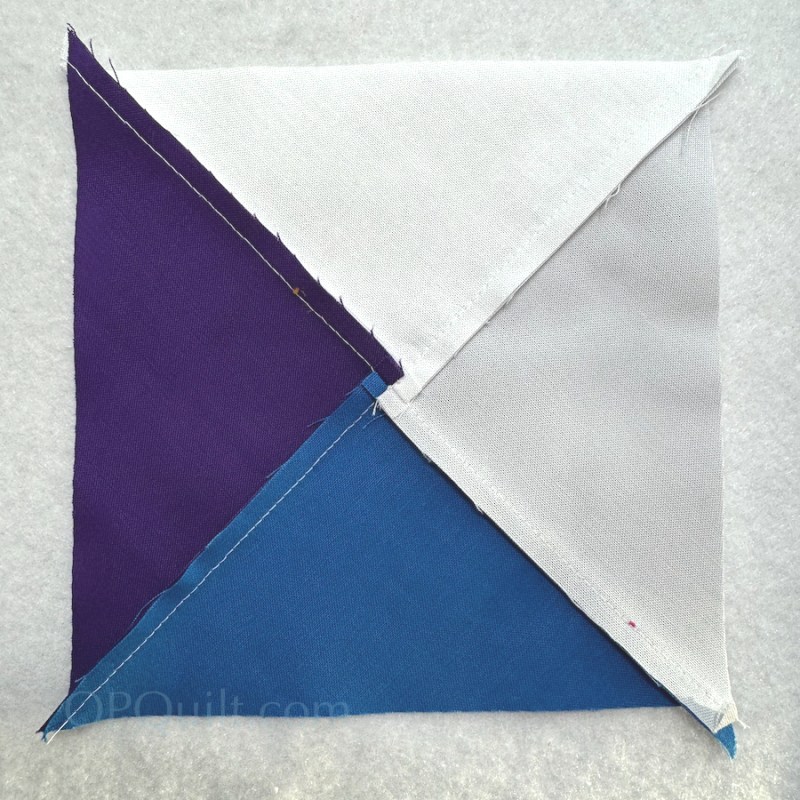
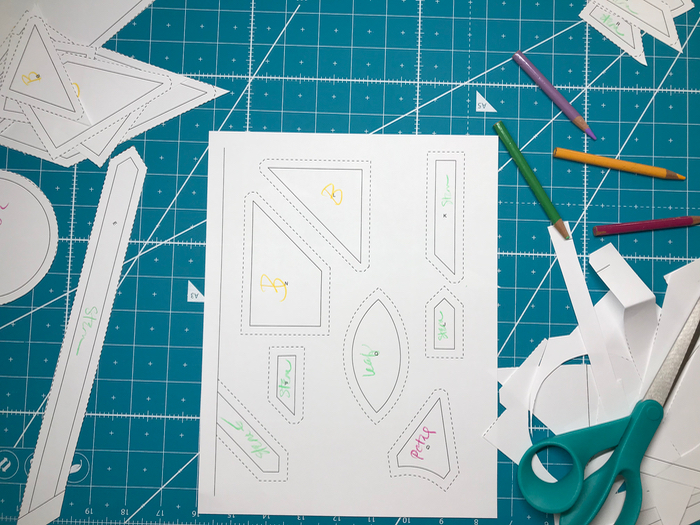
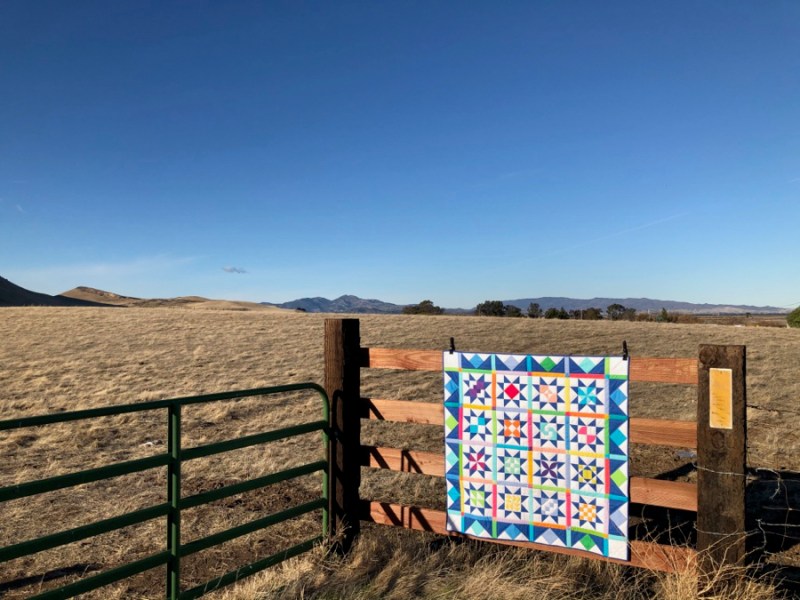
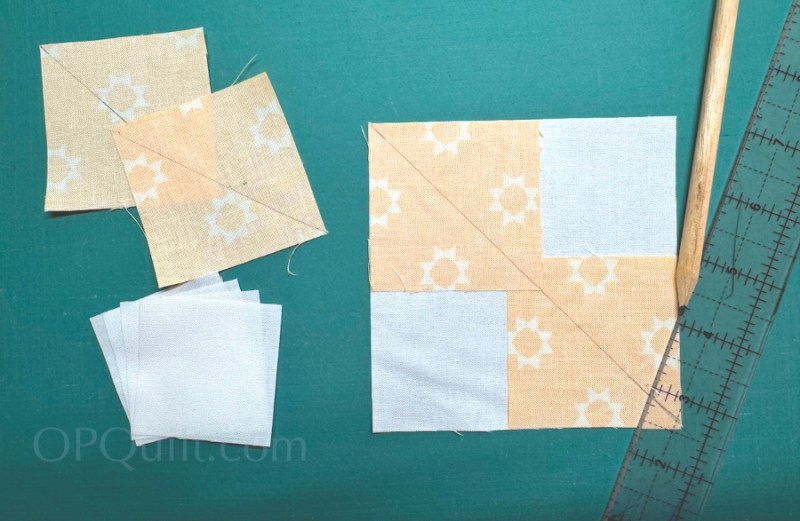
The handout/pattern is pretty loosey-goosey but after you make the inner quadrants, trim them to 5 1/2″ square, making sure you are centered with your ruler. And maybe also centered in your soul. Kidding.

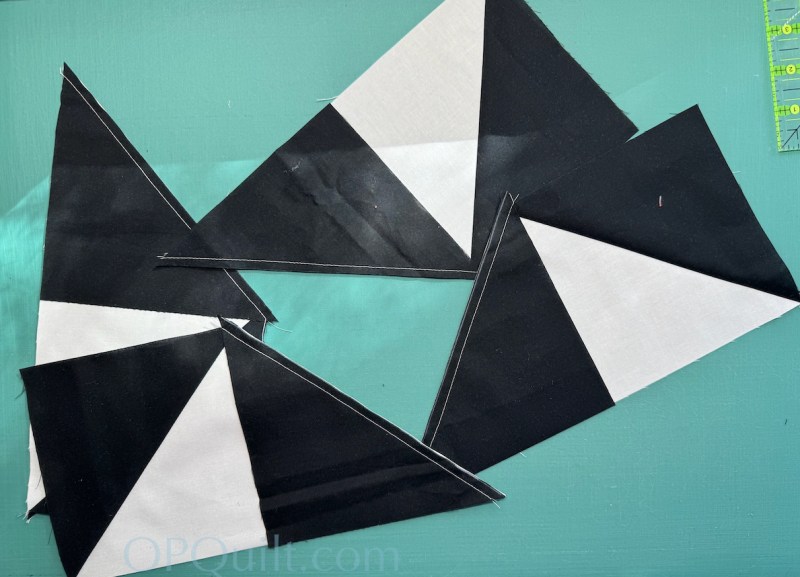
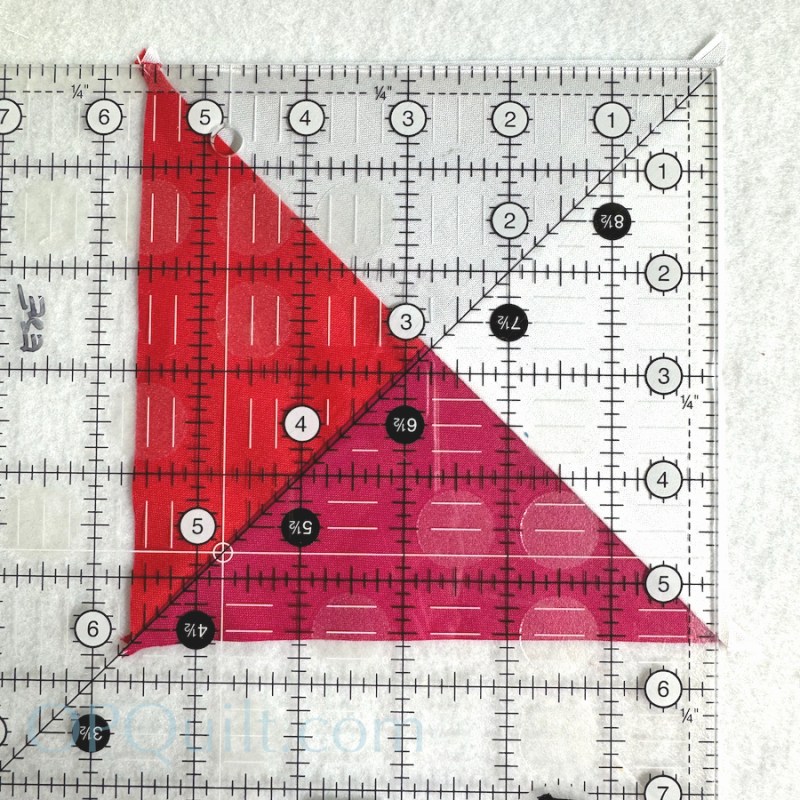
I like to make my Flying Geese components using the four-at-a-time method. I have a whole post about that here, and the free tip sheet can be downloaded from that same post. Or from here, in my Beginner’s Series of blocks.
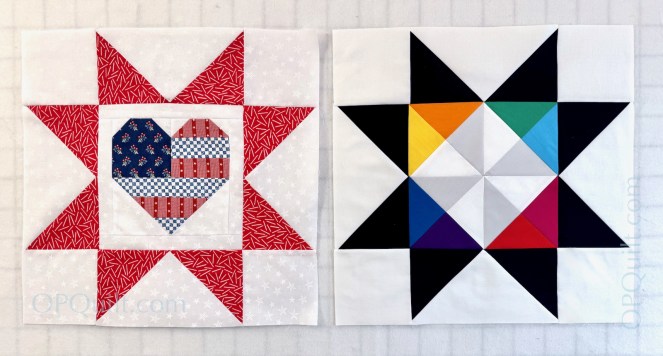
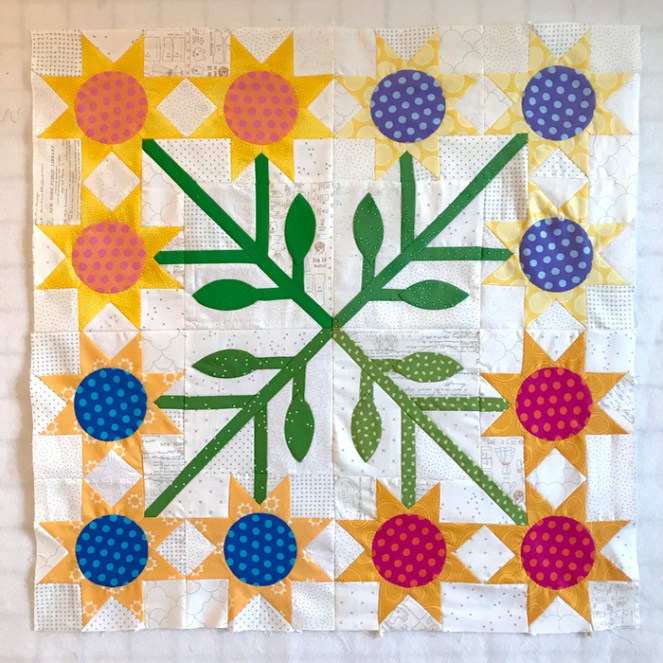
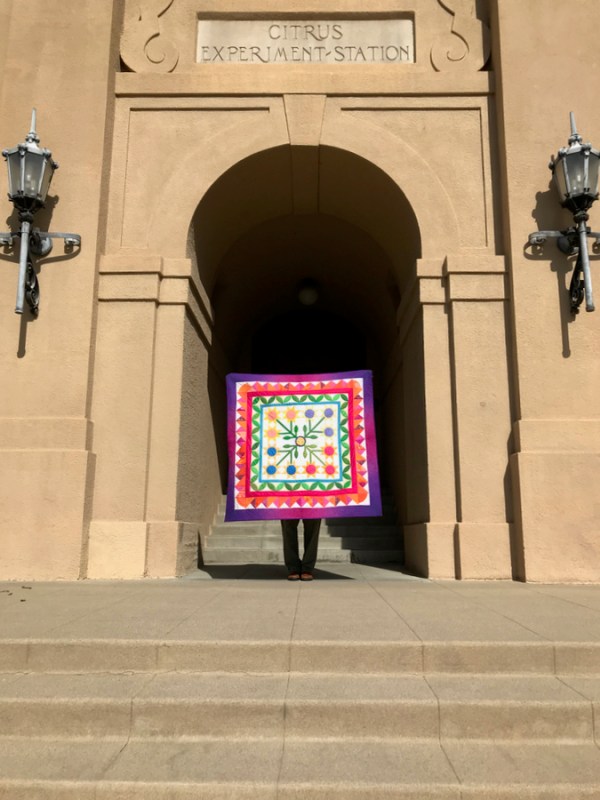
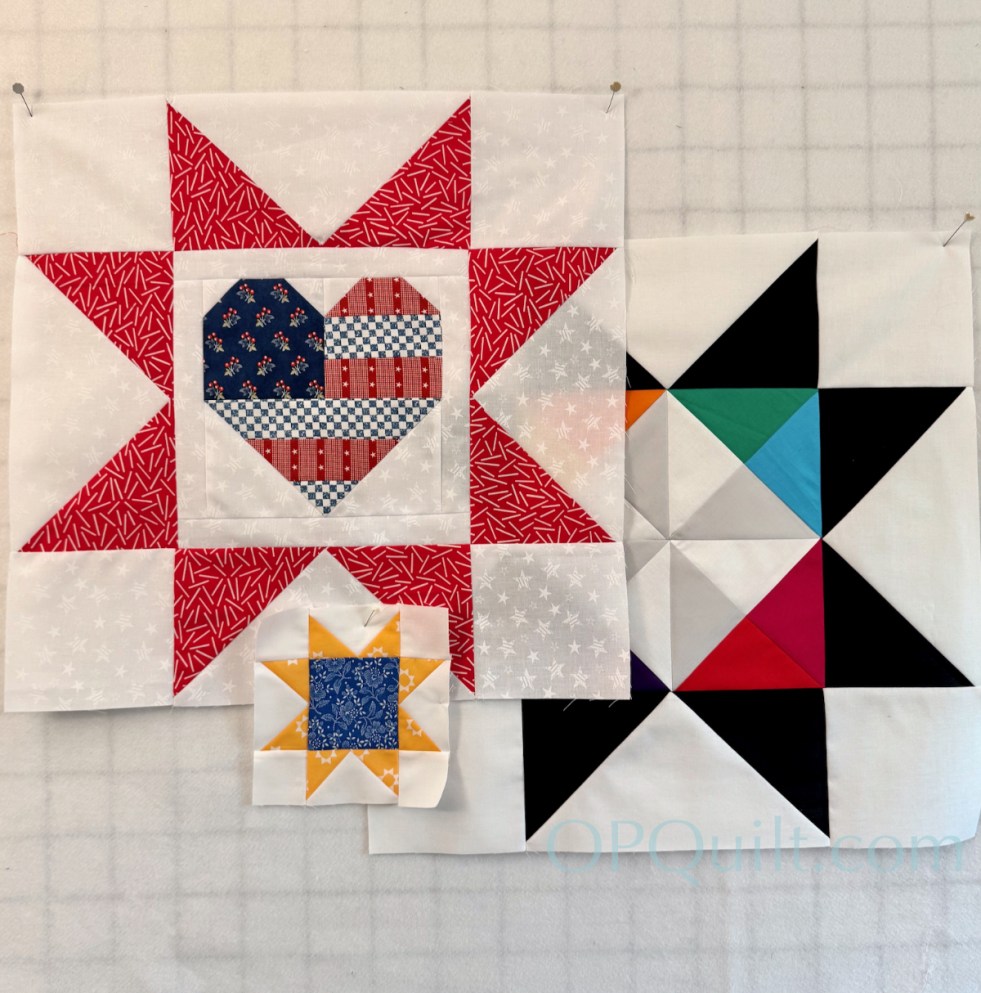
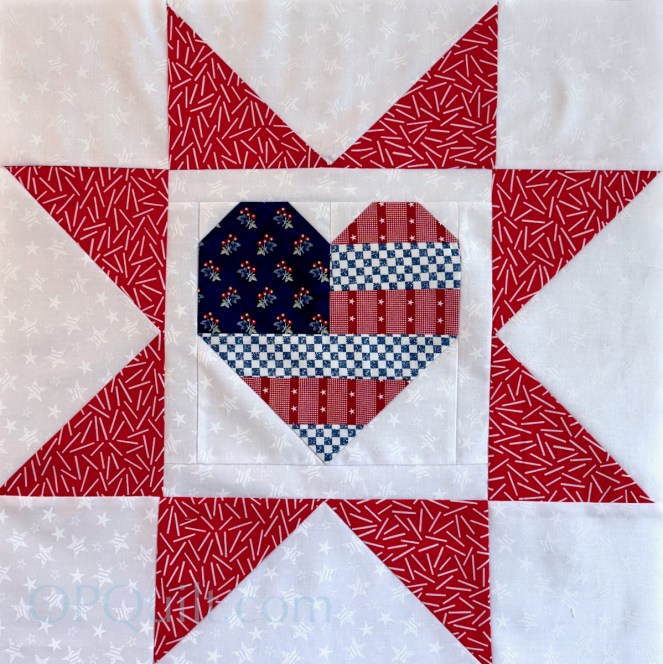
As I mentioned, these are jumbo blocks, 20 inches square, finished. The one on the left is destined to be quilted and then made into a pillow for — what else? — Flag Day, which is today! (Put out your flag and celebrate America’s 250!) The multi-hued block will probably kick around my sewing room for another few years until I decide what to do with it.
But there is one more.
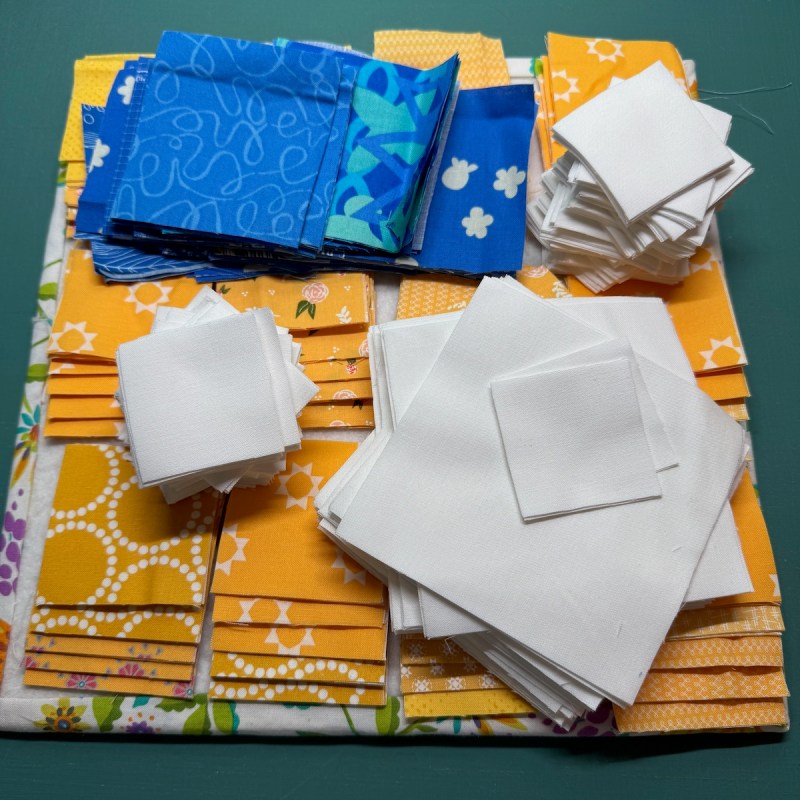
Yellow and blue are two of my favorite colors.
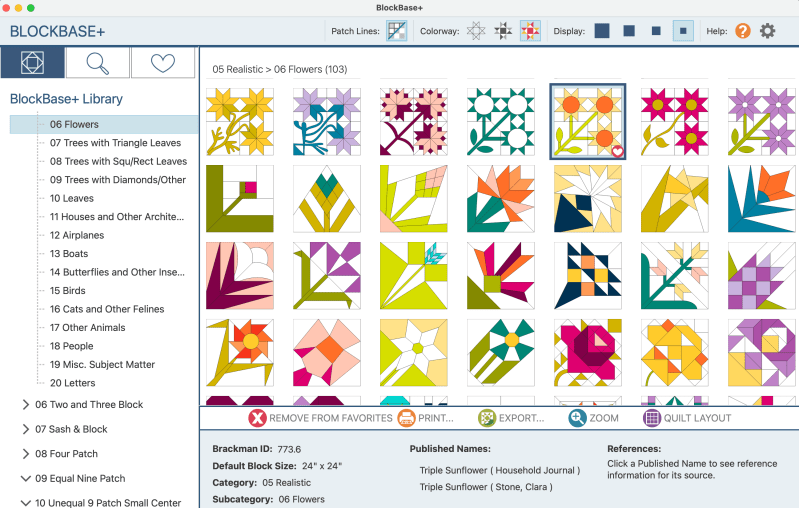
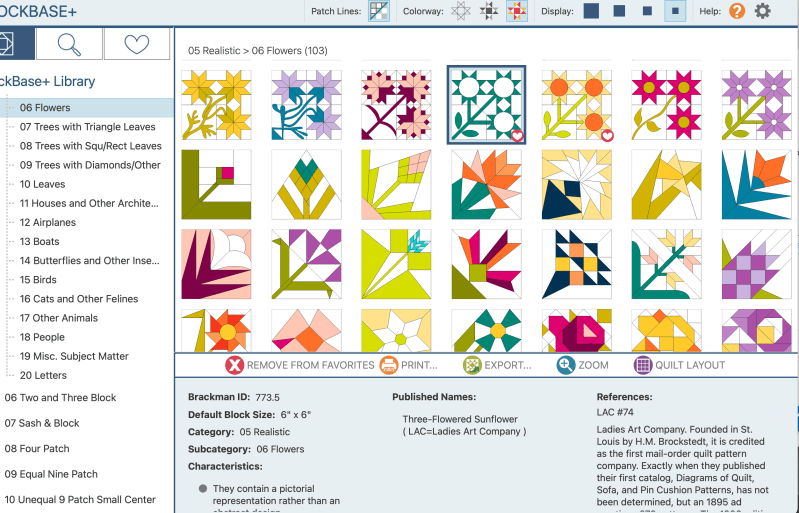
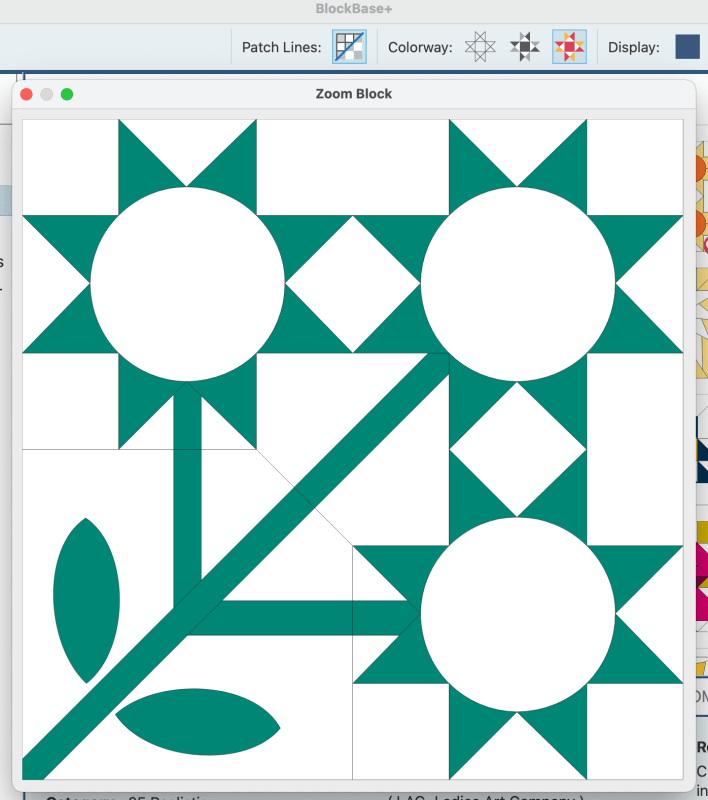
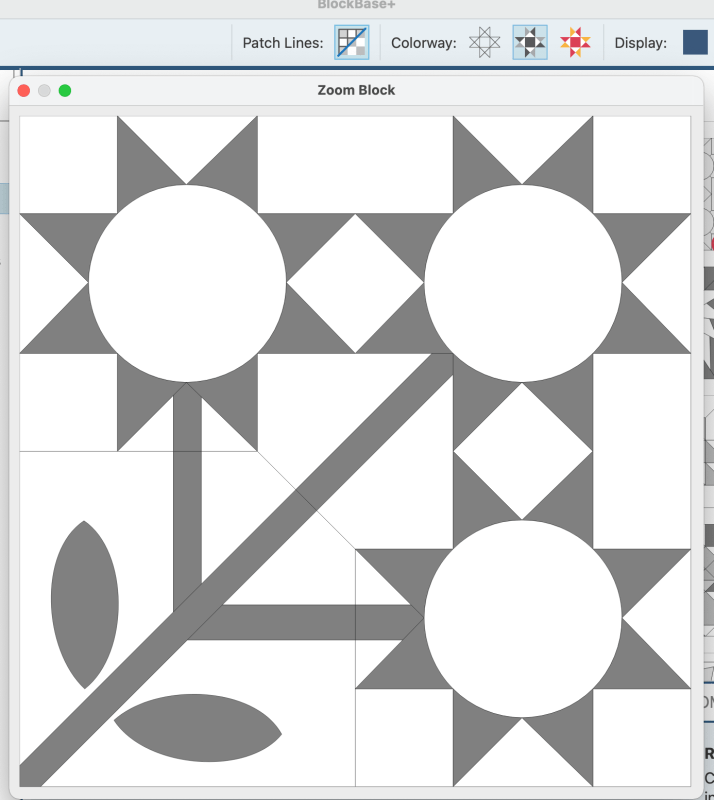
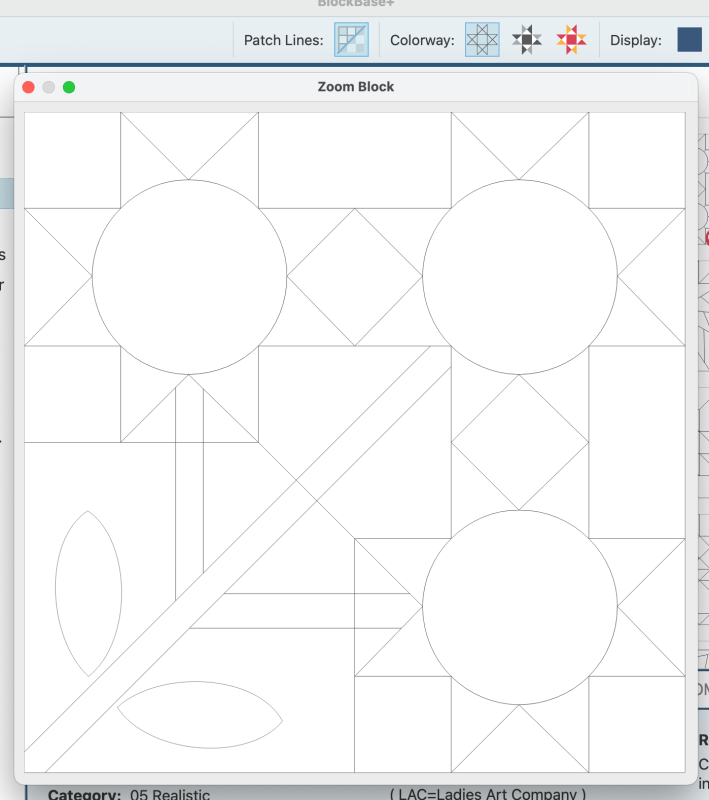
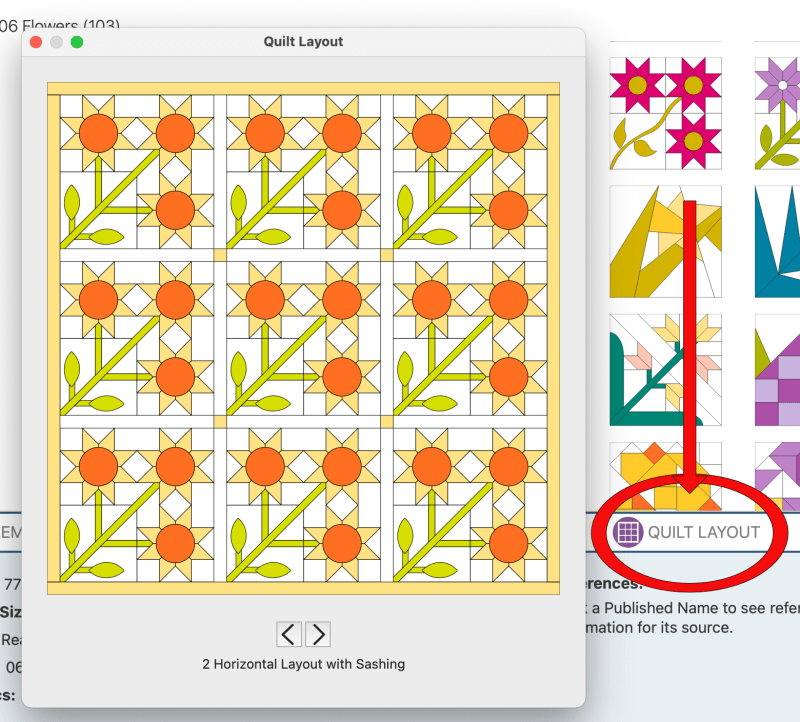
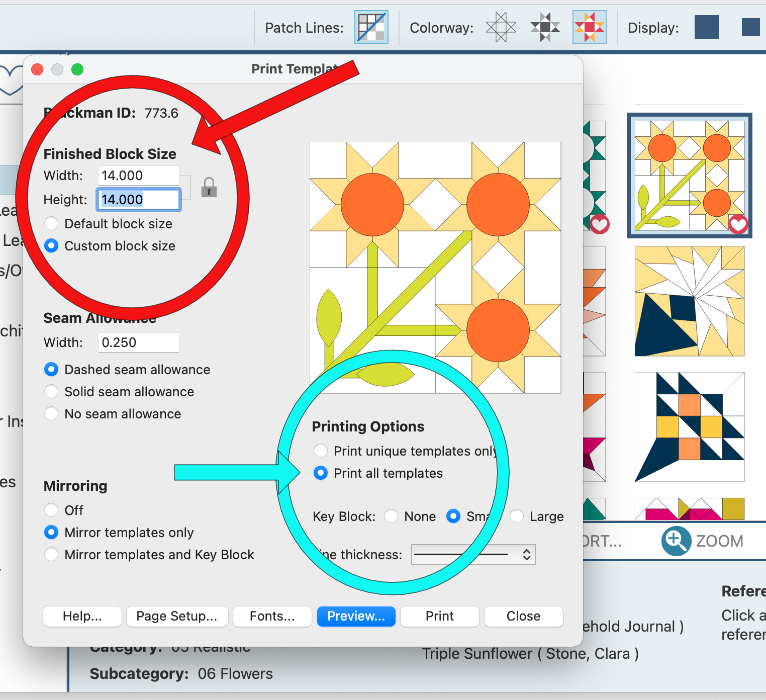
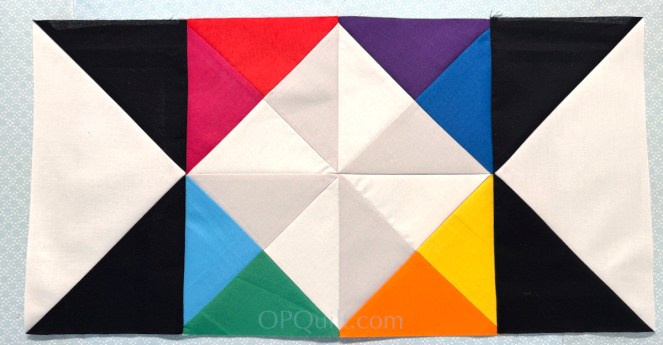
This came from when I was experimenting with BlockBase+ software and wanted to insert blocks into a different frame than a Sawtooth. Original post is here.
And now I wanted to finish this idea.
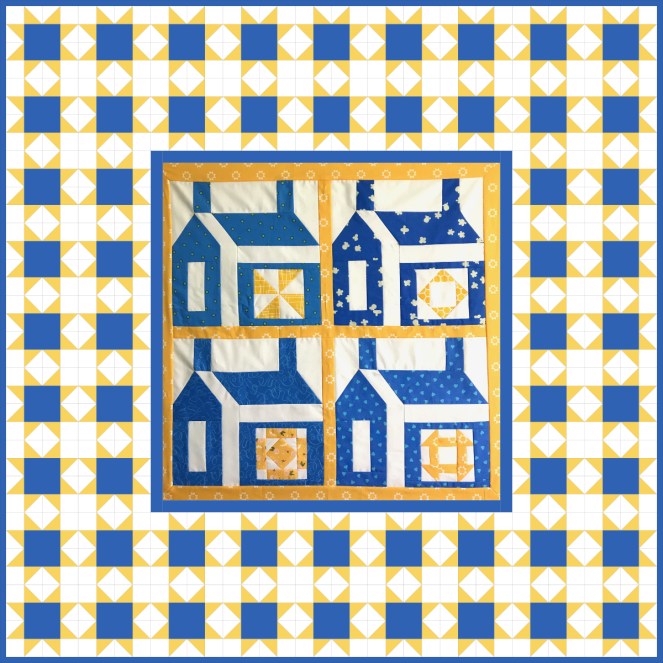
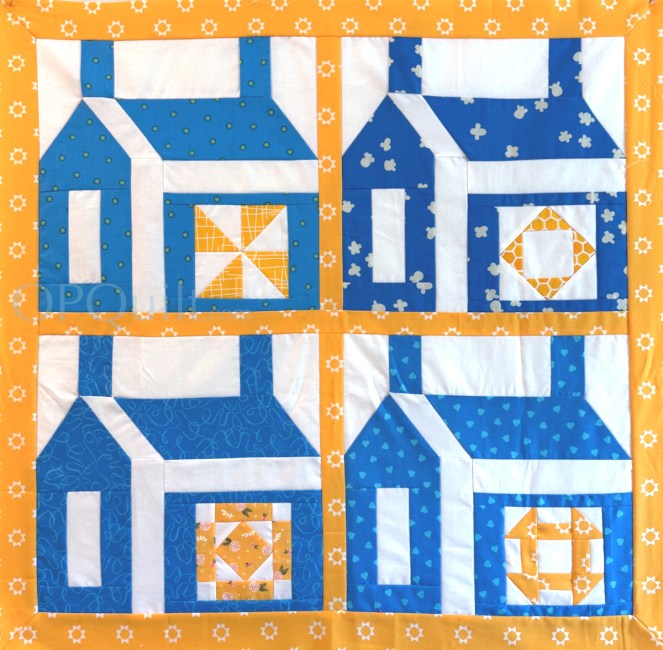
Here’s something I sketched up in my Affinity Designer software. That’s a total of 64 sawtooth blocks surrounding my houses, and finishes at about 55 inches square, a nice wallhanging size. I included the info when I revised the Build Me A House pattern. (It’s a PatternLite pattern: cheap.)
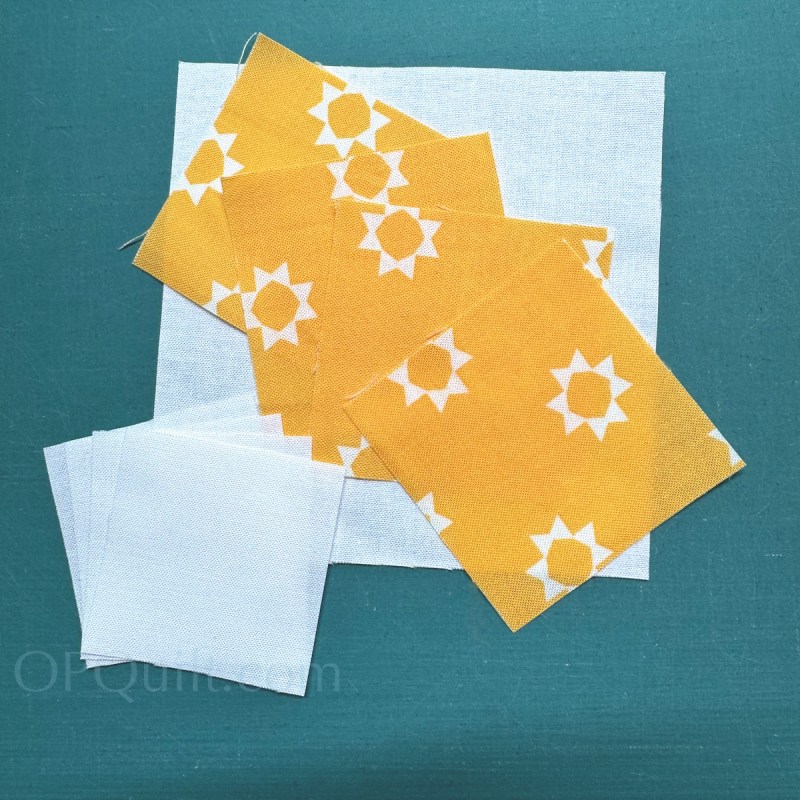
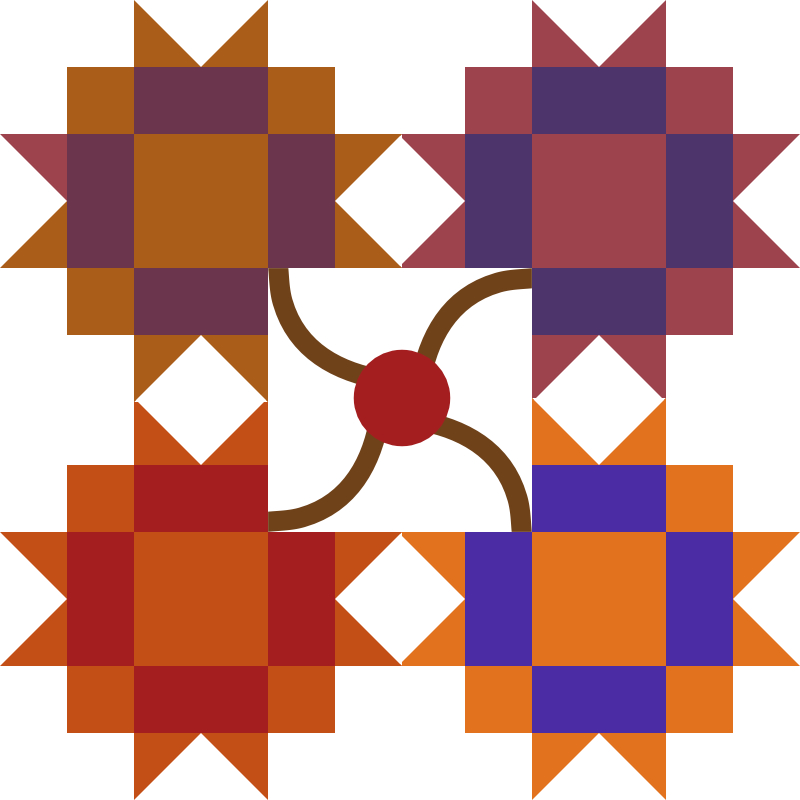
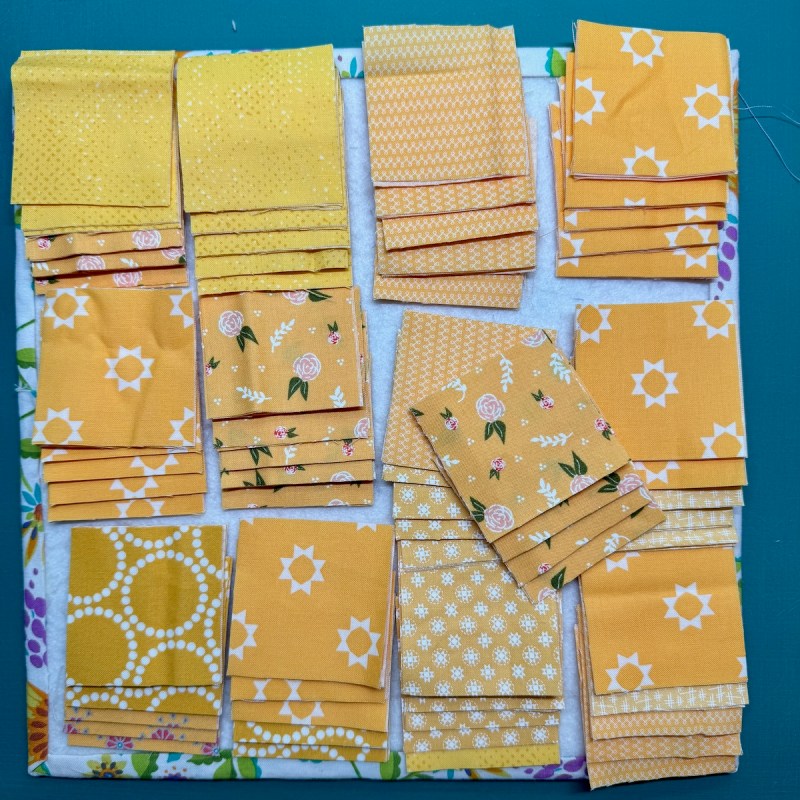
This block finishes at 6″ square — after spending several hours on the two jumbo sawtooth stars, this was made in a blink of an eye, it seemed like.
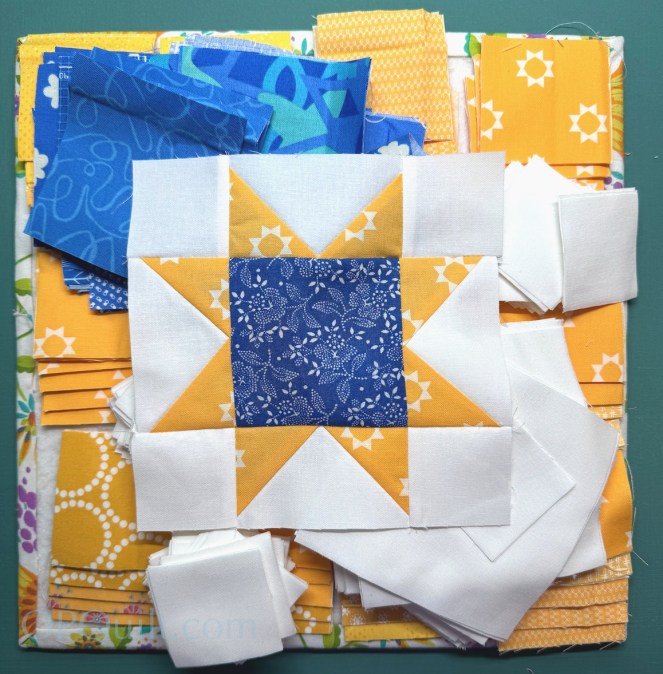
First one done, sixty-three to go. That blue fabric in the center square is from my very first quilt. I try to slip it into my current quilts when I have a chance.
It’s been lovely to spend some time writing poems–

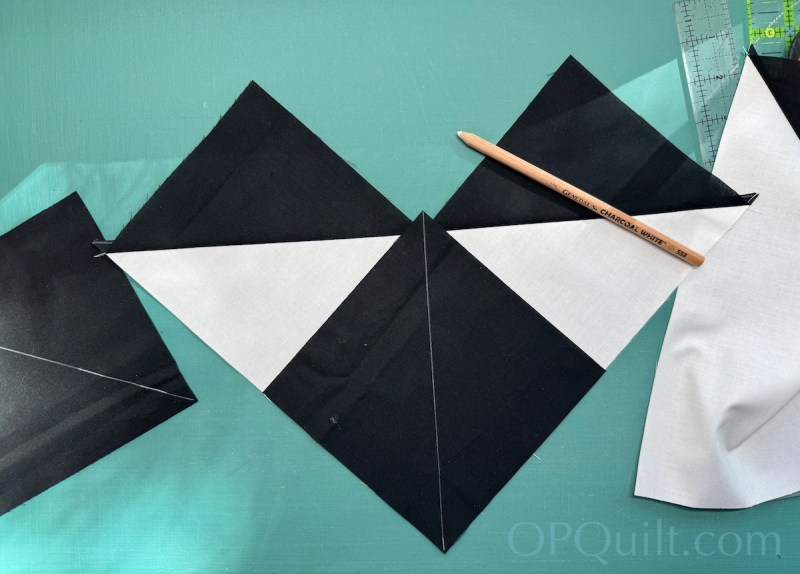
Before I sewed on the top Flying Geese: I thought it looked kinda cool.
If you are honoring the 250 anniversary of the Constitution and Declaration of Independence, be sure to visit the Official America 250 website. There are some fun ideas on there to commemorate and celebrate!