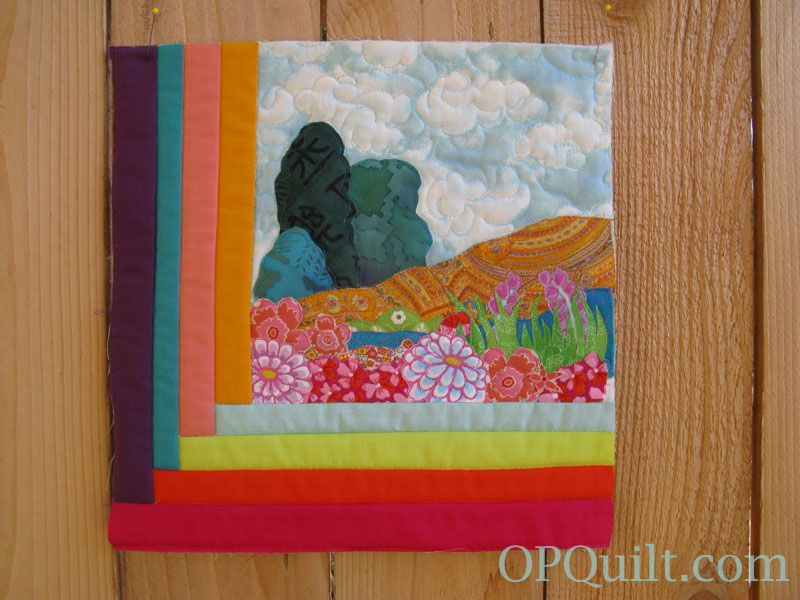
The Woods Run Mad With Riot
A Four-in-Art Quilt, August 2015
#3 in the Literature Series
As always, my exploration of a subject in this series starts with the literature, and the poem I had originally chosen just wasn’t cutting it. It didn’t evoke that hot, slightly wild feeling that day after day of hot weather can produce, when even Mother Nature seems slightly out of control, patting her damp forehead with a handkerchief, swooning slightly at how overcome her gardens are, the tempo and volume of the cicadas and crickets and birds, and wondering if she’ll last out the heat. THAT kind of evocative.
So I went hunting and found a new poem that did the trick:
And how in heaven’s name could I pass up a poem that had such a great closing line: “the woods run mad with riot”? So that became the title of this piece — immediately — and I tried to figure out how to express this in fabric. While I normally do a deconstruction post after my reveal post, I’m combining them into one this time.
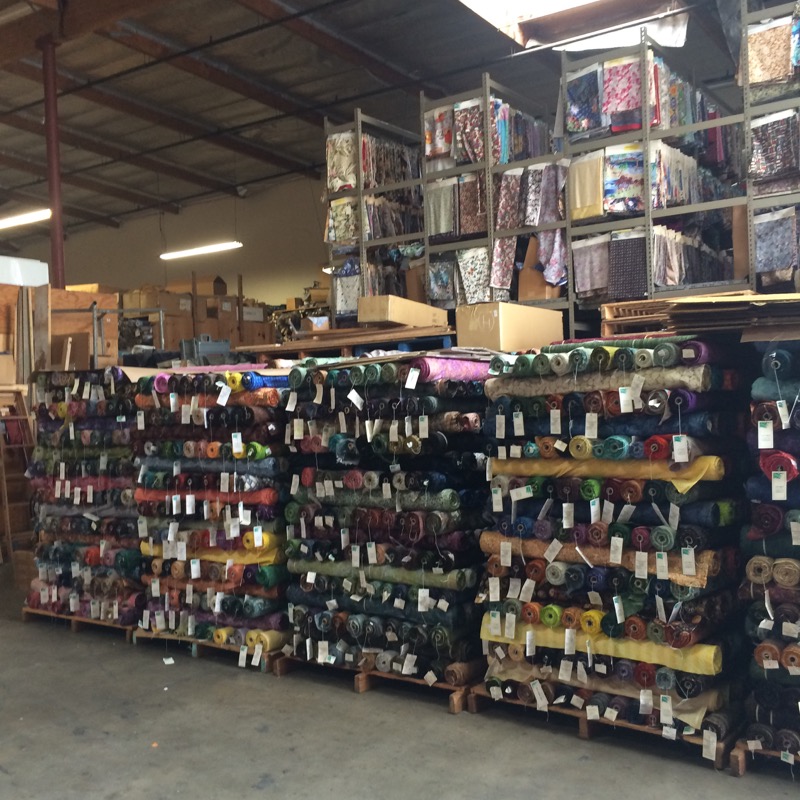
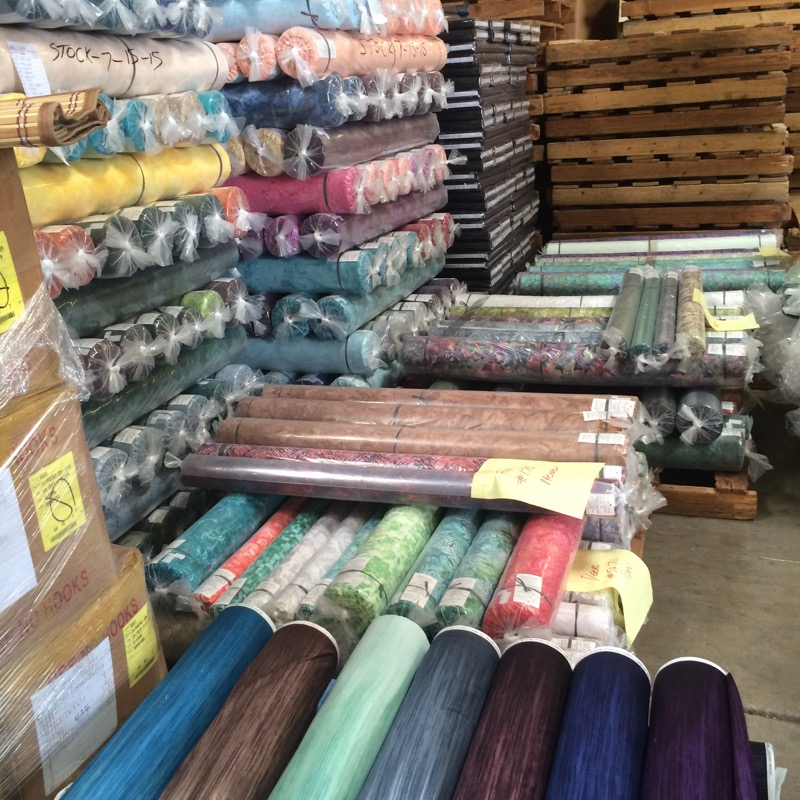
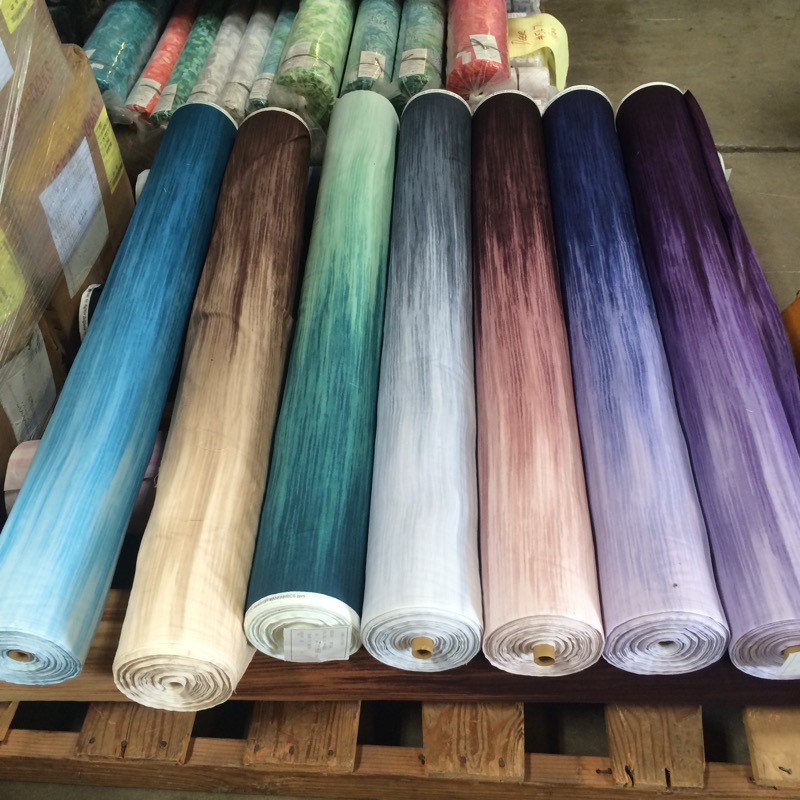
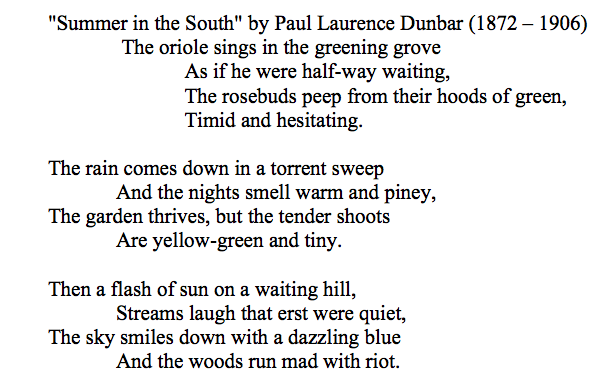
The trees in the background would have to be slightly oppressive, the sky colors clear, not soft or muddy, and when I found this great paisley fabric in gold, things just started to gel, as I thought it looked like a field crisping up, the tractor marks a design in the tall wheat fields. Or whatever fields. The poem has a line about shoots being “yellow-green” and there’s something about water, so here we go. I used SoftFuse Premium this time, my new go-to fusible for fabric. I pressed the paper-backed fusible to the back of the fabric, let it cool, then free-form cut the shapes, remembering to work backwards visually, so it would come out correctly after I peeled off the paper. (Note: In other quilts, I have peeled off the backing and cut what I needed freehand, without using the paper for drawing. Here are some tips for using SoftFuse Premium from Marti Michell’s blog.)

I thought about borderie-perse, that method of appliqué that has always seemed to me to be rich and visually saturated, and since this poem is leading me onward, I turned to this technique, cutting around blossoms and wads of flowers and slipping them into place to build up my scene. The SoftFuse is slightly tacky on the back, sort of like a Post-it note, so I can stick it down and it won’t move, yet I can reposition it when I need to.

I know that I will be adding log-cabin-type strips to the edges; here I’m auditioning colors.
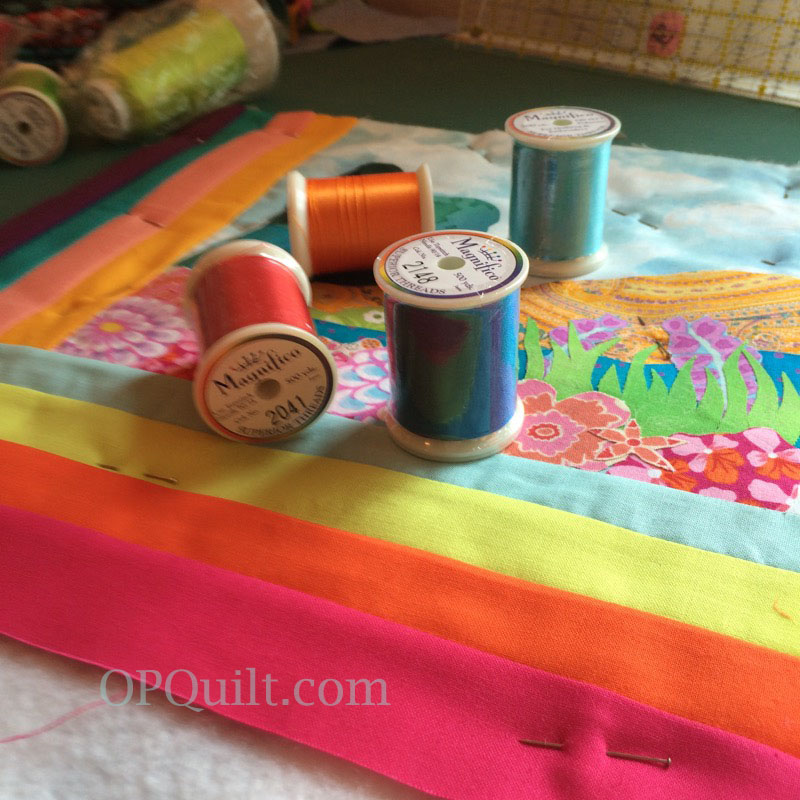
I sewed the strips on the edge, then auditioned threads for quilting. I’d picked up quite a few Magnifico spools from Superior Threads, a mid-weight poly thread with a lovely sheen and I just have to say I love this thread. I use Bottom Line in the bobbin, lower my thread tension by half (from the 4.2 range to the 1.9 range) and it all quilts up beautifully. I stitch around all the flowers, put a bit of quilting in the stream and field, and quilted around the clouds.

Time to trim.

Here it is with the other two, already done. I can already see that the last piece is going to need to be bold as well. And I may have to rework Winter a little bit. Hmmm. . . not while it is so sweltering hot. I need to just sit on my porch, letting the afternoon breezes cool this place down, sipping something cold and icy and refreshing, while fanning myself with a wide-bladed palm leaf fan, swooning a bit. It’s that kind of a hot summer!


![]()
About Us: We live all over the world, from Scotland and Australia to the continental United States. Our blog is *here.* Please visit the other members of our Four-in-Art Group and see their Literature Art Quilts: