Patterns by Elizabeth of OPQuilt · Quilt Patterns

Continuously Hung up In Bias (aka Failing Forward)

Not that kind of bias. I had to teach that subject when I was an English teacher, and it was a struggle getting the ideas of Preferences vs. Bias into college Freshmen Heads, as well as why they should avoid bias if they can help it.

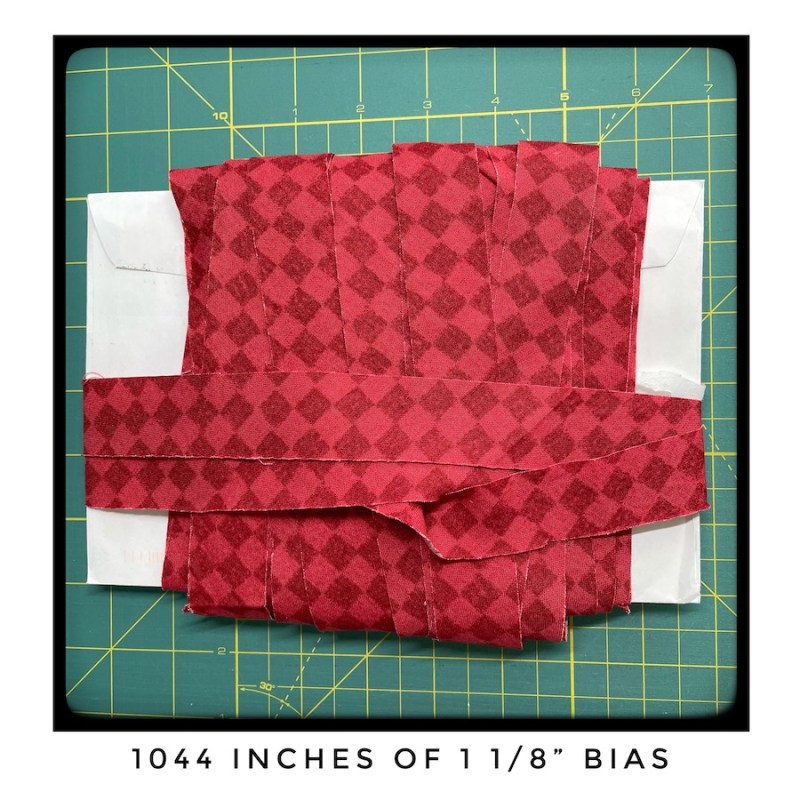
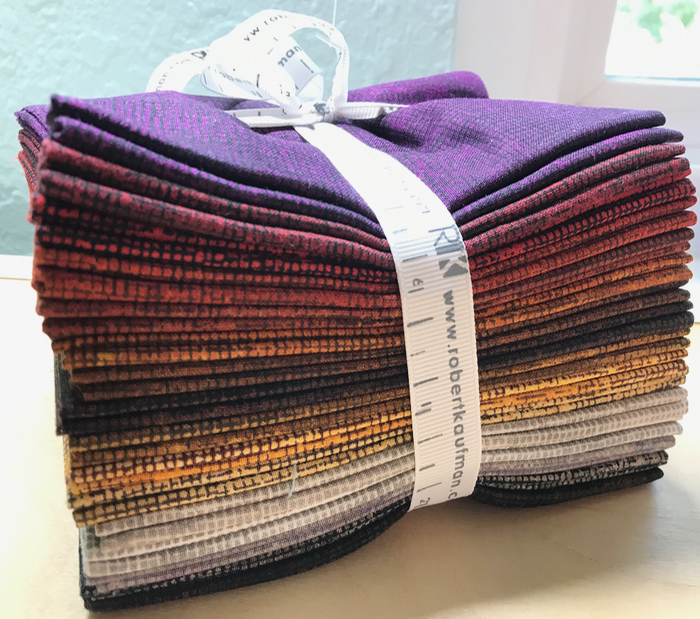
So you know I’m working on this new pattern, and in one section it calls for a lot of self-made bias, kind of like a self-made woman, but less flashy. I knew I needed about 1044 inches, so I thought–sure, I’ll do it all in one swoop.

Wrong.

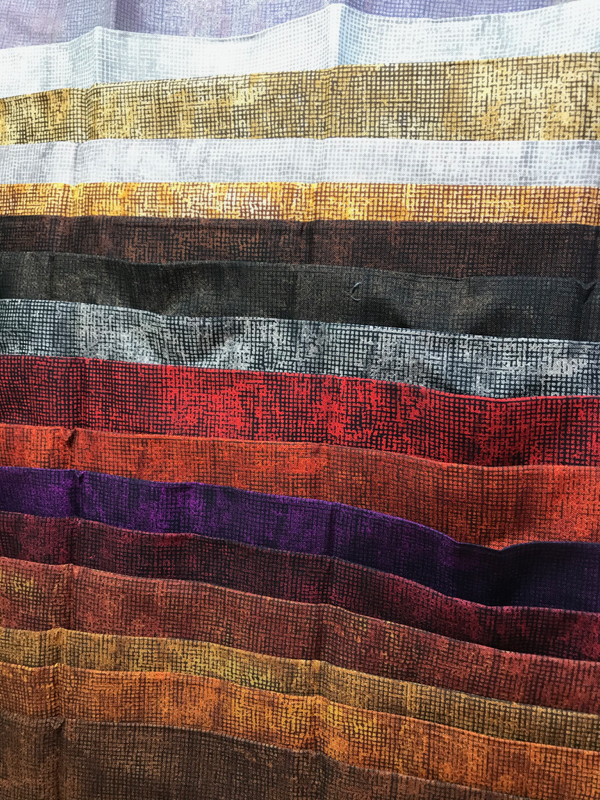
If I put this into the pattern like this you would all get out your seam rippers and come after me. Thinking about this, I wound it on a large envelope (above), winding and winding and winding.

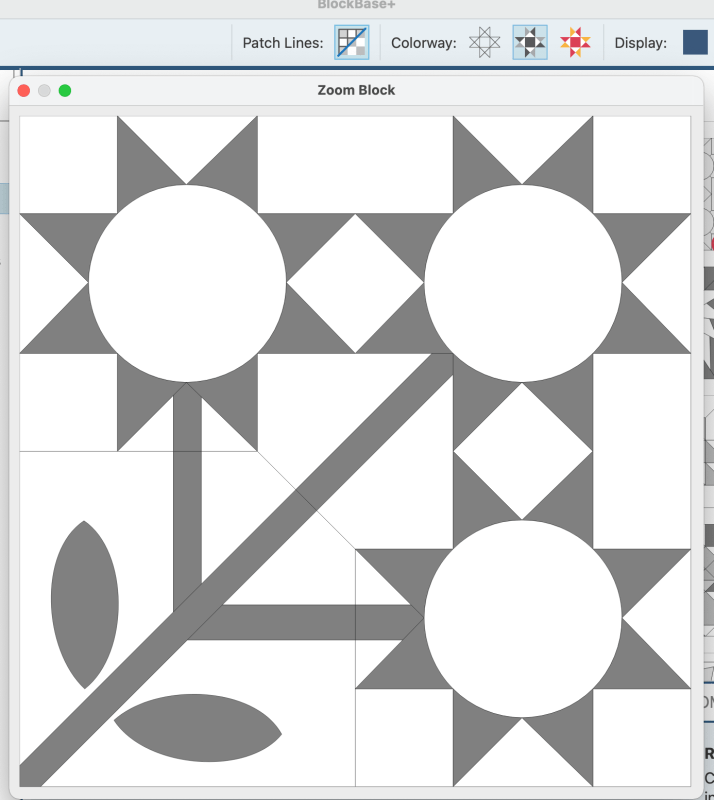
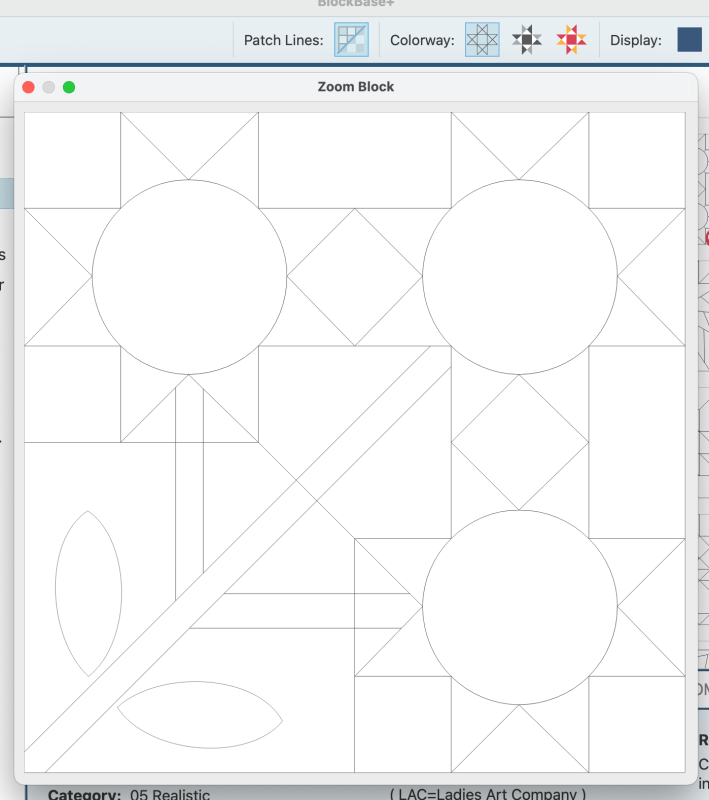
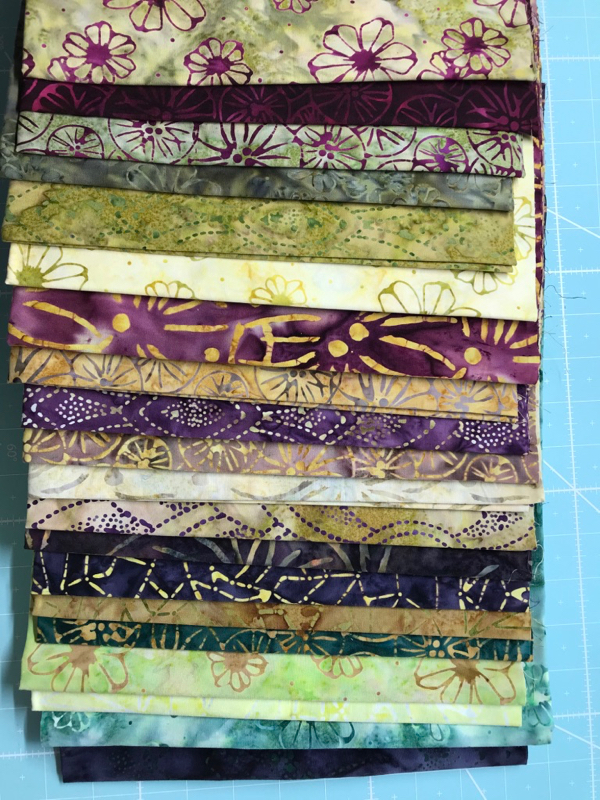
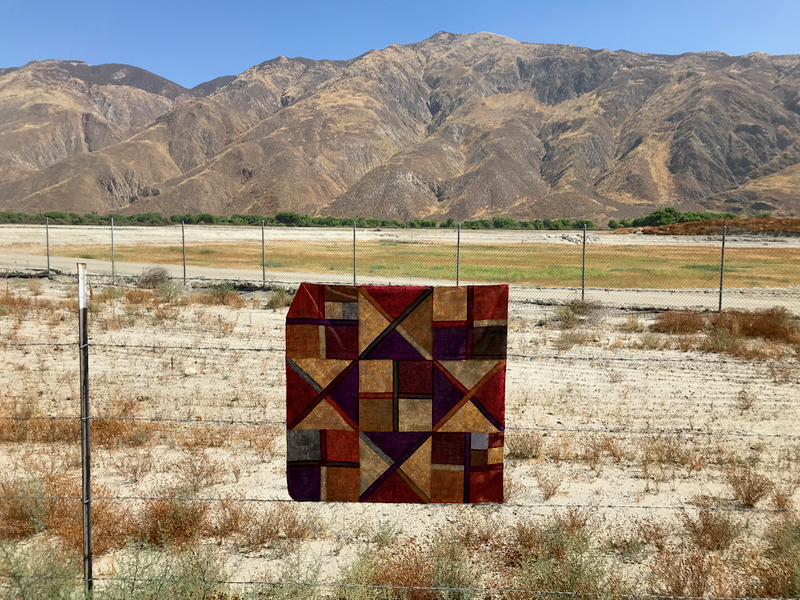
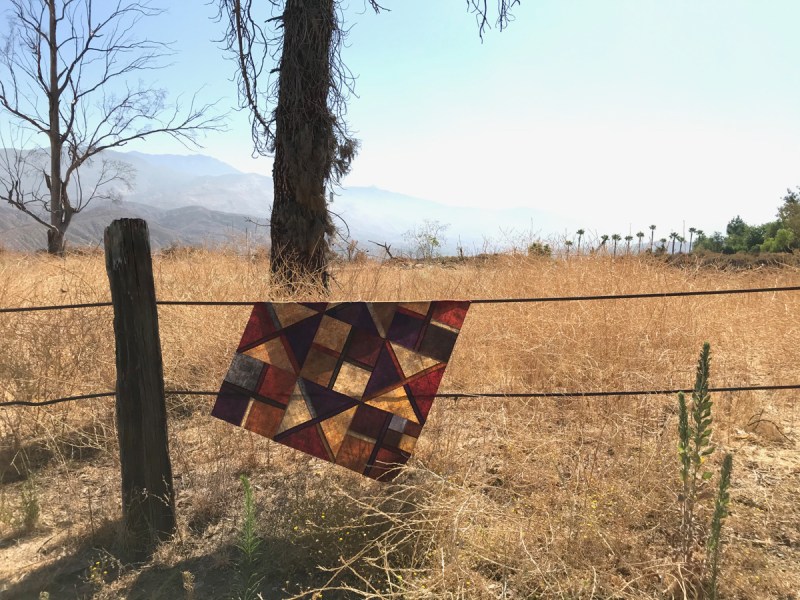
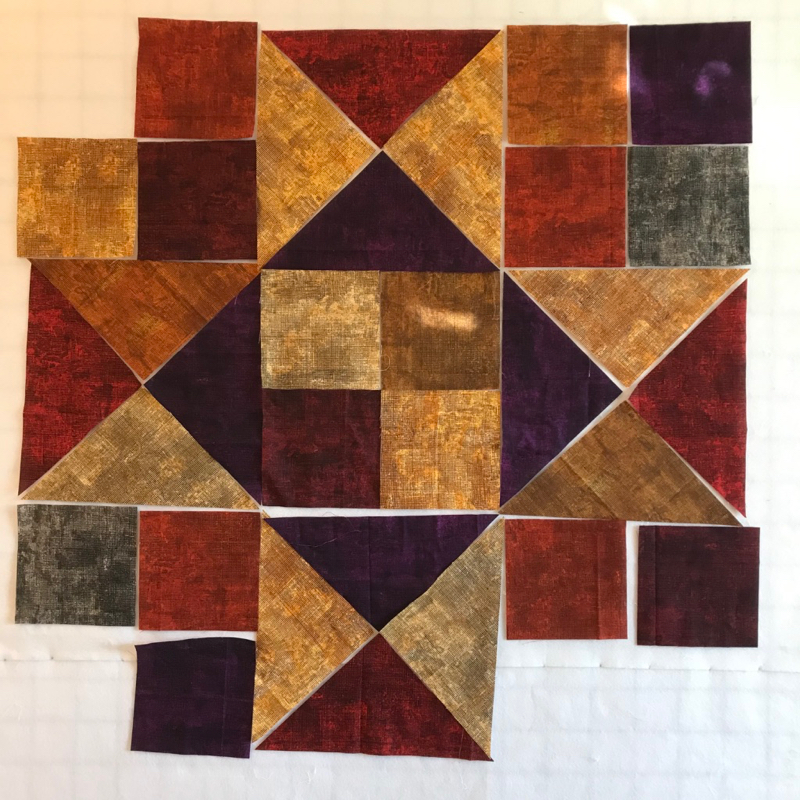
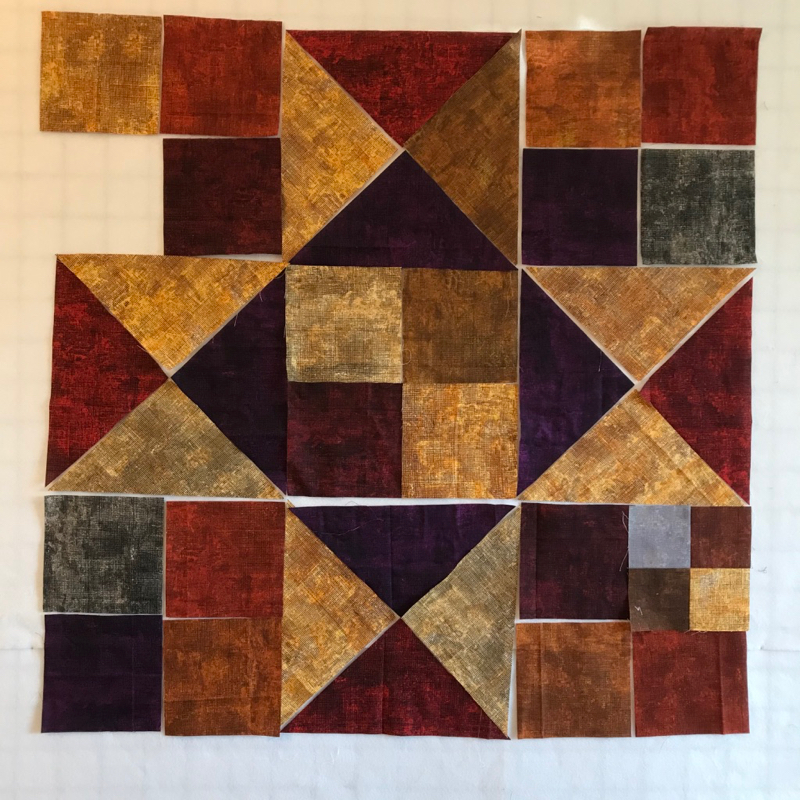
So the basic drill is cut a giant piece of fabric after doing math that involves square roots (!), then slice off a chunk on a 45-degree angle and sew it to the other side. NOT like the arrangement in the first photo, but more like the arrangement in the second photo. Two bias edges on either side and cross-grainy bits on the top and bottom.

Ever tried. Ever failed. No matter. Try again. Fail again. Fail better. (Samuel Beckett)

Usually, then you draw lines parallel to the bias edges the width you want your continuous bias. I looked at several websites, but Ann of Obsessive Quilter had the best explanations I’ve seen. Thank you! I was swimming in a sea of geometry and square root equations. She has three versions of the next steps, and I liked (and tested out more than once) her method of cutting strips:

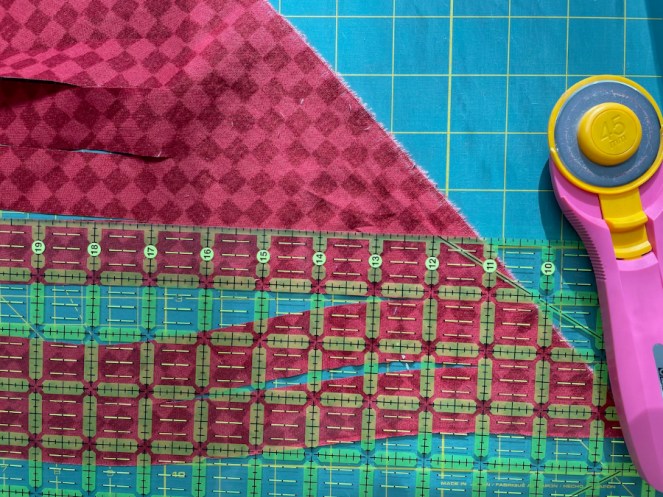
Using rotary cutter was the selling point. None of that 1000 inches of using scissors for me!

So lovely, I hung it on the wall <cough>. Then proceeded to get it all tangled.

Success consists of going from failure to failure without loss of enthusiasm. Winston Churchill

Untangled and getting ready for the next steps, which are a hybrid of Ann’s. I tried this two more times to make sure I could do this and write it up so you can do this. Instructions will be in the pattern. Which is coming. [Because of recent events, November was obliterated.]

One fails forward toward success. ~ C. S. Lewis

This Quilt Is A Mess, from ages and ages ago — a real genuine failure

Fail early, fail often, but always fail forward, a quote attributed to John Maxwell, was ringing in my head as I cut and cut and tried and tried to master continuous bias. I only seemed to get stuck — not really a failure — but I tried to learn from each of my stuck places. Trying to make all the quilt’s continuous bias all at once? Not a good idea. Figuring out how long the bias needed to be? Thank heavens for scientific calculators (an iPhone tipped on its side while in Calculator mode).

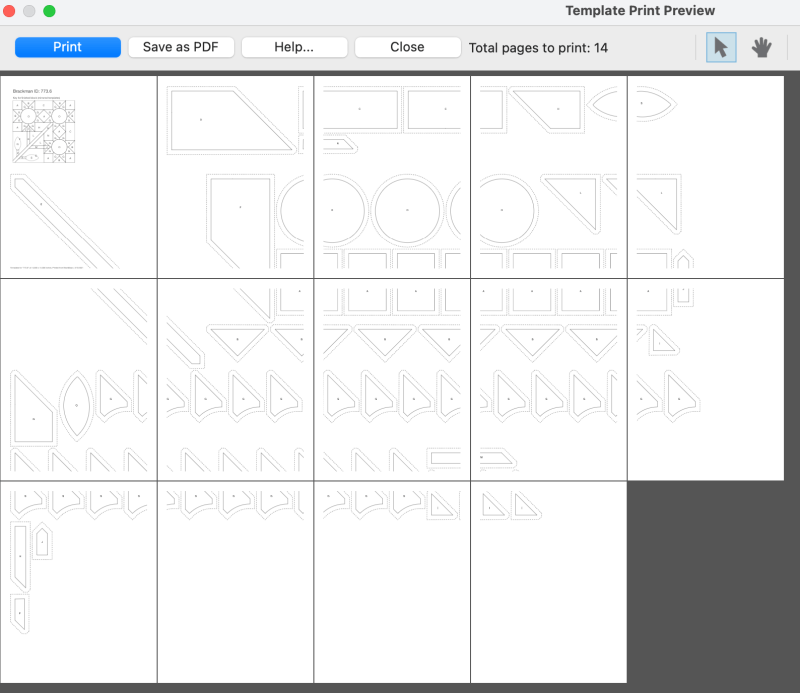
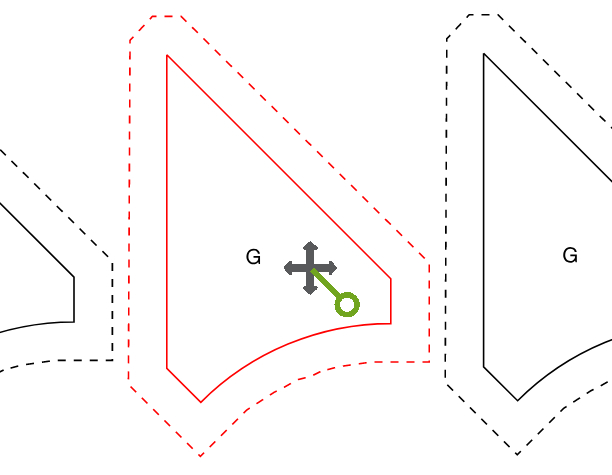
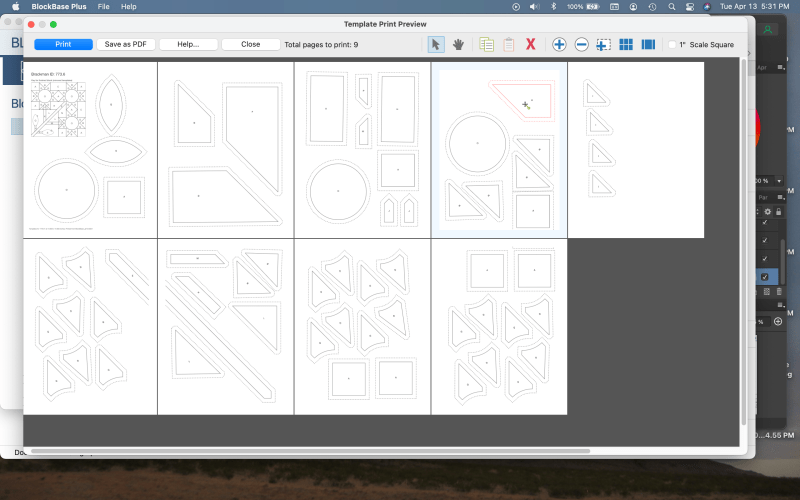
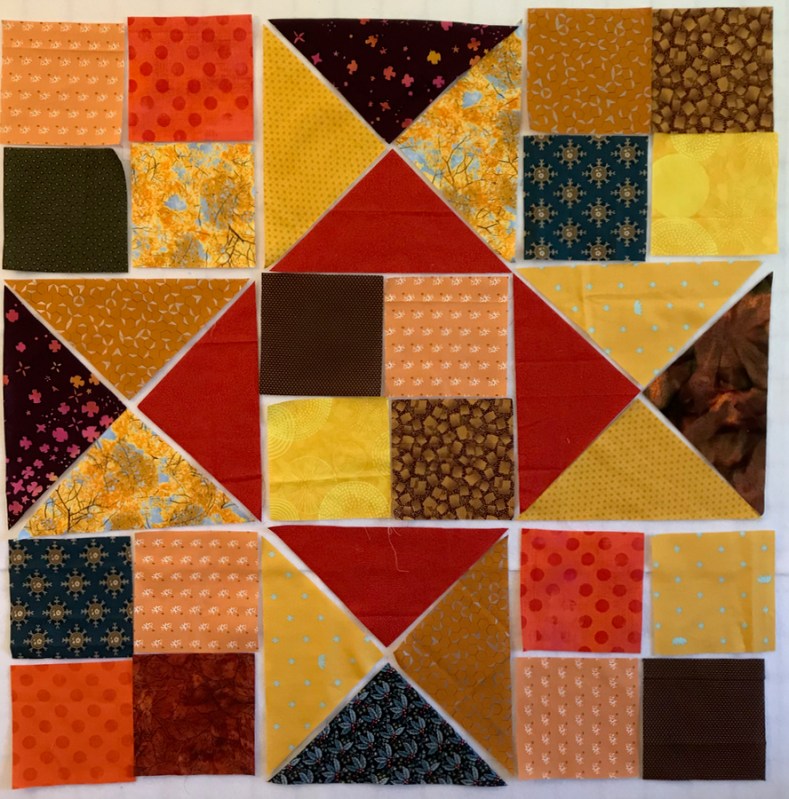
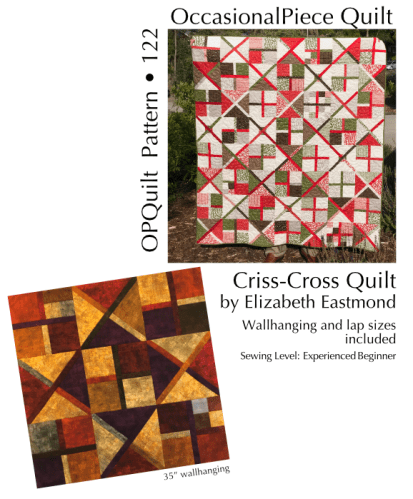
But over and over it’s the user of this pattern I think about. I love the design, although it didn’t come easily. I try to write detailed patterns with clear directions and probably too many illustrations, some drawn in Affinity Designer, and when my skills fail (there’s that word again), I turn to photography. I keep trying to fail forward.

A circle made of my bias tape, then machine appliquéd

Sara Blakely, the woman who invented Spanx, had a question asked of her (and her brother) every night when she was growing up: “What did you fail at today?” When there was no failure to report, Blakely’s father would express disappointment. “What he did was redefine failure for my brother and me,” Blakely said. “And instead of failure being the outcome, failure became not trying. And it forced me at a young age to want to push myself so much further out of my comfort zone.” However, Ron Friedman notes that “Failure, per se, is not enough. The important thing is to analyze the failure for insight that can improve your next attempt.”

I fail a lot in regular life, but after hanging around a sewing machine for the better part of my teenage and adult life, the sewing failures are fewer. However they do arrive in new ways.

Like continuous bias.

P.S. If you want my 1044 inches of 1-1/8″ bias tape (using high quality quilting fabric), please leave a comment. If there are more than one of you who want this, I’ll draw a name from a hat. Bias tape has been distributed.

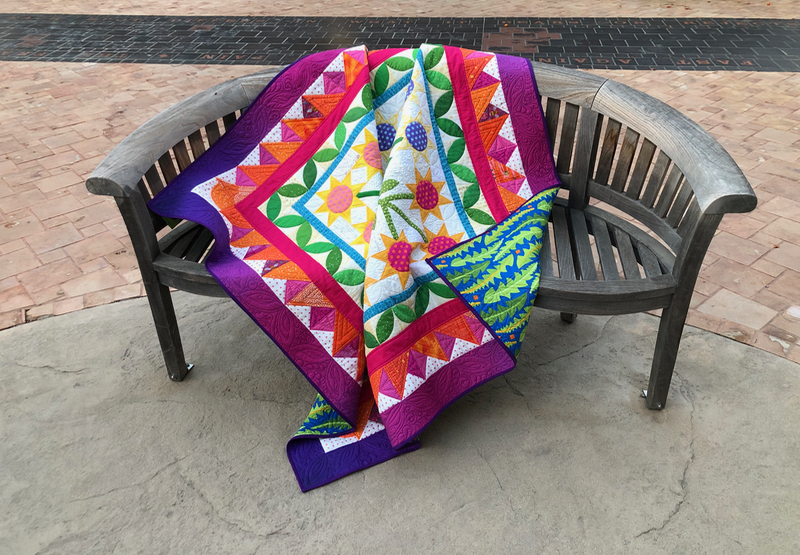
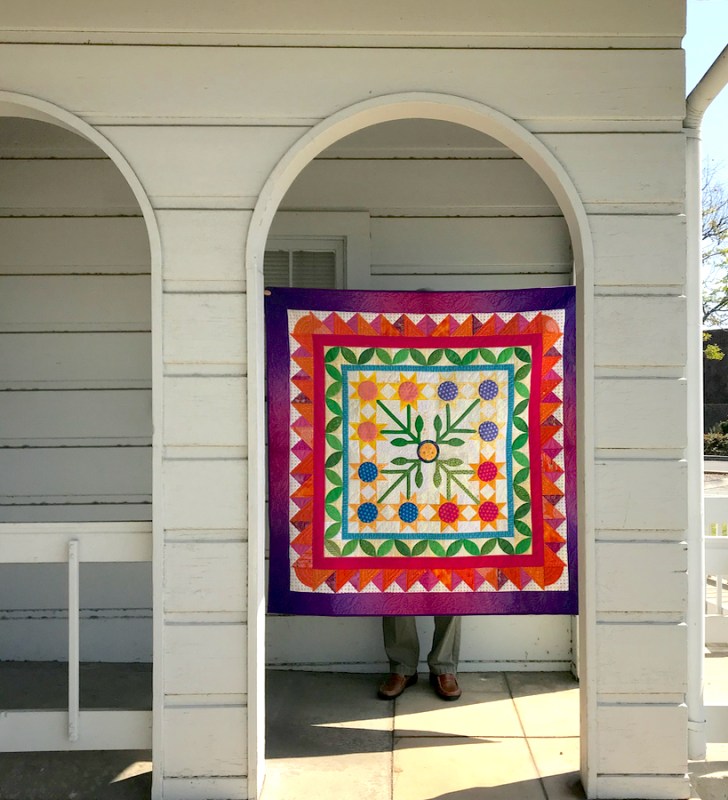
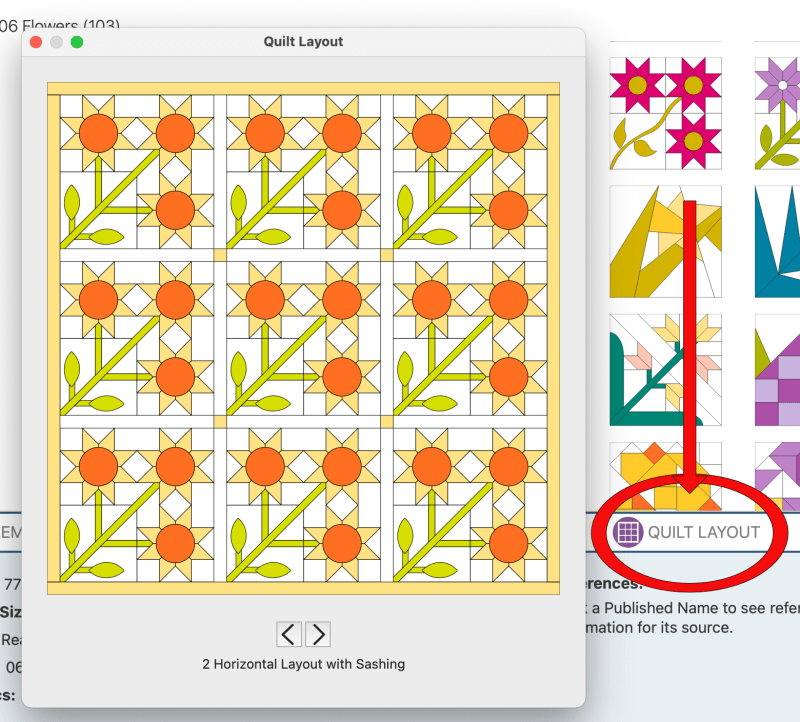
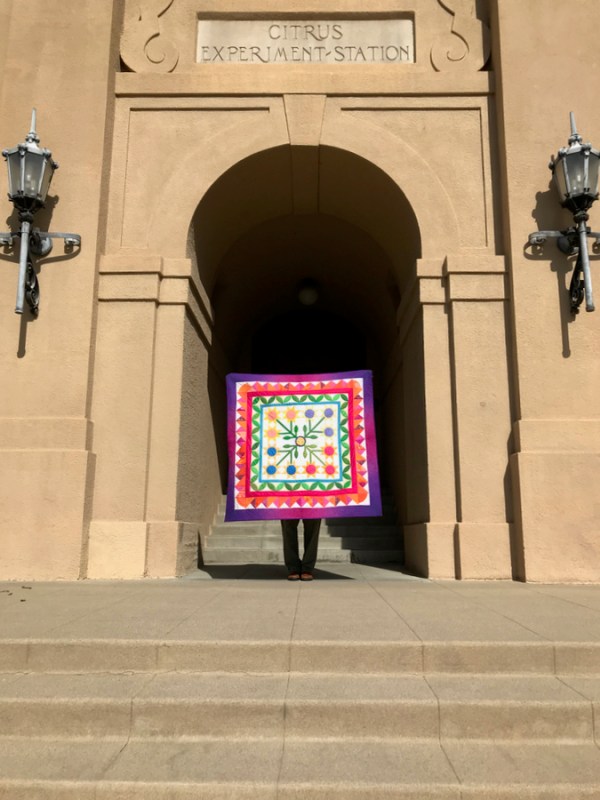
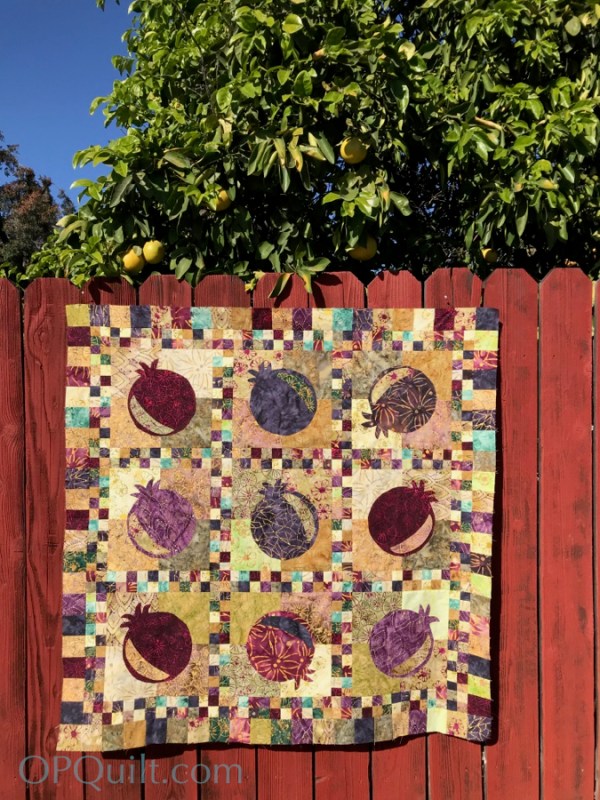
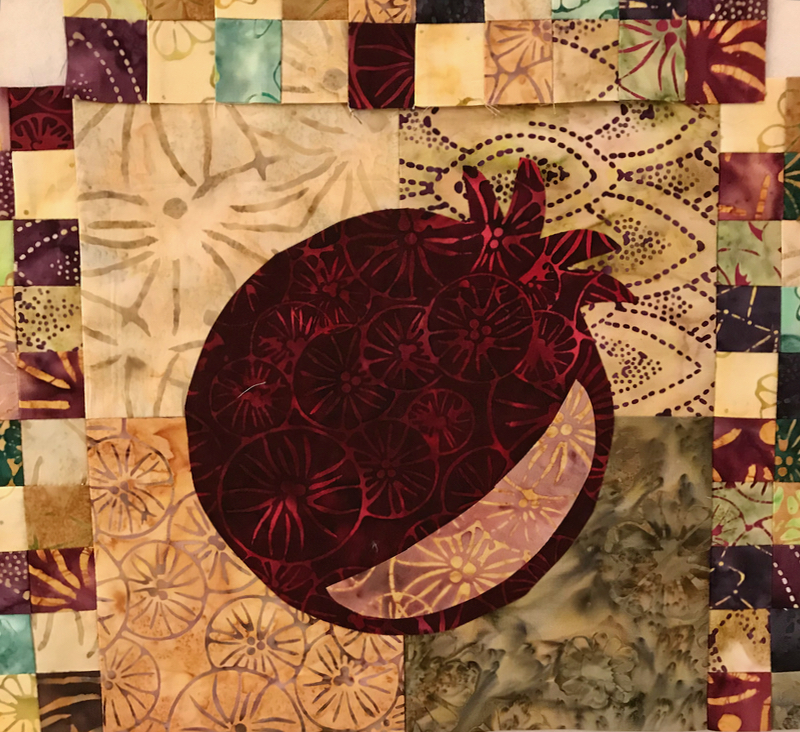
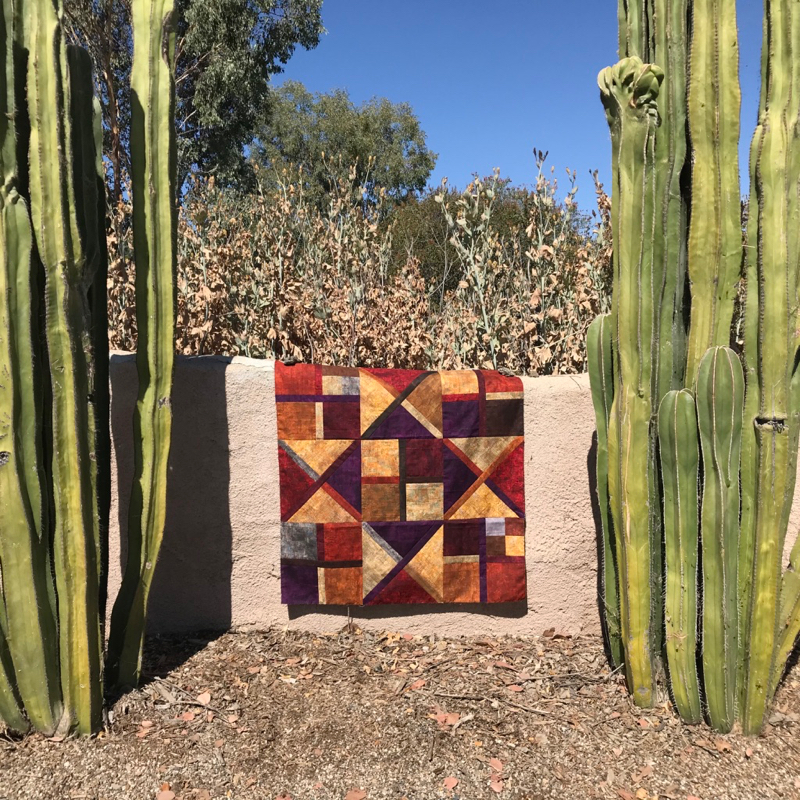
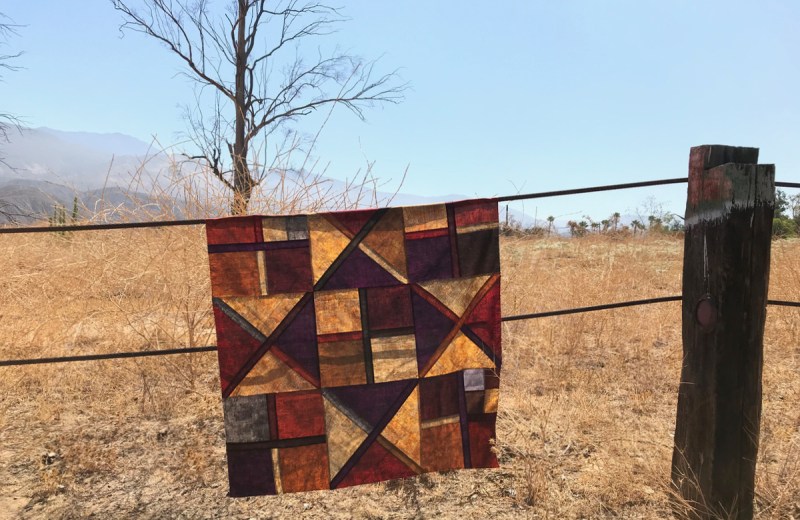
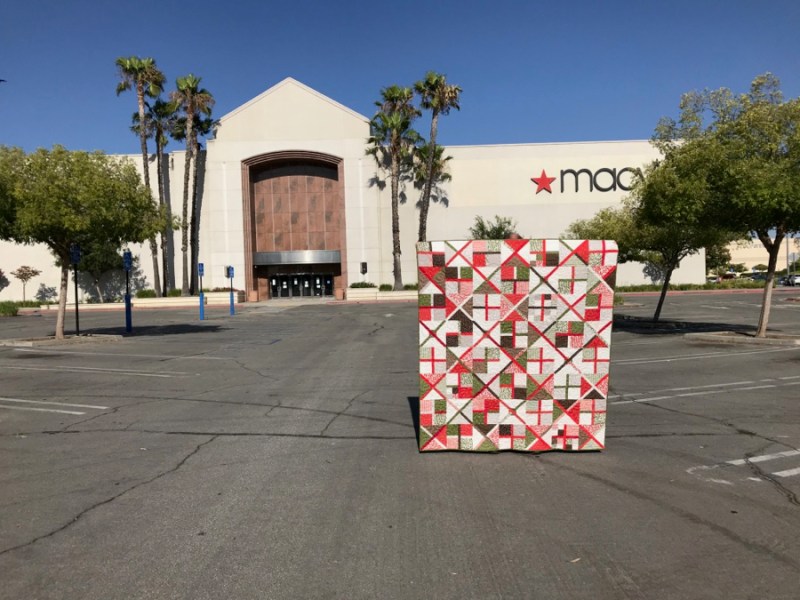
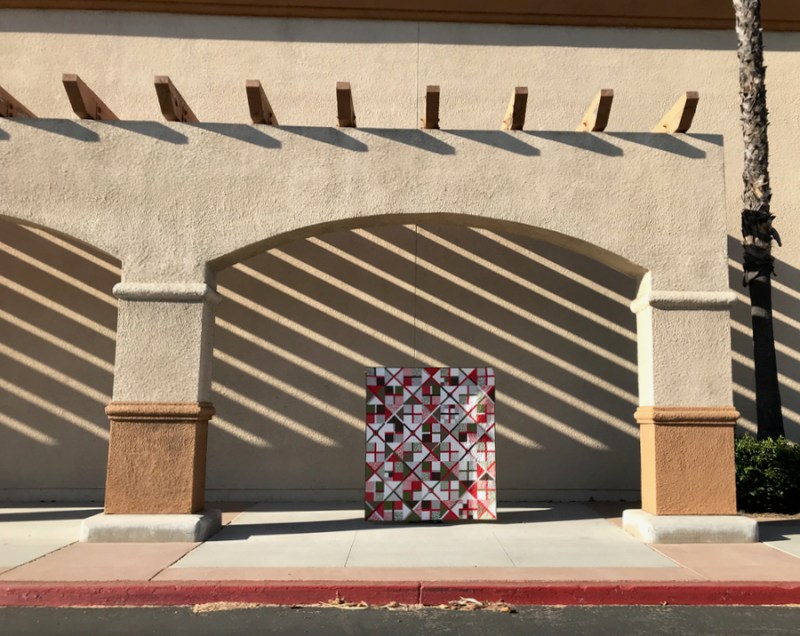
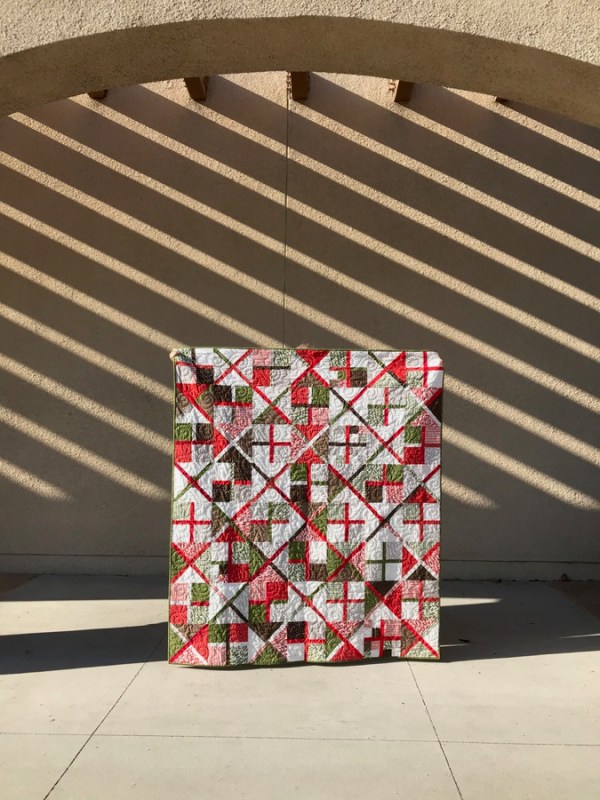
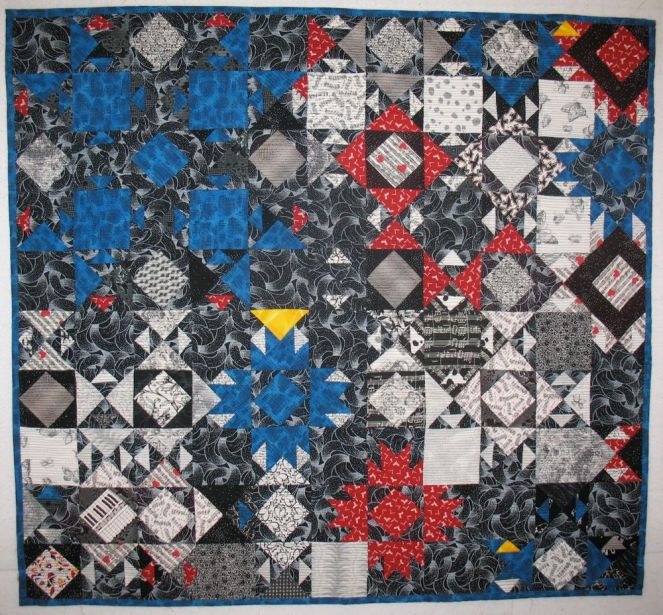
P.P.S. There is a sneak peek of the quilt in my PayHip shop; the quilt is currently at the quilter and will be revealed soon. It went up because the people at PayHip offered some new designs and I jumped, redesigning my site.
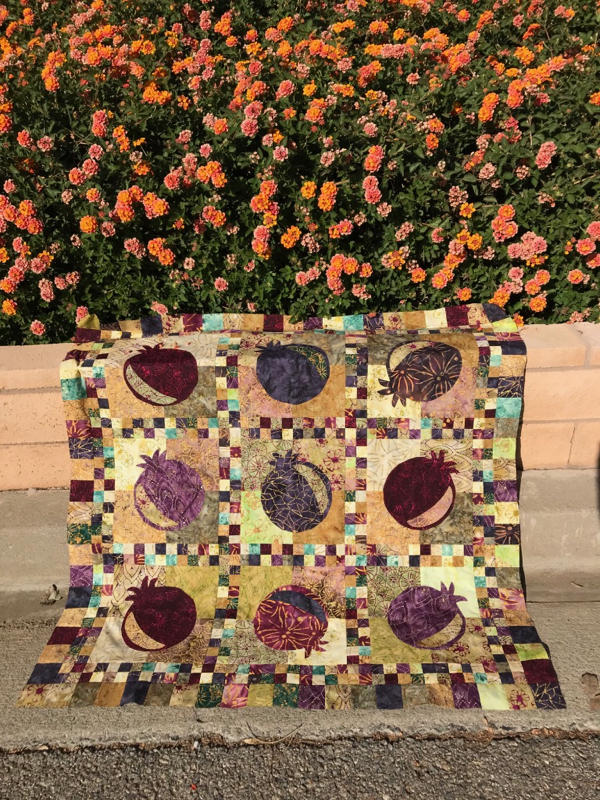
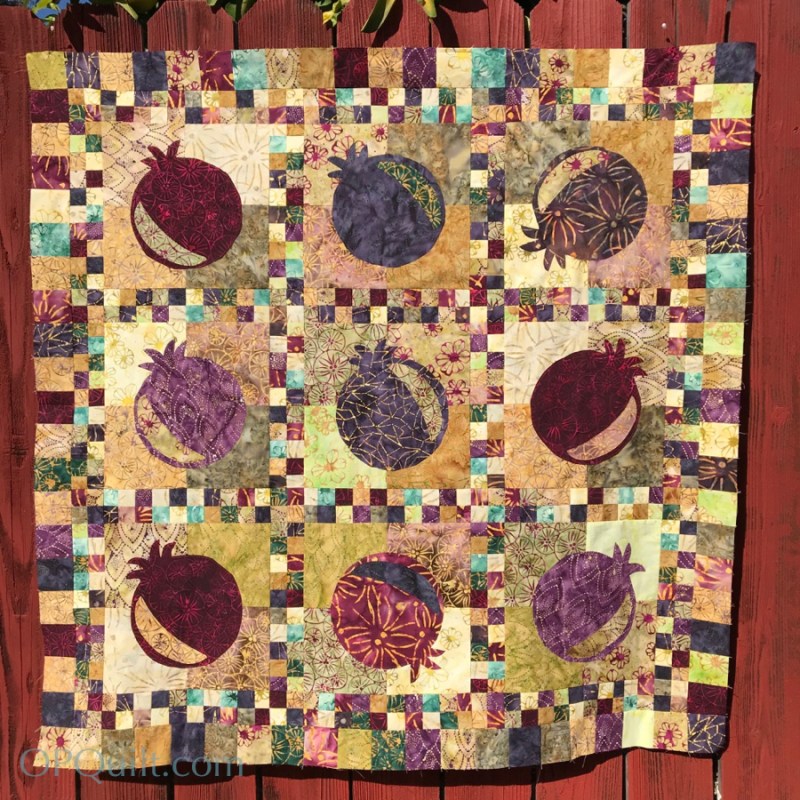
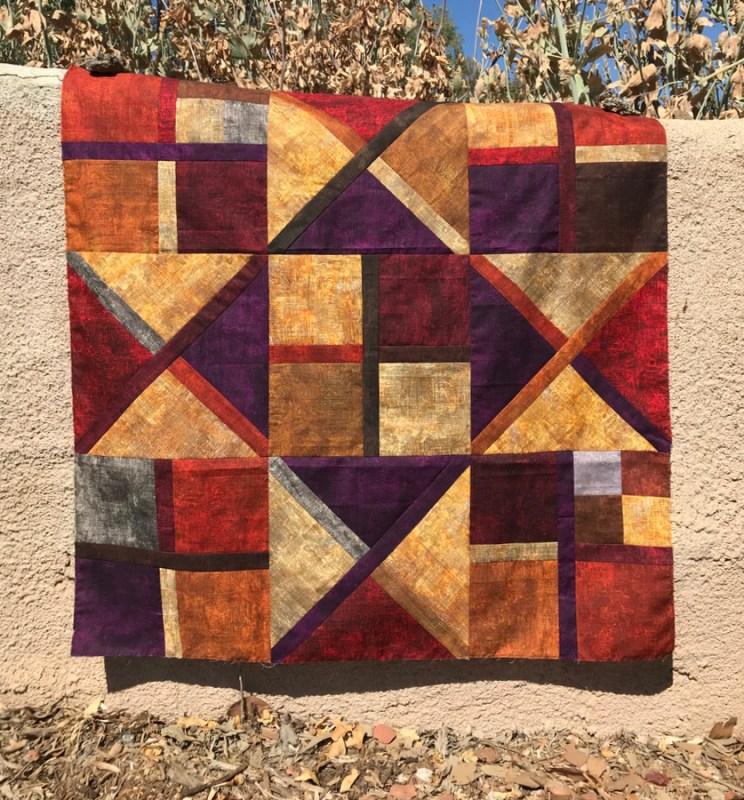
Above is one of the photos. (And no, we didn’t carry the quilts to Italy, Berlin and Spain. I inserted them with my Affinity Photo software…but it is kind of fun to see them like this!)

BlockBase+ · Quilt Patterns

A Week of Creativity using BlockBase+ • Giveaway!

Sunny Flowers • quilt no. 246 • 54″ square

This is BlockBase+ week, and in one week, I’ll be giving away a free copy of the software!

UPDATE: Giveaway is Closed. Thanks to all who entered!

What is BlockBase+ ? It is new software from The Electric Quilt Company that will become your new best friend for creating quilts. It works on Macs and PCs and is a good companion to The Encyclopedia of Pieced Quilt Patterns, if you have that book.

I’m writing four posts, total: the first two posts will be about how I used BlockBase+ to create my Sunny Flowers Medallion Quilt. Today’s is about the selection process and introduction to the features of BlockBase+. On the next post, I’ll give you my formula for making your first Medallion quilt, using blocks in BlockBase+ and showing how I finished out my Sunny Flowers quilt. And then about one week from now, in the last post about this software, I’ll have an entirely new idea for you, showing ways to adapt the blocks you find, making them your own through the software’s ability to make any block any size, in a snap. (I’m telling you, I really like this software!)

Center Block of a Medallion Quilt, and How to use BlockBase +

Many of you have seen this quilt in process on my social media and here, on my website. On this post I go through my process of how I used BlockBase+ from start to finish. If you have more questions on how it works, there is also a database on the EQ website, too.

I started my Sunny Flowers Quilt as a sample to show you how you could use BB+ (my shortcut name for the program). I started by having a great time going through different blocks. I knew I wanted something that was sort of vintage, but that would make a great centerpiece. I picked the Sunflowers Block; it looks like this on my BlockBase+ screen:

I have it selected, so there is a dark square around it. See the little heart in the lower right corner of that block? You can also tag your favorites, so if you find something you really love, you won’t have to search for it again. The Brackman ID number is 773.6 (all blocks have a Brackman ID number).

By clicking on the Published Names, you can see the source and information about the block. (Hooray for quilt history!!) This block hails from the beginning of the 20th century, and is not one I’ve seen before.

Right now, I’d like to take a look at the one next to it, titled Three-Flowered Sunflower.

By clicking on the different icons in the Colorway area, I can have the block fully colored, shown in shades, or just in lines. As a newbie working this program during its Beta period, I wish I’d known better how to use these to enable me to see the structure of a block. Although neither of these blocks are the easiest, this second one has easier construction, which is shown by looking at the Line Drawing.

I tried out their quilt layout, just to see the block in different variations (there are seven different ideas to look at), but then decided to export it as an SVG (or Scalable Vector Graphic) into my Affinity Design Software, to see how it would look.

There are three ways to export it (JPG or SVG or PNG). Here’s the first rendition:

I had thought I would just make it a simple series of sunflowers, and put an uncomplicated small border around it and call it done. I know those of you who know me are laughing hilariously right now as I’m not very good at simple and uncomplicated, but I keep trying.

Here it is, all sewn. In my sample, I stitched one flower using EPP, and the other three flowers, I used Templates, sewn on the sewing machine. Just keep your wits about you, or choose another block–there are many more that can serve as centers.

Here’s a potential center for a Fall/Autumn Medallion (I added the center circle). The Brackman ID Number is 1740, but you can also search by name: Maple Leaf. If you are an Electric Quilt 8 user, all these blocks are available to use in that program, so you can build your quilts that way, too.

Printing Out your Pattern

Whichever block you chose, and however you choose to make it (Block, Foundation Pattern, Templates or Rotary Cutting Chart), re-size it to 14″ so the center will finish at 28″ square. We’ll use that measurement to build out our medallion quilt. (More on how to use BlockBase+ to do that will be in the next post. Being able to re-size my blocks made the whole process soooo much easier.)

After clicking on your block, go to Print Template. This window pops up. In the red circle, click on the radio button to select Custom Block Size and type in 14″ in both boxes.

In the aqua circle you have Printing Options. I usually use “Print unique templates only” if I’m going to be pinning and cutting out, but for just for fun, I chose “all templates” this time.

This screen pops up. Whoa! Look at all those pieces broken across two pages.

NEVER FEAR! We can fix this by clicking on a template and dragging it around where we want it.

You can also click on the piece to reveal a little green “handle” of sorts that can be rotated in case you want to re-align pieces to nest together more closely together (the above image was blown up by using the plus sign in the upper right of the screen).

I reduced my original 14 pages of printing to nine. As you move things around, the border on that particular page changes to light blue, so you can keep your pieces within the printing area of your page. That long green stem still breaks across two pages, but in the original it was breaking across three, so I consider this an improvement.

I kept tweaking and got it down to 8 pages. (Pin a ribbon on me!)

So, have any questions? Are you curious about things? Keep reading in this series to get the knack of this, and leave me questions if you have them.

  • Next post on Wednesday: Building a Medallion, using BlockBase+
  • Final BB+ post on Saturday: Winner of the software announced, and more fun things to try with BlockBase+

Are you someone who has only drawn out your patterns with pencil and graph paper? Have you worn an eraser down to nothing, changing lines and shapes? Have you always wanted to create your own designs?

To enter the giveaway, please leave me a comment below telling me how you might use BlockBase+ (and how it might help you bring to life those ideas you’ve thought up all during covid).

Yes, this giveaway will run on Instagram, too, so you can enter there for more chances to win. A n d . . . there is another post where you can enter — we’ll see you on Wednesday!

Italy’s sunflowers

Contest Closed now. Thanks for entering the Giveaway!!

300 Quilts · Giveaway · Patterns by Elizabeth of OPQuilt · Quilt Finish · Quilt Patterns

Pomegranates • Giveaway

Where does inspiration begin?

Does it start here? How about both places? Today is a pattern announcement, a quilt top done announcement and the best part: a giveaway!

My friend, Kenna Ogg of Madison Cottage Design, is launching her line of batiks from Banyan Batiks (made by Northcott) and asked me to help her share the pictures and flavors of her line of fabrics. And at the end of the post, be sure to enter to win a fat quarter stack of these beautiful fabrics, rich in the tones of fall and winter.

So when she sent them to me to dream up a quilt, I kept thinking about my friend Karen’s pomegranate tree, and how she was always so generous with the fruit:

Pomegranates come on in the fall and into winter, so the two ideas merged into one.

(Posed under a citrus bush)

I arranged the fabrics, trying to get a feel for the richness of the color, then one night drew up the quilt idea in my Affinity software, and a quilt pattern was on its way!

I drew up a pomegranate shape, adding the bit at the top (the calyx), then traced it onto fusing material, cutting out the center of the circle so the quilt wouldn’t be too stiff. I then cut around the outside and fused it down to a four-patch.

All are on! Now the borders.

It’s a fun way to show off the luscious tones of this line of batiks. I had a hard time photographing them in the night when I was working, so here’s a photo from Kenna:

This is what she’ll send the winner of the giveaway: Twenty Fat Quarters. Yes, you can make the Pomegranates quilt from that. But now you can also score a discount on the pattern, as I’m launching it at the same time.

UPDATE December 2024: Head over to my pattern shop on PayHip, navigate to the pattern and you can choose your own discount on this pattern.

There are three places you can enter the giveaway:

The giveaway is now closed.
Congratulations to Esther, who wrote:
“Love the fabric and the pattern! Pomegranates and the pomegranate tree are beautiful. The tree and fruit provide habitat for birds. Maybe this will be the year I plant a tree or two, there are a number of varieties, some with pink arils and lighter rind that I think would make a nice combo with the standards. I think there are many references in the bible and poetry as to their beauty and symbolism, though right now I can’t pull one out of my memory. As far as harvesting the arils, I just “go for it” since I’m only cleaning one at a time. If I was ambitious, I’d make pomegranate jelly. I like to use the arils in a salad of winter greens, with slices of bosc pear and fuyu persimmon and a vinagrette.”

Here, on this blog (I’ll pick a winner on Thursday evening, and email the winner). OR, on my Instagram account. OR on Kenna’s Instagram account. And of course, you’ve figured out by now that if you enter all three places, that’s three times the chances. I will mail your name and address to Kenna and she’ll send them out. Good luck.

Leave me a comment below, telling me what you think is the easiest method to get the arils (the seeds) out of the pomemgranate: get on an old shirt and head out to the picnic table and just go for it, or submerge the fruit in a water bath, letting the arils sink to the bottom while the pith floats to the top. And of course, since I love your stories, any pomegranate story or memory you want to leave me will make me smile.

A red-stained juicy pomegranate smile!

300 Quilts · Giveaway · Live-Online Classes · Patterns by Elizabeth of OPQuilt · Quilt Patterns

Criss-Cross Autumn Quilt Top

I’m getting ready to do a live-online presentation and teaching at Glendale Quilt Guild next week, and a deadline always sends my I-should-try-this into overdrive. So while I have the Criss-Cross pattern up online, and I thought I was pretty settled, a little voice in the back of my head said I should try some autumn colors in the largest size block in the pattern.

Okey-dokey. So I pulled a group of red-orange, purple, gold, orange, yellow fabrics and I was cooking along, pretty happy with the choices I’d made, but when I was looking for another darkish to put into what was up on the design wall…

…this fell out of a bin. It was Jennifer Sampou’s Chalk and Charcoal fat quarter stack, purchased some years ago. I used to have it out on a surface, just because I liked the colors so much, but had never opened it. (I’m sure you have never done this.)

So, in a flash, all the previous choices were down from the wall, and I had cut and was arranging all the new choices up there. The last image is adding in the strips.

So here is Criss-Cross Autumn, a 35″ square wall hanging. And since we don’t live in a climate that has a lot of rusts, golds, purples, reds in the tree canopies, but we do live in a climate that at the end of summer has a lot of golds, browns and yellows, my husband and I took a drive out in the countryside to shoot some photographs.

We were out in Hemet, by the golden San Jacinto mountains (shown above). One writer once compared the California hills to a tawny mountain lion. I grew up in the Bay Area, where in autumn, the golden grassy hills are interspersed by giant spreading oaks. What we have mostly now is not native, as I discovered when reading this essay, but like the author, I do love the colors.

Now, what to do with that other almost-quilt? How about I give it away? I’ll send you the almost-quilt (already cut!) and its strips (also, already cut, although I have to tell you that once you get adding and subtracting, you may find yourself adding more). There are also a few extra pieces in there, in case you have a different vision. I will also include a hard copy of this new pattern, with multiples sizes and variations.

Leave me a comment at the end, tell me about what colors are in your landscape around you right now, and how you feel about those colors. I’ll pick a winner using the husband-draw-a-paper-out-of-hat method, and let the winner know by email. Here are some image/photos of Criss-Cross Quilt, done in Christmas fabrics:

I’m looking forward to live-online teaching this quilt at the Glendale Quilt Guild next Saturday!

Criss-Cross Autumn, Quilt Index No. 232

UPDATE: Just thought I’d add this to the post. I finished the quilt a few days later, using a simple straight-line quilting pattern, varying the directions. It will be perfect for hanging up during September, when autumn arrives.

UPDATE: Comments are now closed. Winner will be contacted via email on Monday, August 10, 2020.

P.S. There’s a coupon code for the pattern, good for 25% off Criss-Cross Quilt through the end of August. The code is listed on the PayHip page.