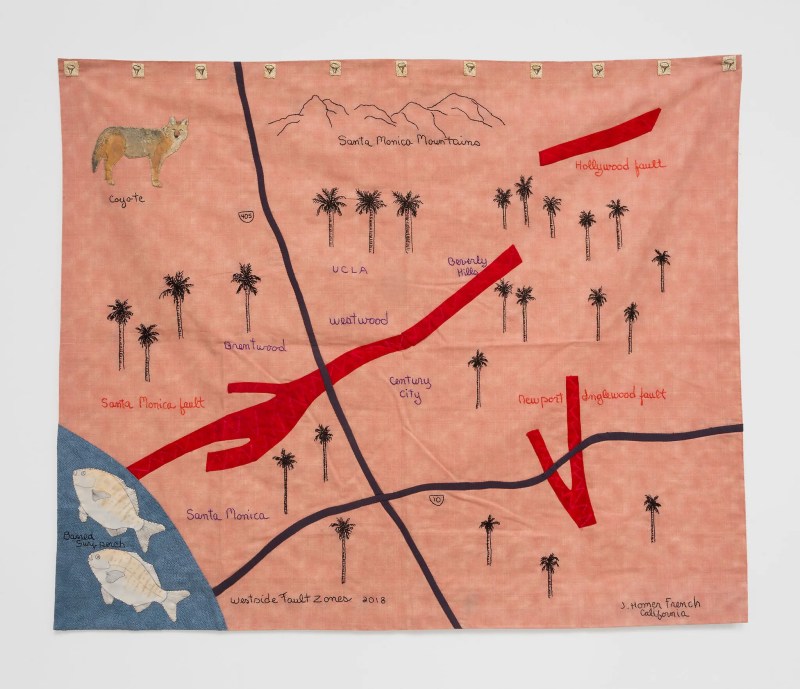
Radiate: “emit (energy, especially light or heat) in the form of rays or waves” (from the Oxford Dictionary) — OR — “(of a feeling or quality) emanate clearly from, as in “leadership and confidence radiate from her” — OR — “(of an animal or plant group) evolve into a variety of forms adapted to new situations or ways of life” (apparently so rare of a definition, I can’t find any examples). And with the movie Oppenheimer earning an Oscar award for Best Picture, I suppose we can also think about radioactivity radiating out from the fusion bomb, set off in New Mexico years ago. But I really think of the sun on a hot summery day, warming you as the cool ocean breezes surround you on a beach. Pick your beach.
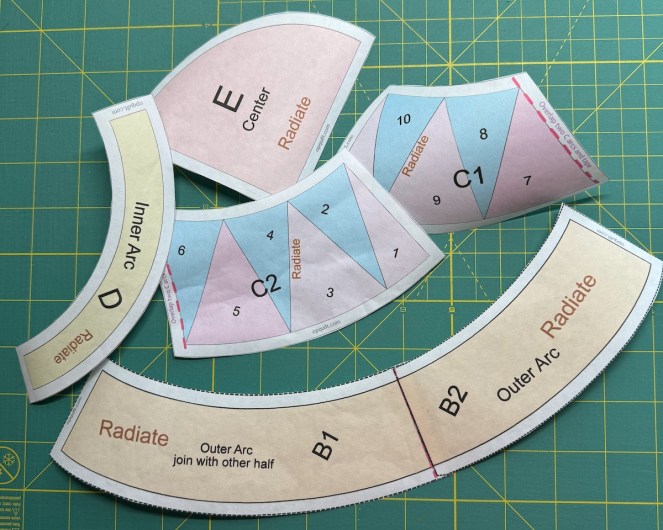
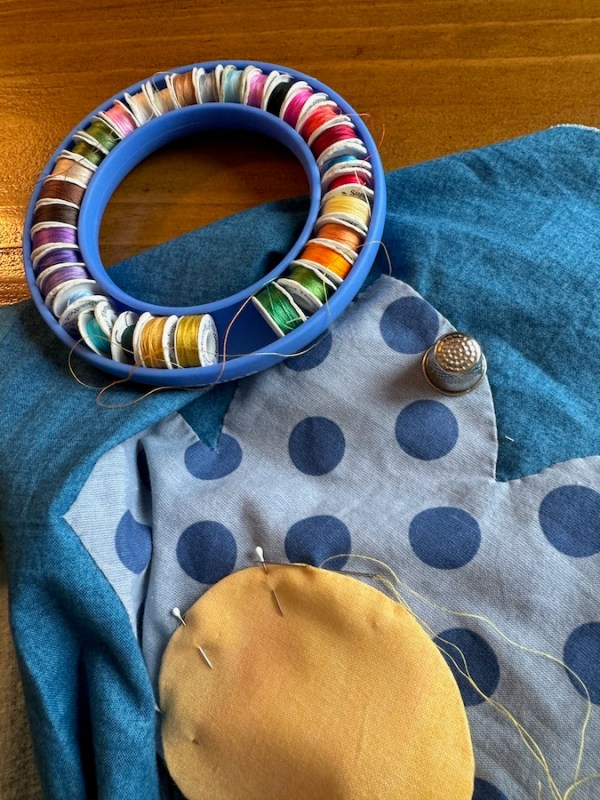
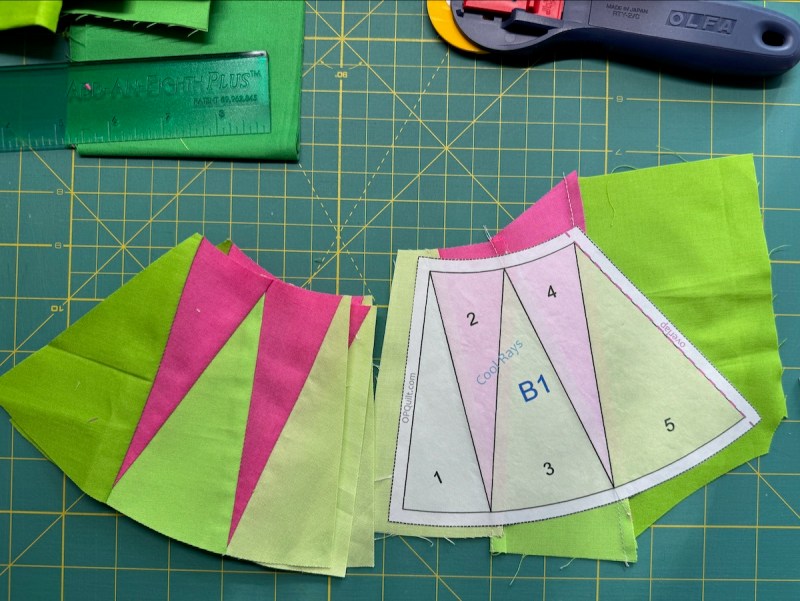
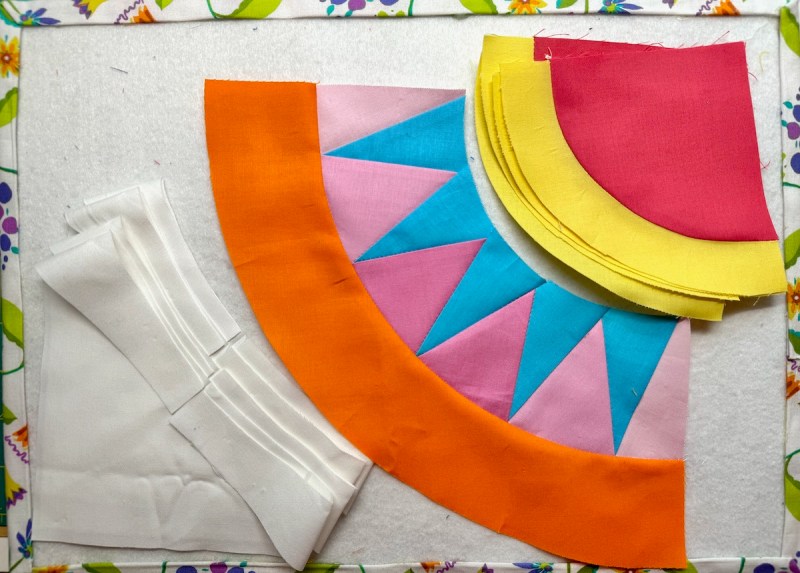
Cut out, ready to go. But first! a tip on getting the alignment on that B1/B2 piece:

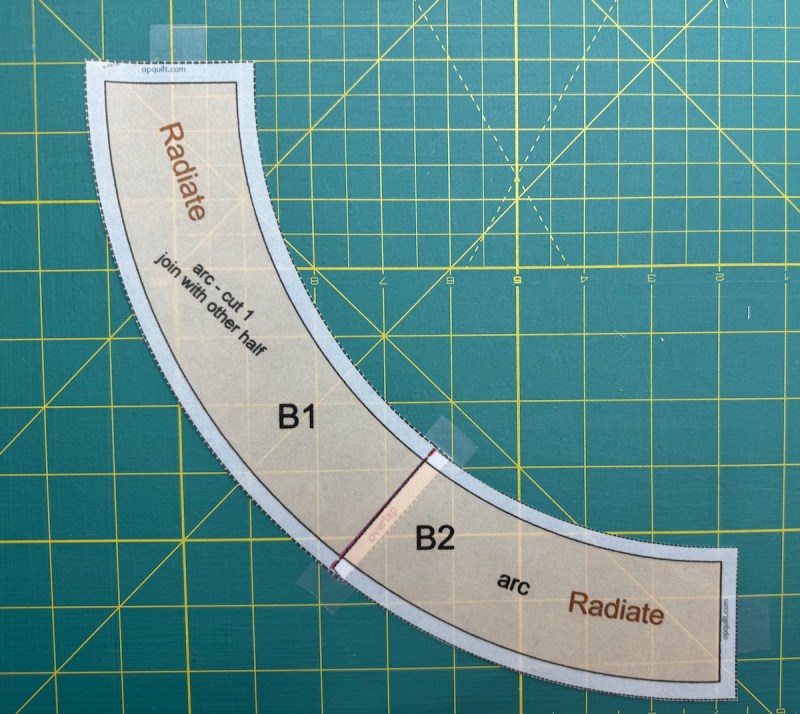
Left Photo: Using a gridded cutting mat, tape the tip of the B1 piece, using a line on the mat to keep it horizontally straight. Then sort of lining up the center “seam,” align the B2 piece as well with a line on your mat, keeping that edge vertical. Tape.
Right Photo: Trying not to shift the pieces, tape the center seam, extending the tape. Carefully remove from the cutting board and fold the center-seam tape to the back. Cut off, remove, or fold back the edge pieces of tape (Big Decisions).
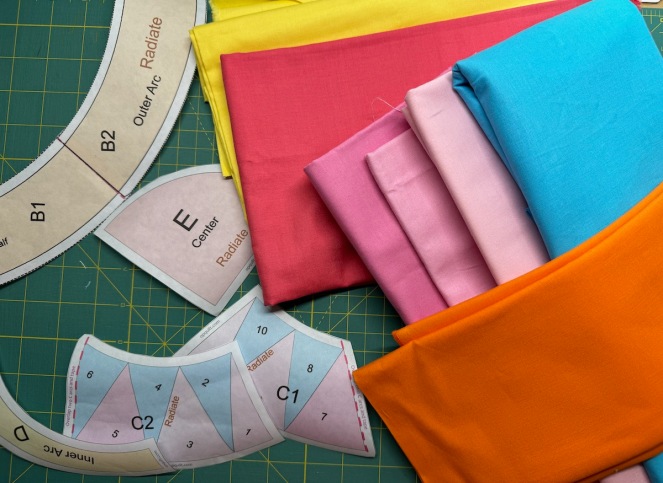
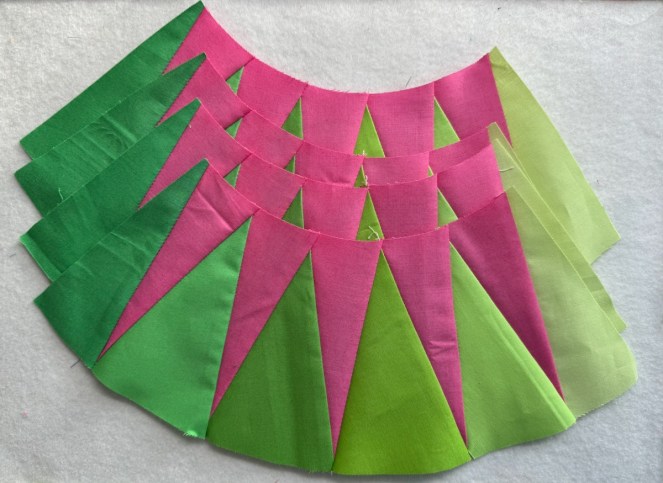
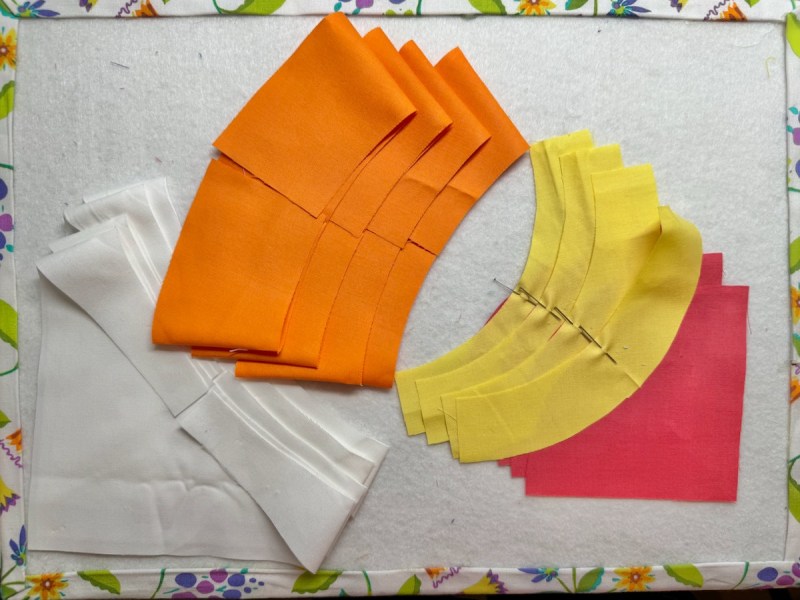
I lay out my colors and then get going. For this set of rays, I again wanted a gradation of color, but chose to do two stronger rays in the middle background, fading to the sides. You’ll see.
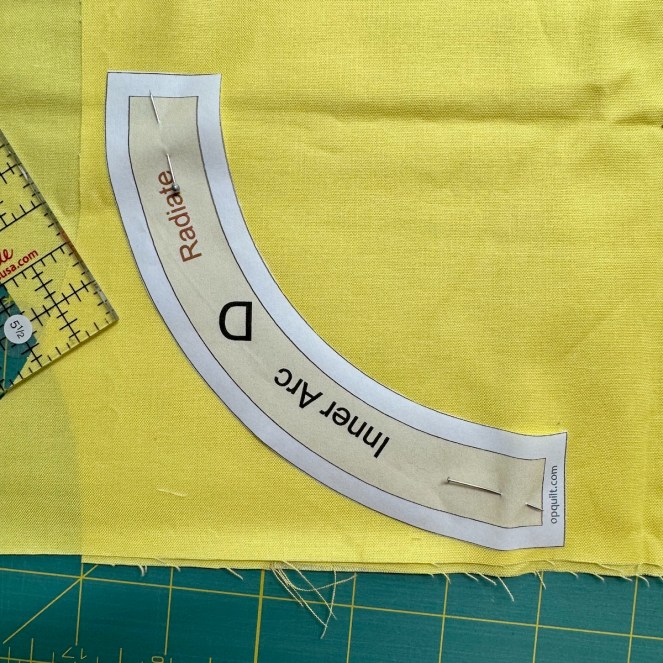
For pieces like this Inner Arc, I don’t iron it down, but instead treat it like a paper pattern piece. Again, your choice. Do try to align the outer edges on either grain (crosswise or straight-of-grain), letting the curve be on the bias. Having that bias makes for easier seaming when you sew the parts together.

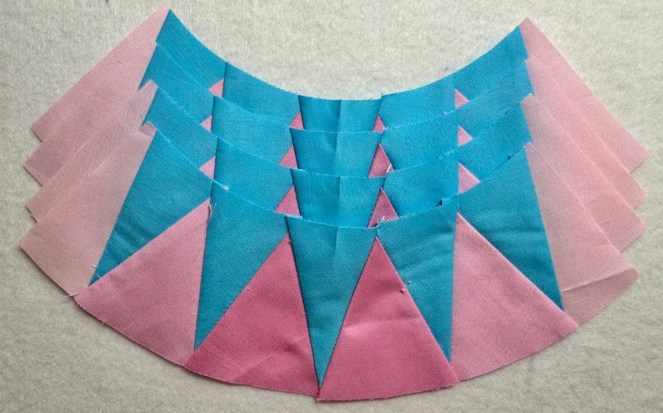
First two sections of rays sewn up.

Trimmed, and papers removed. I find it easier to not pop seams, if I peel back the papers from the top edge (smaller curvature) of the rays. Now you can see the two center background rays in the middle are the same, fading to the sides. That’s also why I wrote 3s and 2s and 1s on the freezer paper — just to keep straight which fabric I was using.
Road Trip Rest Stop: admire your work.

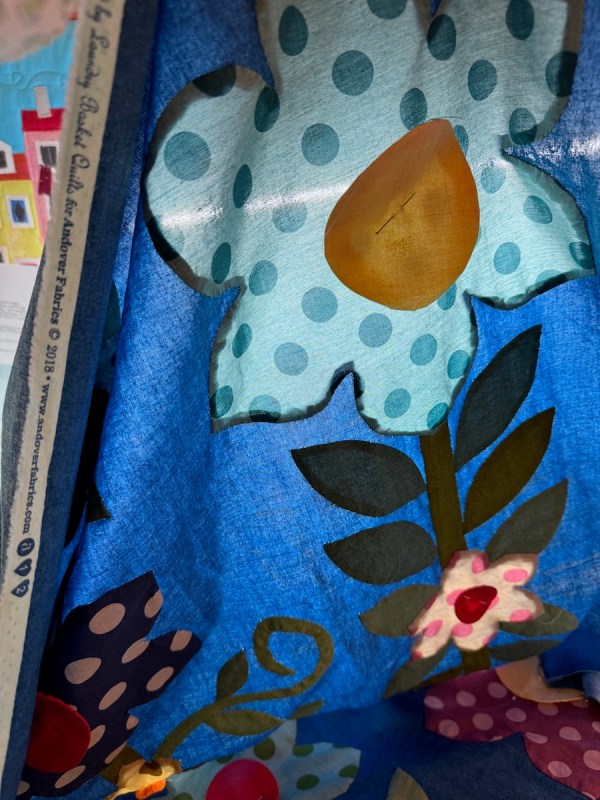
I fold the arc in half, and with the tip of my iron, press in a 1/4″ mark, showing me the centers. You could also just put a pin there, or a small pencil mark.

Sewing the units together in steps.

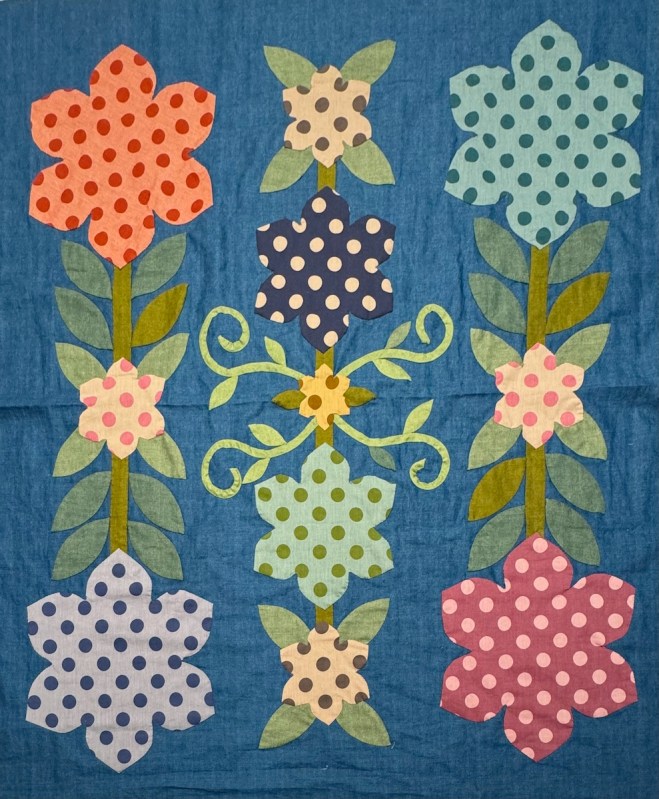
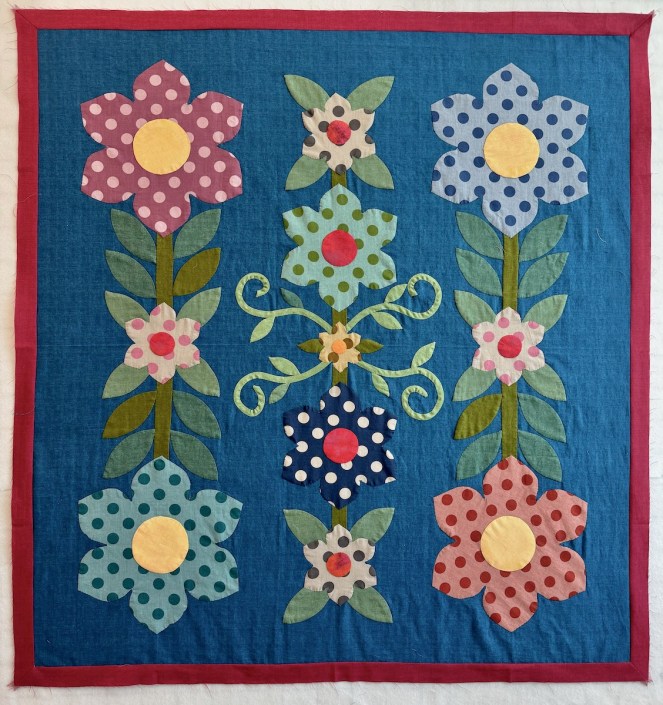
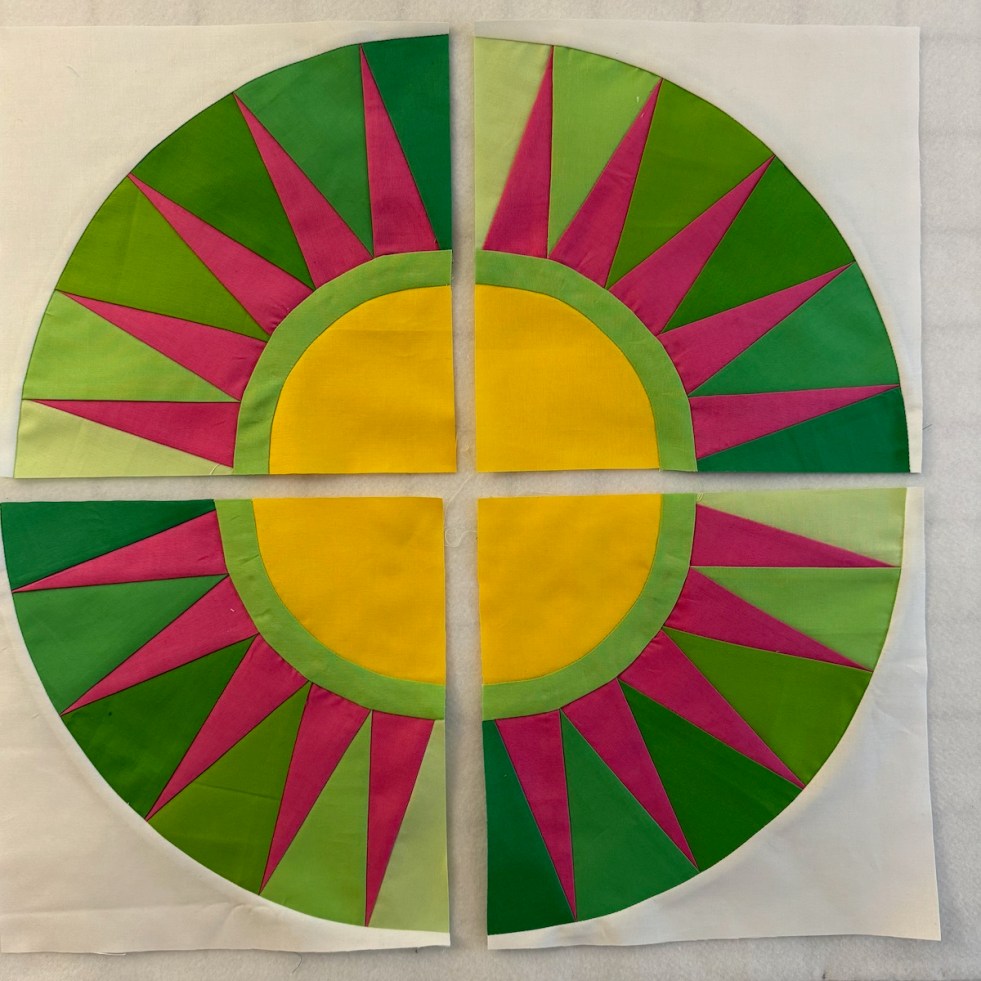
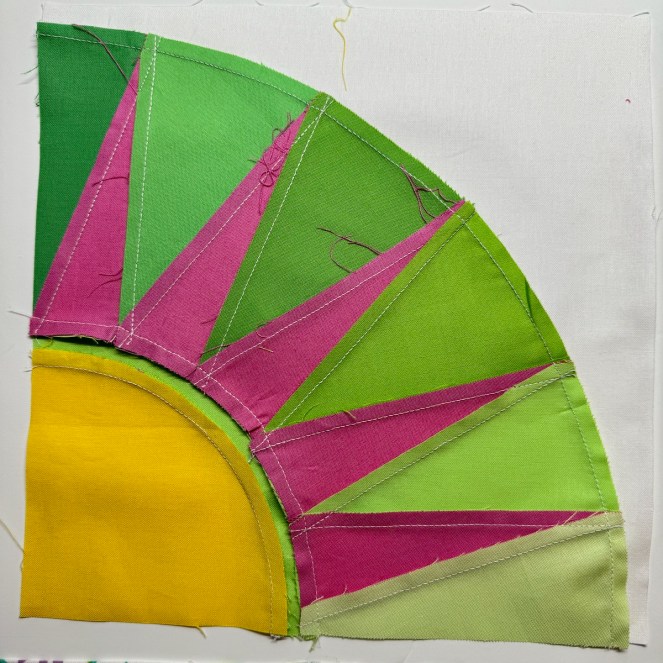
Happy Dancing Number Bears are still here, but here’s our fifth block, finished! It’s really beginning to add up, isn’t it?
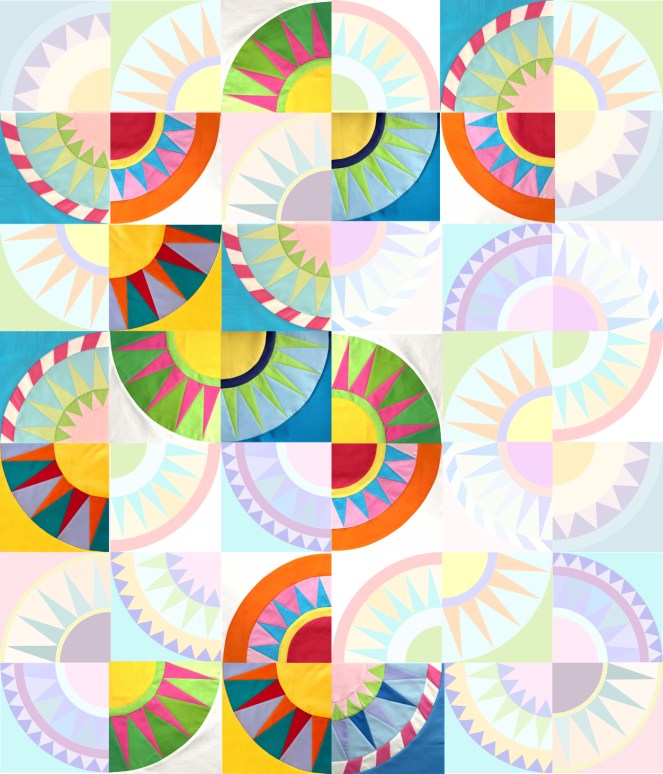
Status Report: five blocks finished. When I made this, I was amused to see that the right-hand side of this digital quilt was sort of empty. Of course, that will change, and I may re-arrange the blocks as I want to, when I get them all finished.
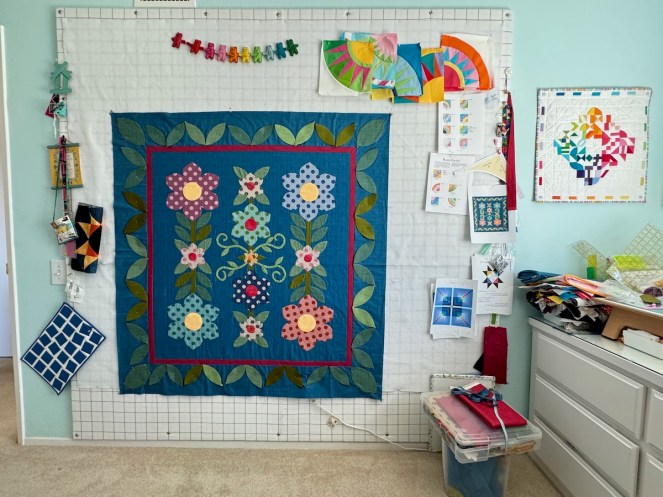
A word paragraph paragraphs about fabrics and colors and quilting: While I use Painters Palette solids by Paintbrush Studio, and that’s what my color numbers are on my Preview Page on the pattern (Preview Page is a free download), you may have a wide range of colors in other solids from other manufacturers. Use what you have and what you like. Change up my colors completely. Make them in prints or whatever. Enjoy making, and seeing your little bits of sunshine grow on your design wall, or design floor, or design bed.
We have to bend quilting to our will, to our situations and circumstances, in order to enjoy what we do.
Yes, I do use Trim-an-Quarter/Eighth rulers, but I also use a regular see-through ruler. Yes, I like freezer paper currently, but if you like the regular way of FPP (foundation paper-piecing), do that. Mary, of Zippy Quilts, sent me a link to another quilter who combines the two in this video. I’m so grateful for all you quilters and your interests and your worlds. You fly through rainbows and bring back jewels for me to think about and to use. If you are sewing along and making New York Beauties, tag me on Instagram (@occasionalpiecequilt or #newyorkbeautiesquilt) or send me a photo to my email (opquilt@gmail.com).
Radiate as you go, in order to freak out any one nearby–