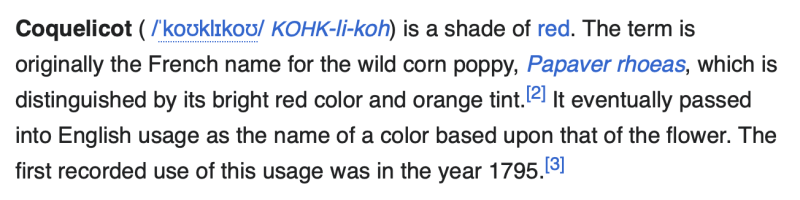
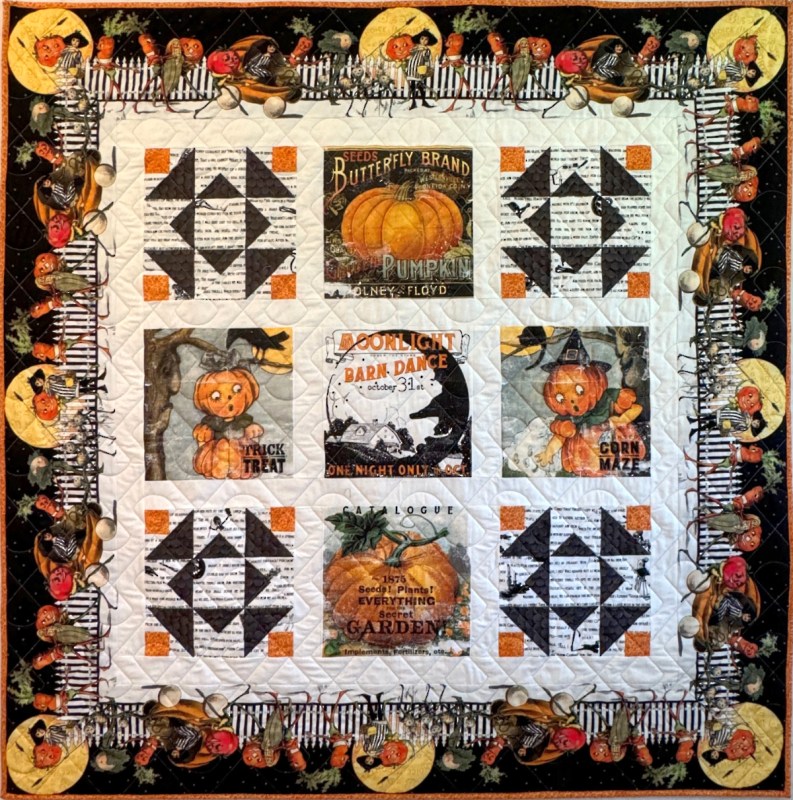
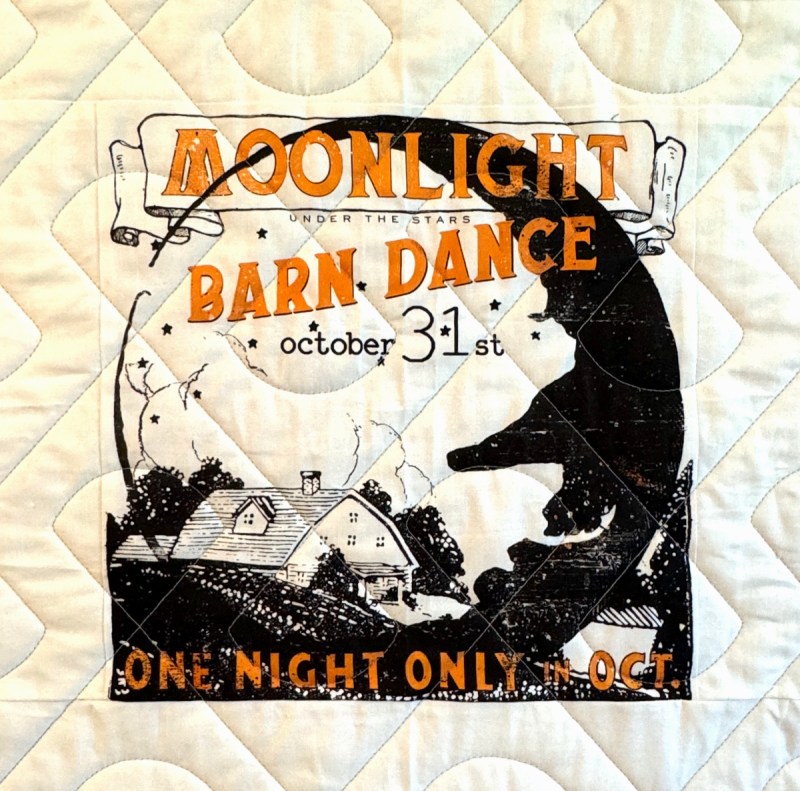
At first I thought it was a squash patch, but there were the onions. And the carrots. And the cabbage and corn, so I included them all:

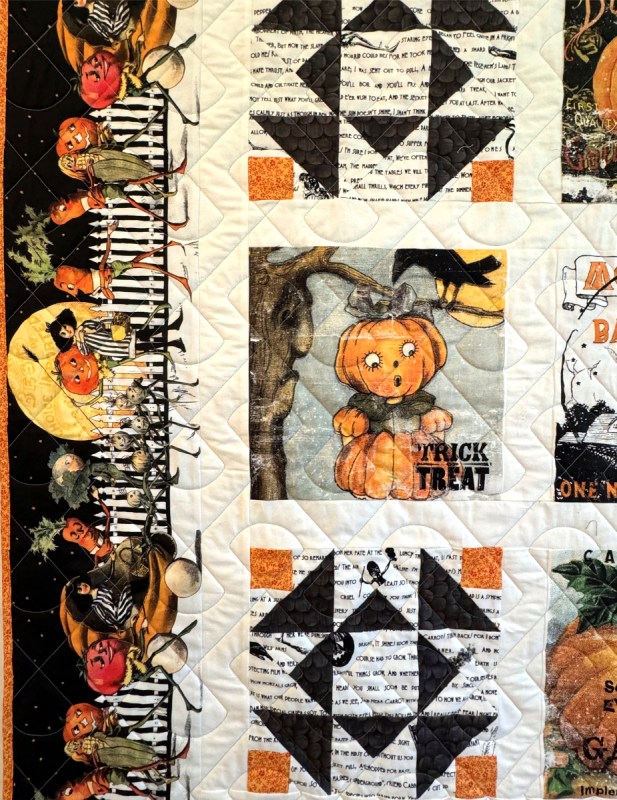
Of course, the fabric is by J. Wecker Frisch, which I fell in love with (pattern) and convinced Leisa and Carol to buy, too. Leisa and I sewed the quilts together, then dropped the tops off on Tuesday. The quilter had them back to us by Thursday night — a record. We wonder what we are going to make next, for we are both giving them to our sisters. A quilt this whimsical needs to be gifted.
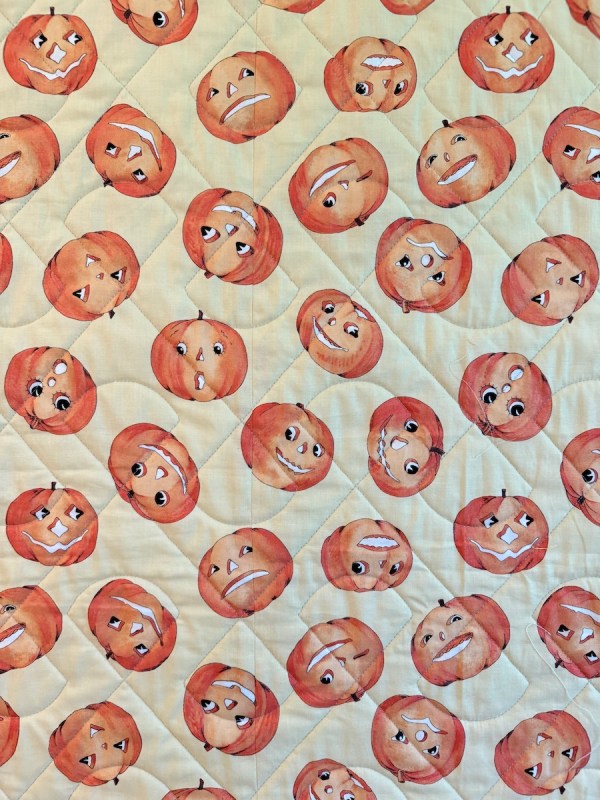
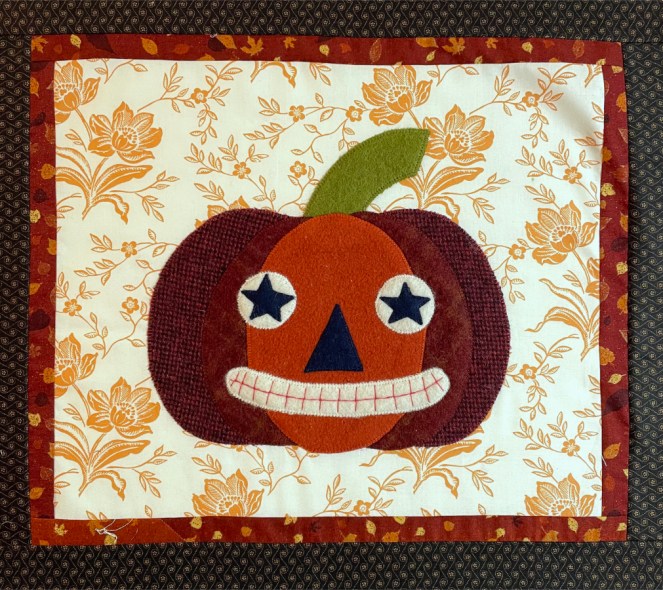
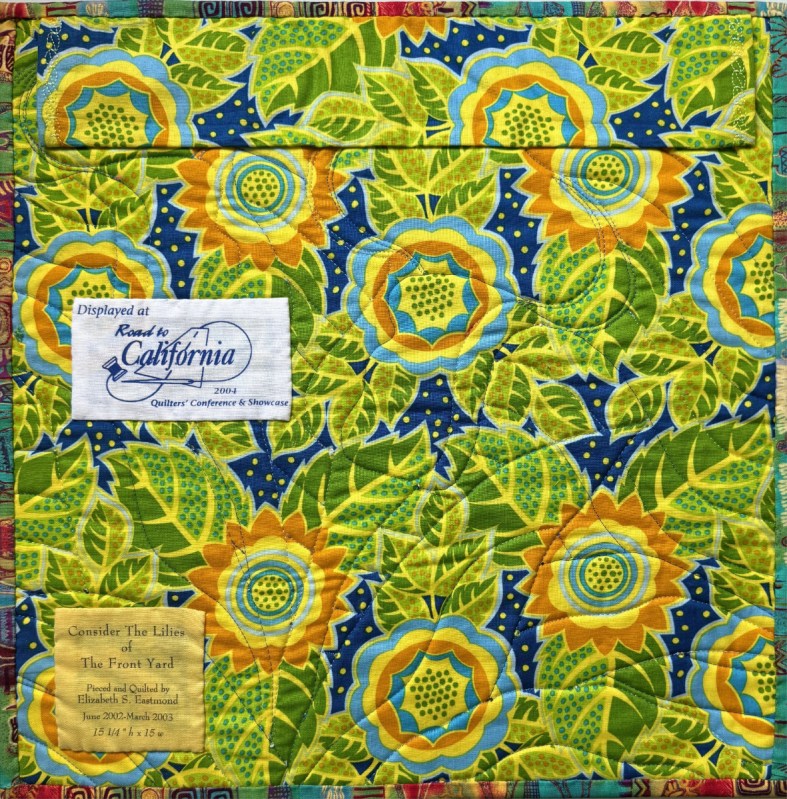
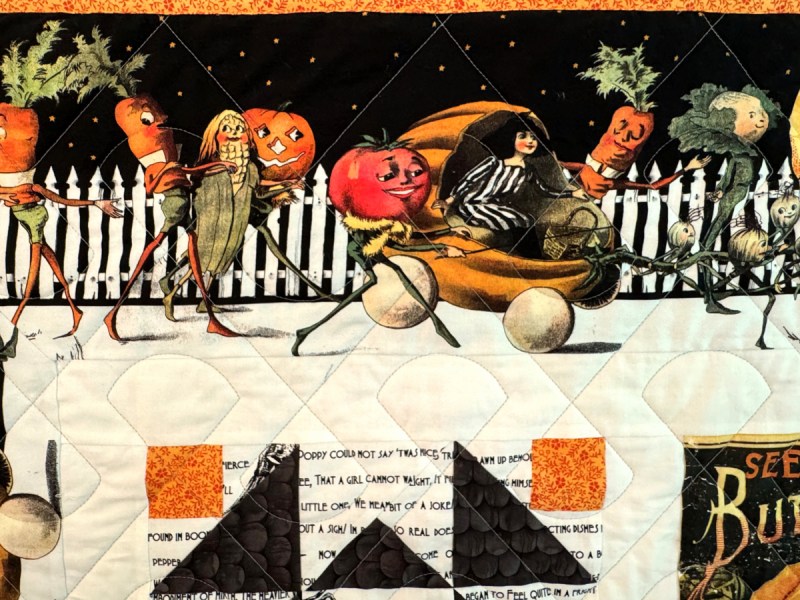
As I was trying to beat a deadline, I put a machine-stitched binding on it, but the quilt is still very soft and snuggly, due to the very loose density of the quilting. I hope my sister loves using it this coming season. I snapped a photo of the backing while I stitched. I thought these Halloween heads were hilarious. And I loved how well the seaming went on the back — it was a challenge to match up those pumpkins, but I think I did okay.
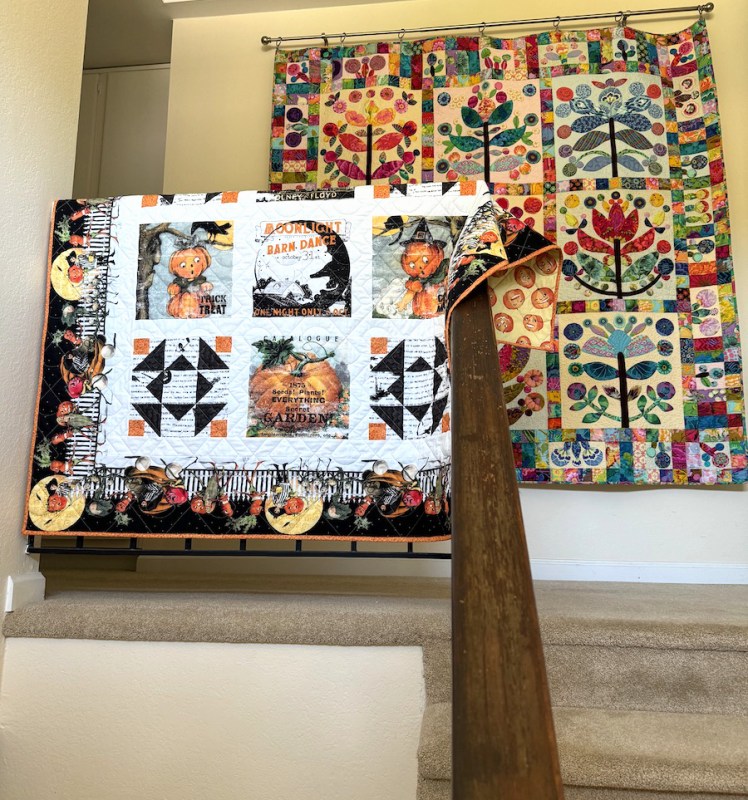
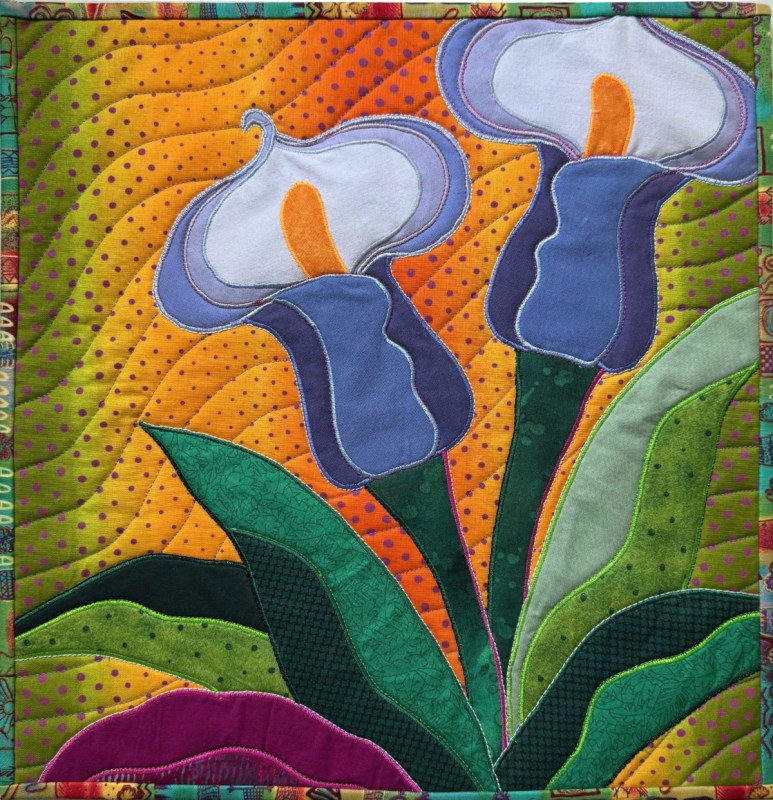
My sister Susan said she’s going to hang it over her stair rail, so I thought I’d given it a try before it left our house. Halloween in front, summer in the back hanging on the wall. Time to change out the hanging quilt, as tomorrow, what my daughter calls the “bers” will be here: September, October, November, December. But we’ll also have a scorcher of a week, so out here in Southern California, we’re not quite through with summer’s heat.
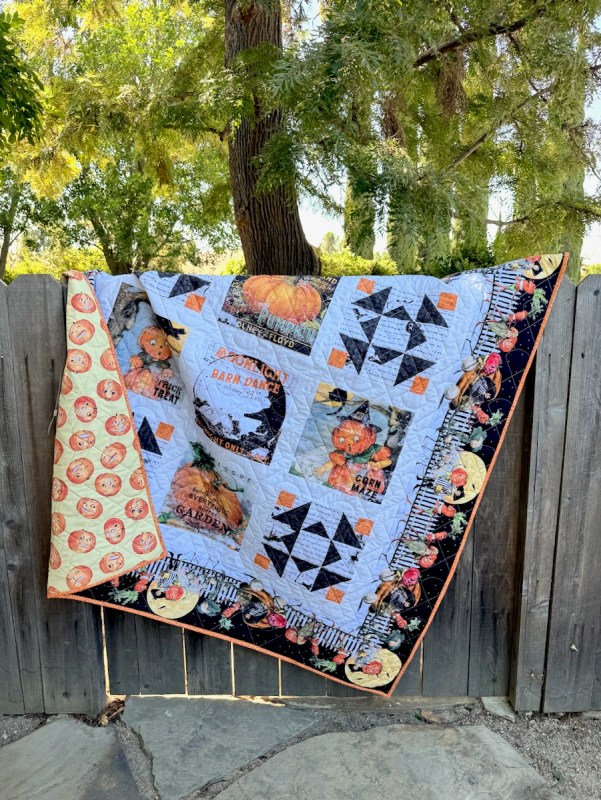
Quilt #291 • 54″ square
And it’s gone!
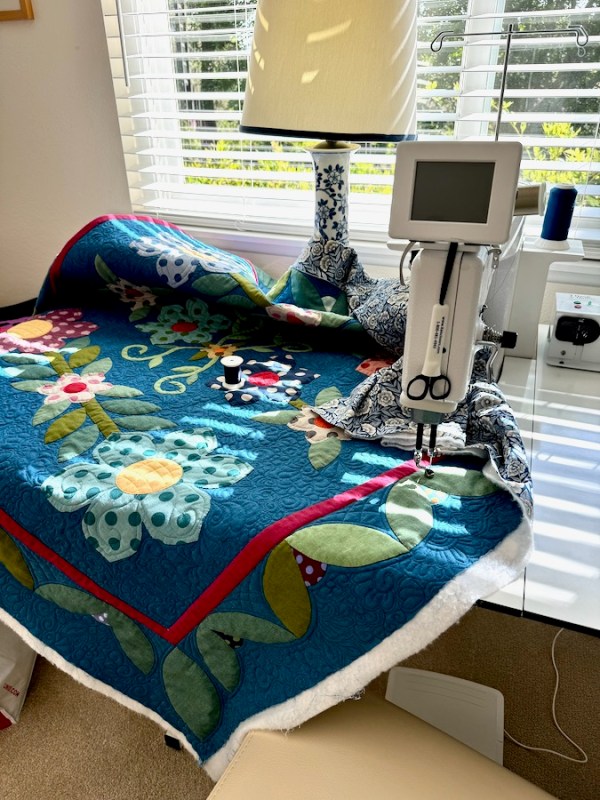
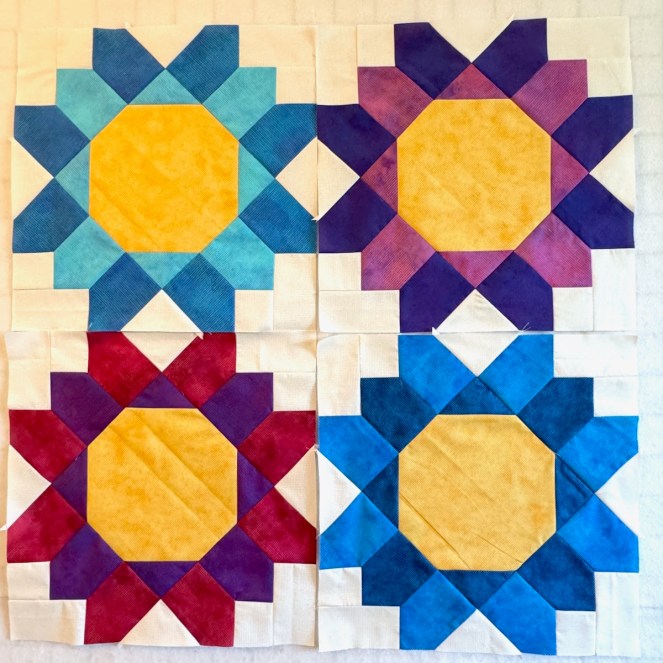
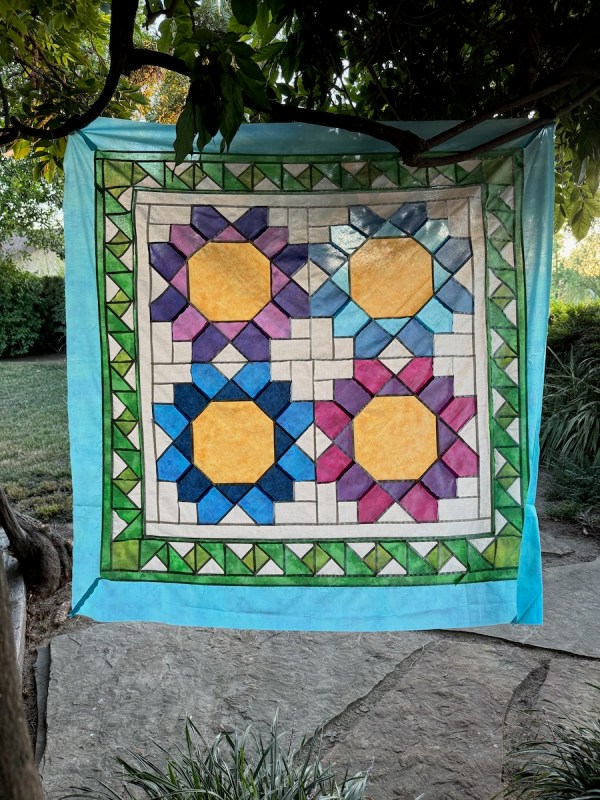
And this one waits patiently to be finished.
Soon, soon.

(Too early for pumpkins?)
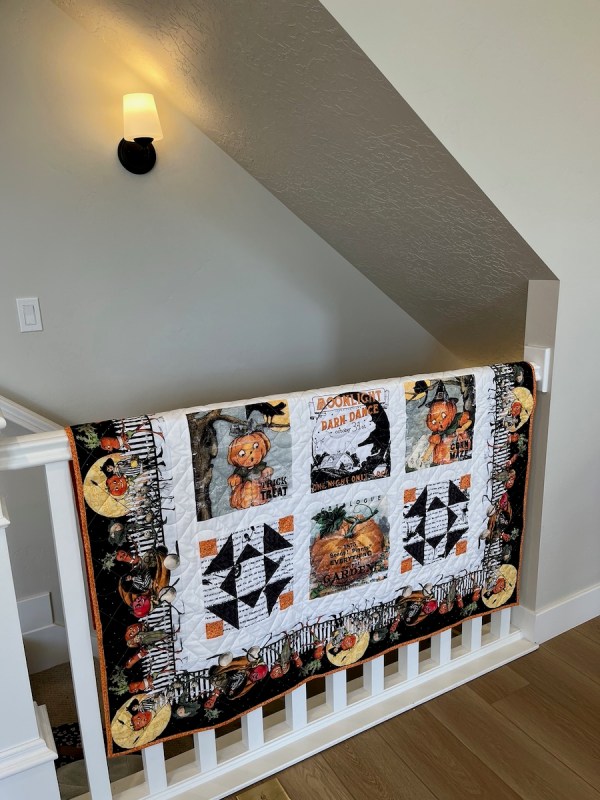
P.S. The quilt arrived, and is hanging nicely on her stairwell.