Quilts

Wonky Baby Baskets and Narrow Stem Applique

Vietnam War Memorial Statuette

(momentos left at the Wall–I am grateful to those who have fought in service of our country.)Arlington Cemetary Mem Day
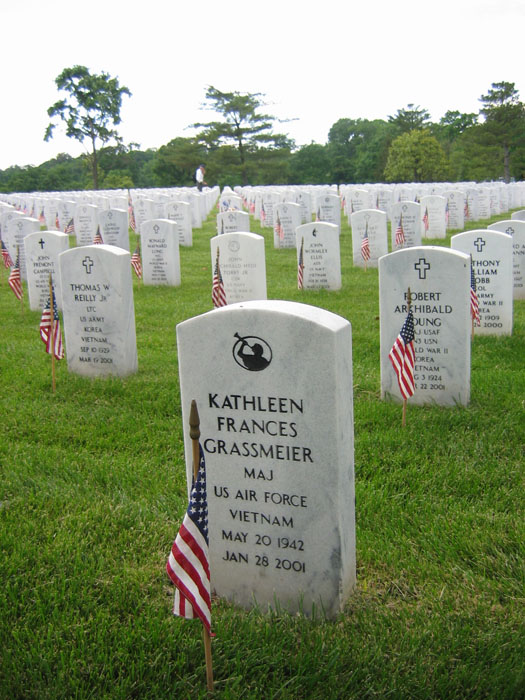
Happy Memorial Day, to those of you who are in the United States.  We spent a year back in Washington, DC some time ago, where I toured every monument I could (going to the Vietnam Wall on Memorial Day and waving on the East Coast Rolling Thunder motorcycle riders on the bridge near the Lincoln Memorial; today I’ll be waving on the West Coast Rolling Thunder).  I also joined a lovely little quilt guild, named the Mt. Vernon Chapter of Quilters Unlimited (which covered the entire state of Virginia), where I learned this technique.

Basket Blocks Quilt Top

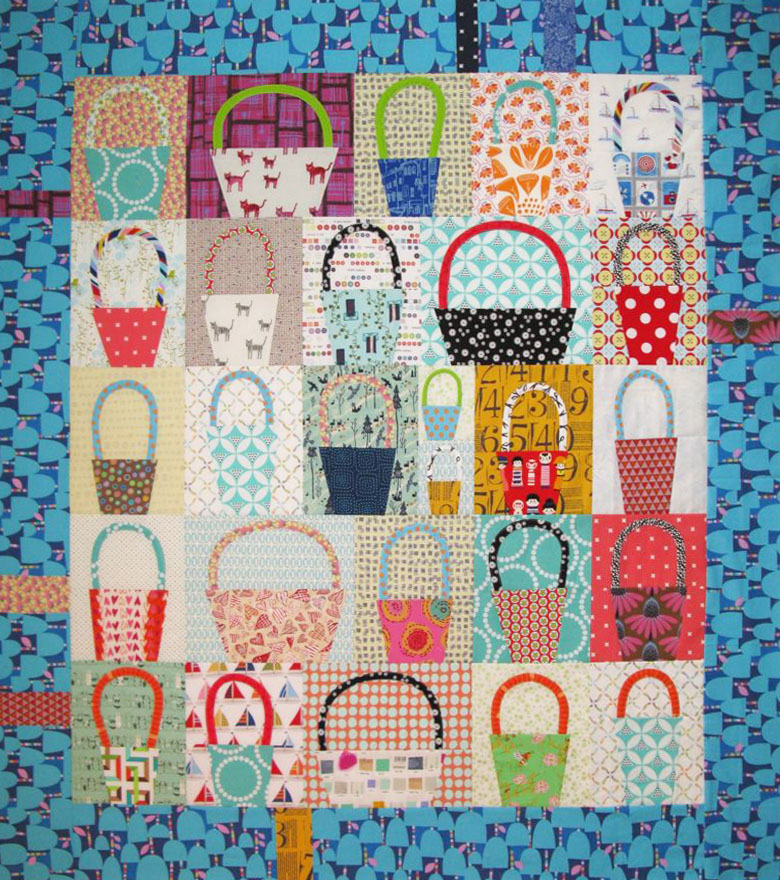
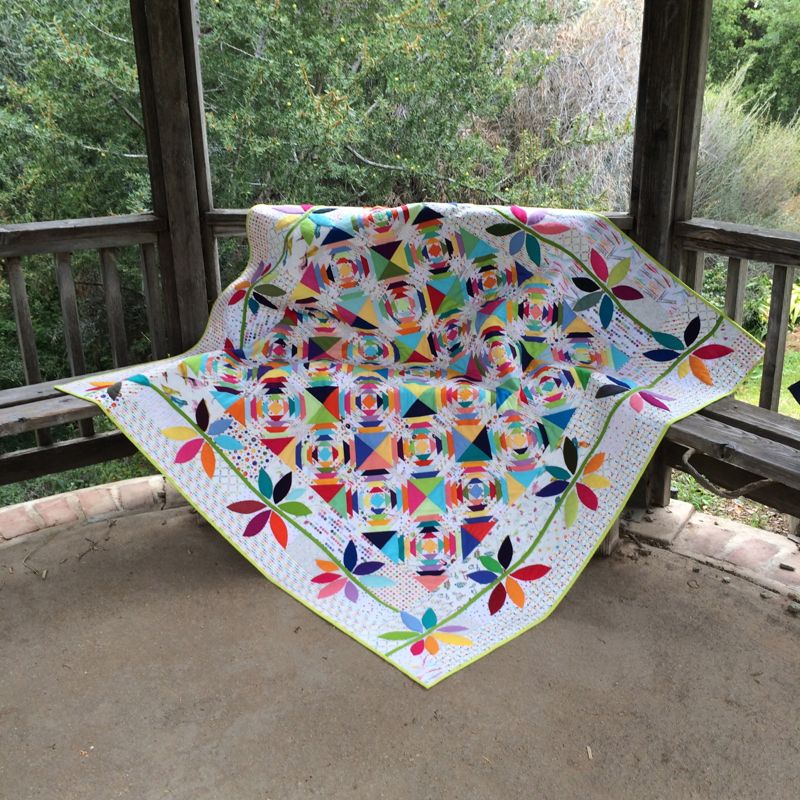
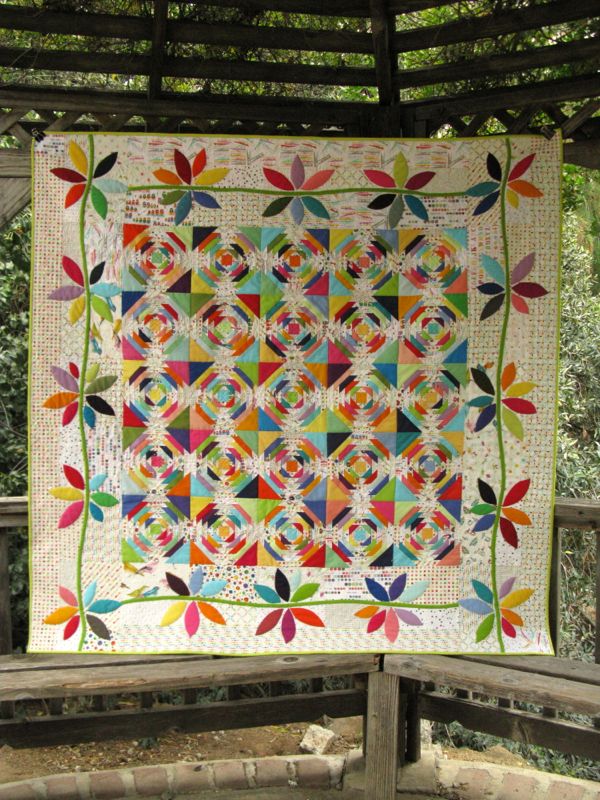
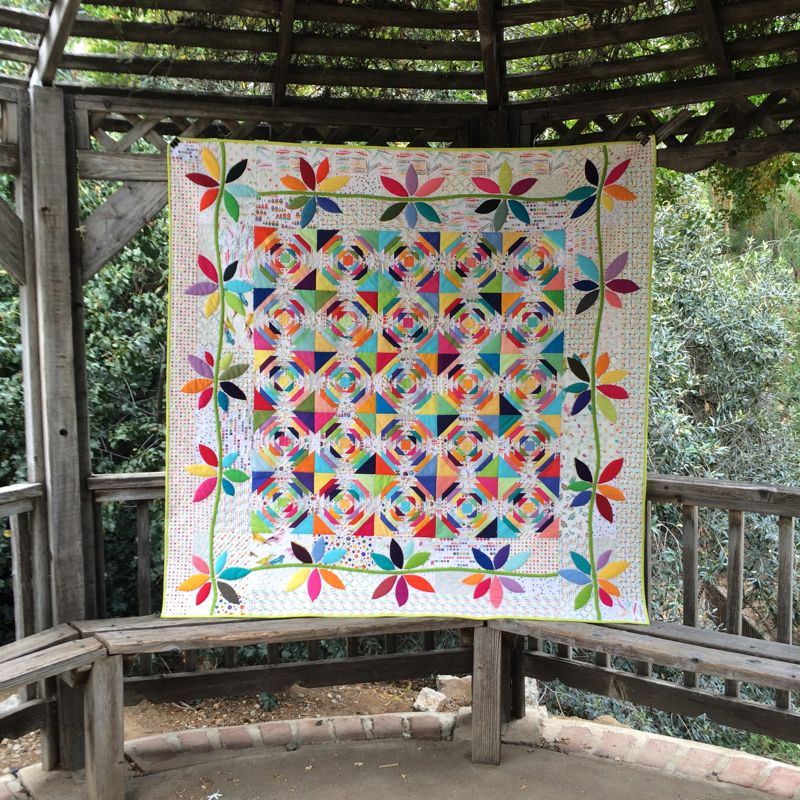
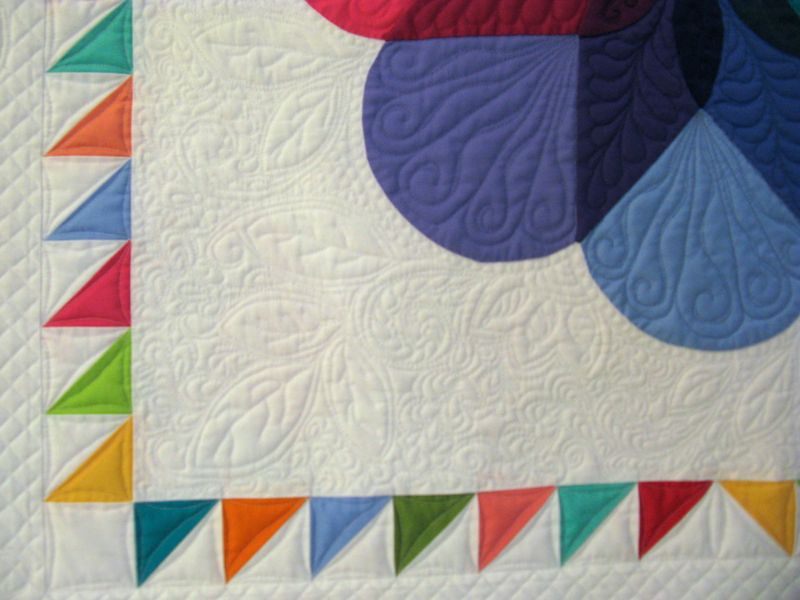
I recently made a wonky basket quilt with some baby baskets (below).  Here’s some basic guidelines for the baby baskets.

Baby Baskets

Baby Basket Dimensions

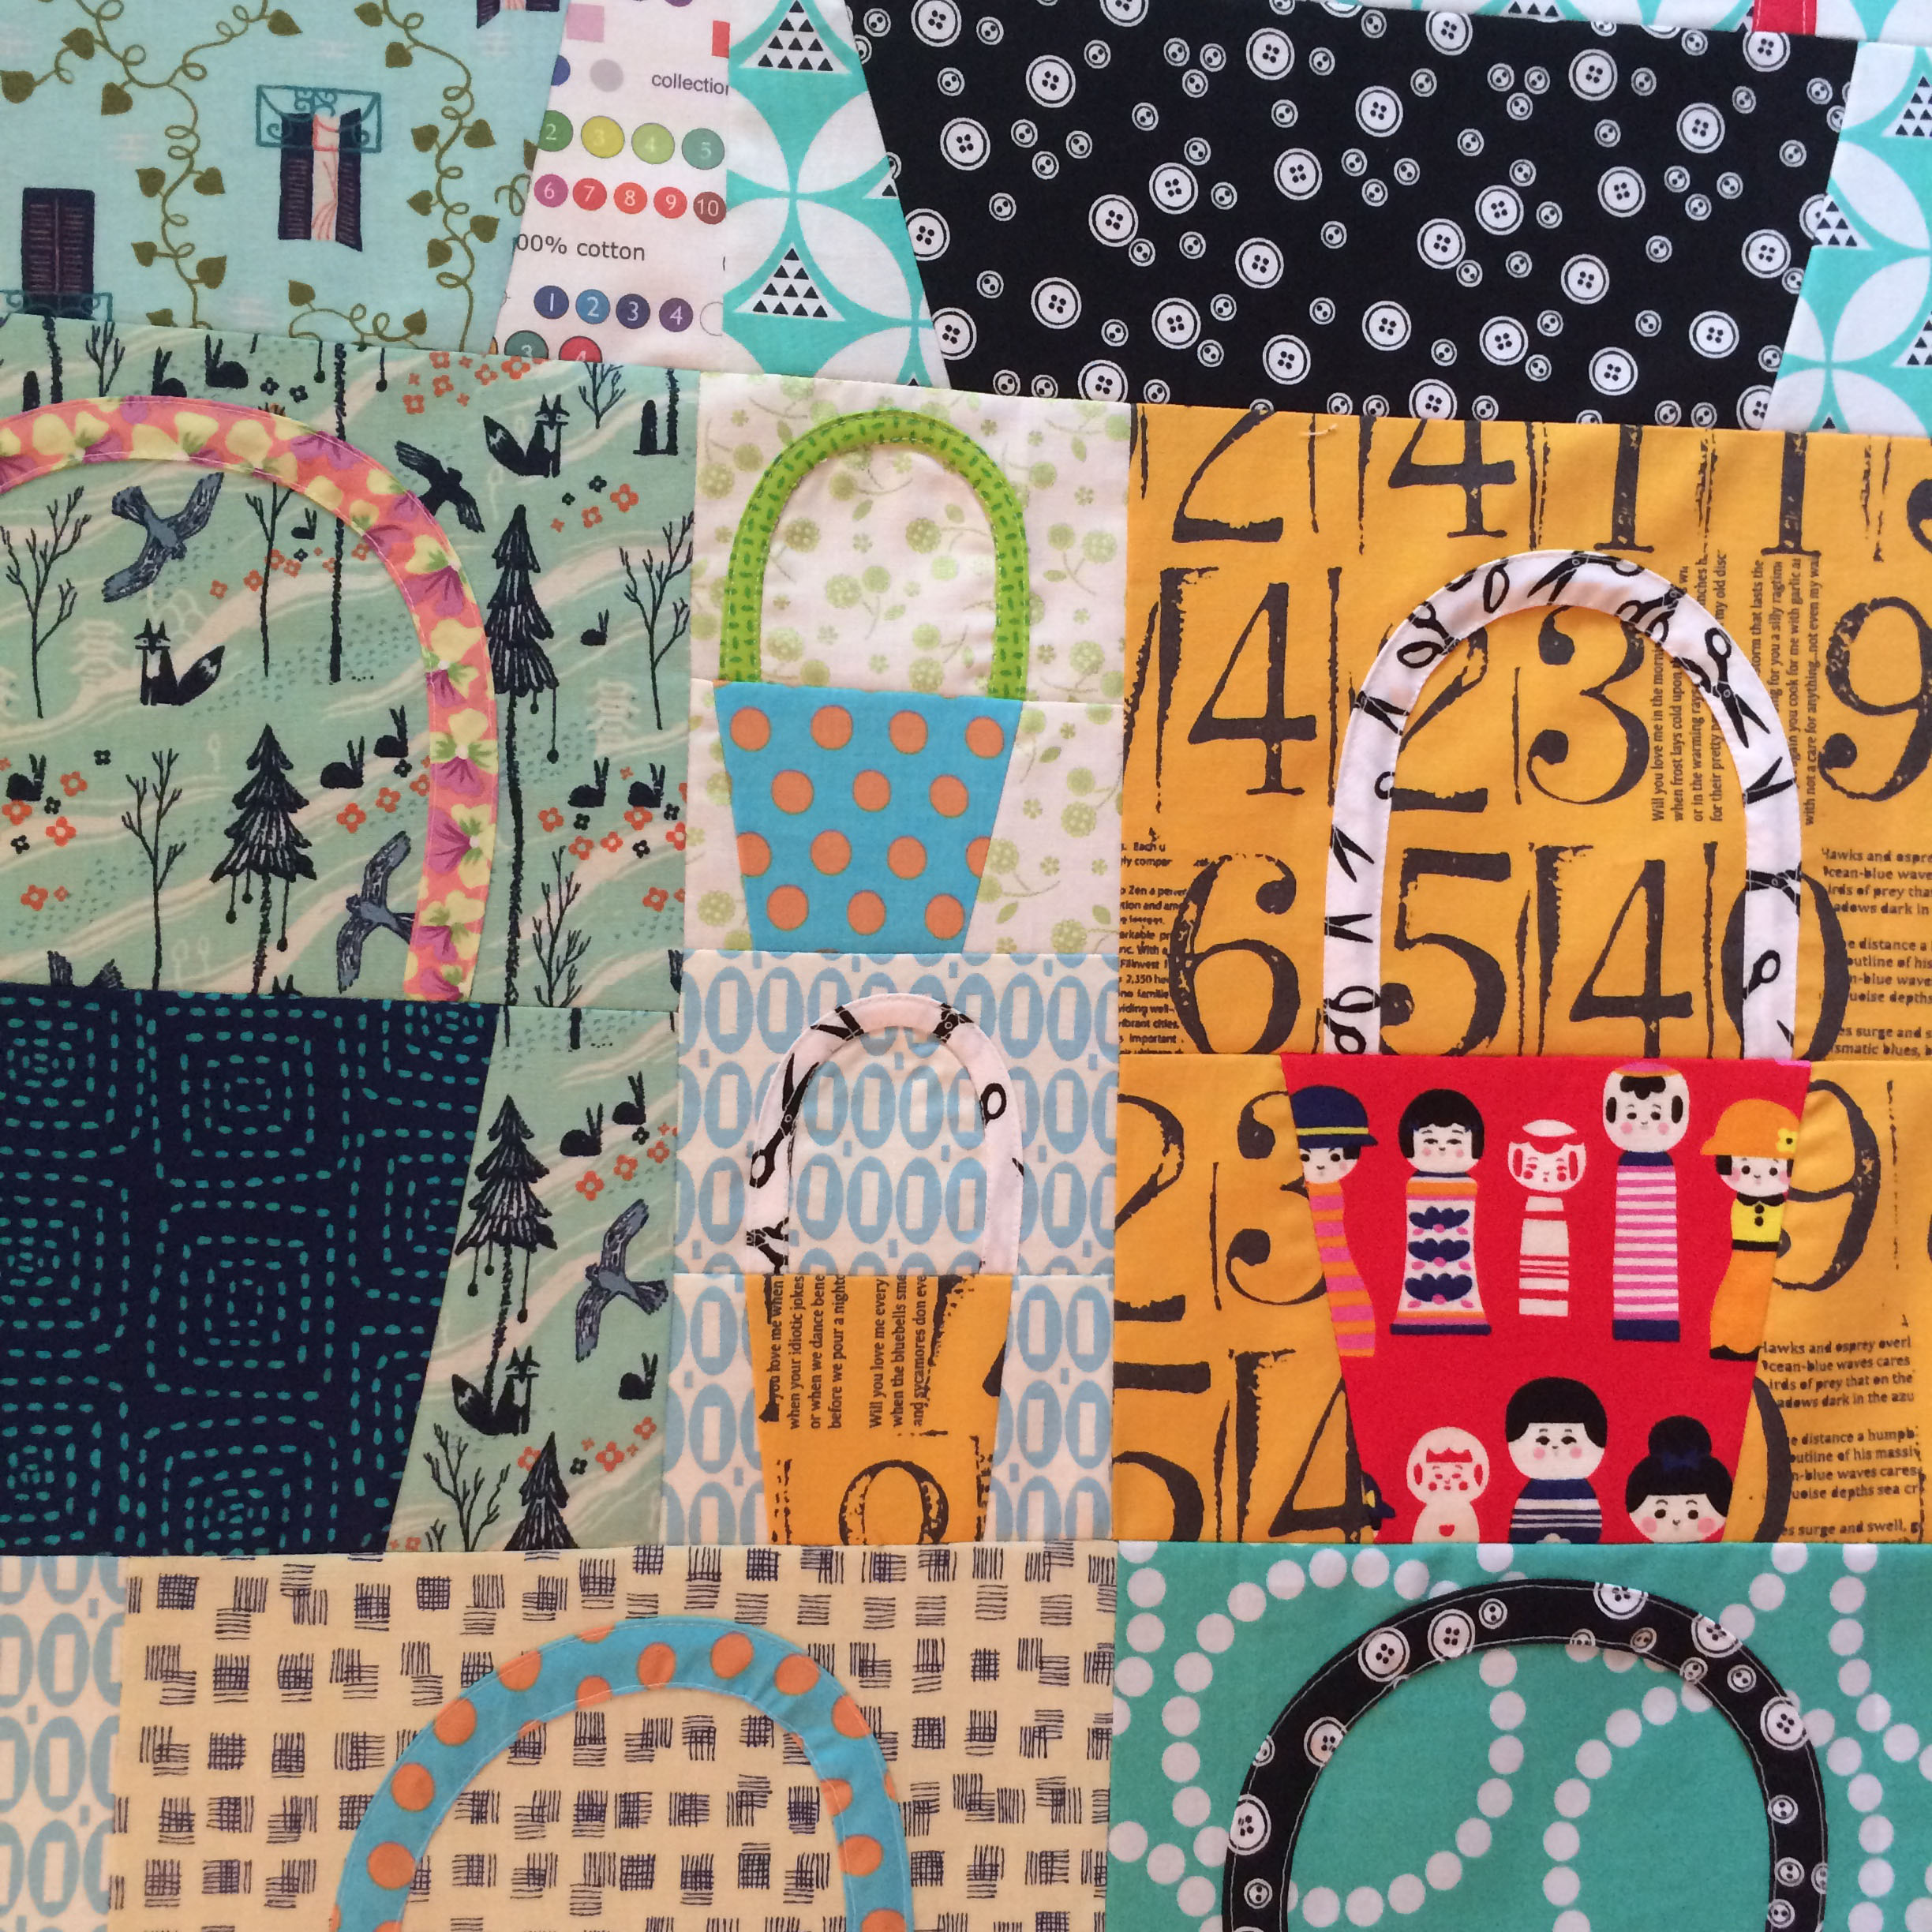
Follow the directions for the Wonky Baskets, cutting the base pieces smaller, as the finished size is shown above.  So maybe cut the upper part in the 5″ by 3″ range, and the lower part the same (it will be bigger after you splice in the basket).

Sewing the handles mini baskets

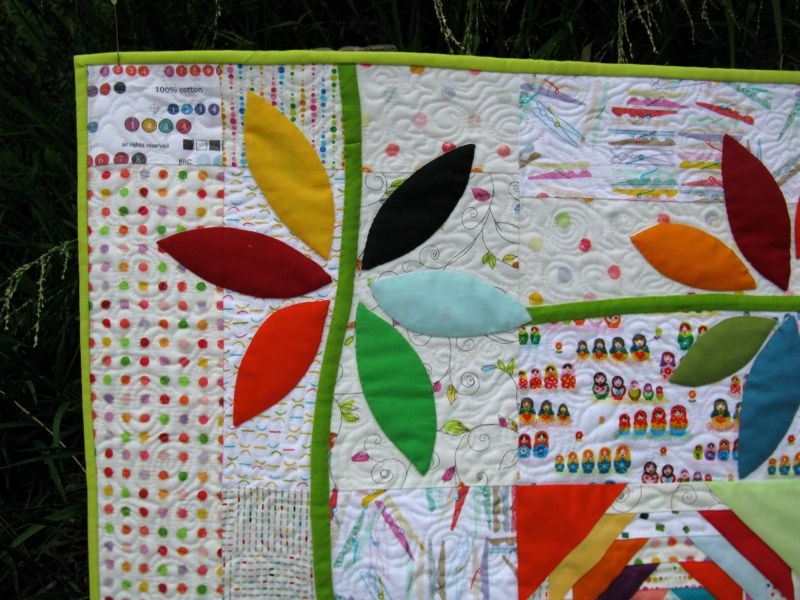
Follow the instructions for the bias strips for the bigger basket, but sew these narrower–about 3/8″ wide.  I’m using leftover handles strips for the big baskets. The woman who taught me this. in our Mt. Vernon Guild, made very narrow stems for her flowers by using this method.  So I call this the Narrow Stem Method.

trimming the handles baby basketsTrim close to inner stitching.

pinned handles baby baskets

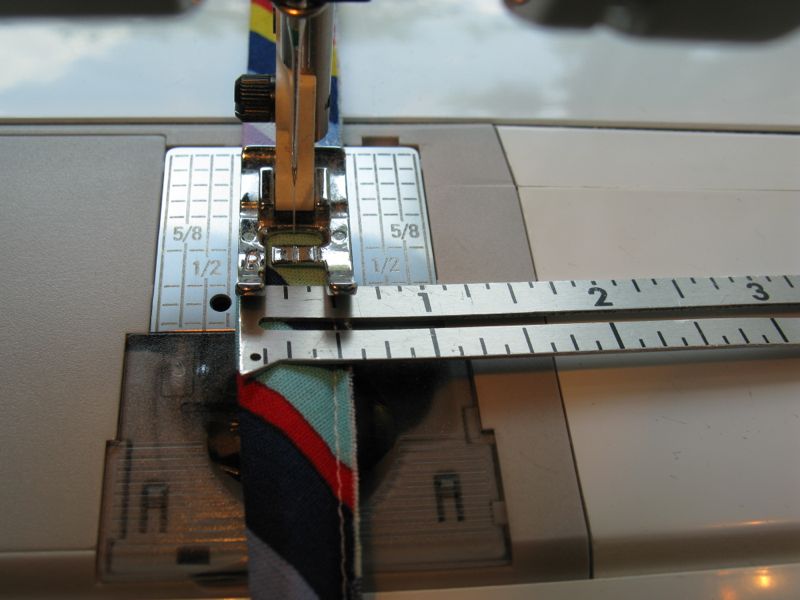
Laying the basket below (to gauge for the width), pin on the handles with the raw edges facing towards the outside.  Place the handle edges at least 1/2″ inside the basket to allow for turning.

Narrow Stem Applique 1

Stitch on sewing line.

Narrow Stem Applique 2

Narrow Stem Applique 3

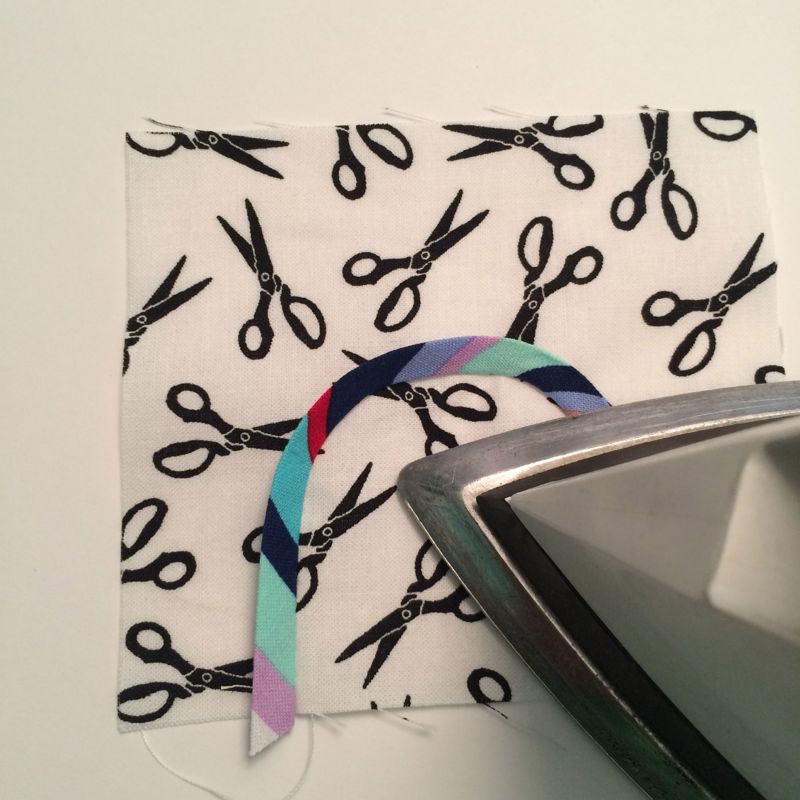
Now press the bias strip outward–letting the fabric fall back over the stitched line and the raw edges.

Narrow Stem Applique 4

Narrow Stem Applique 5
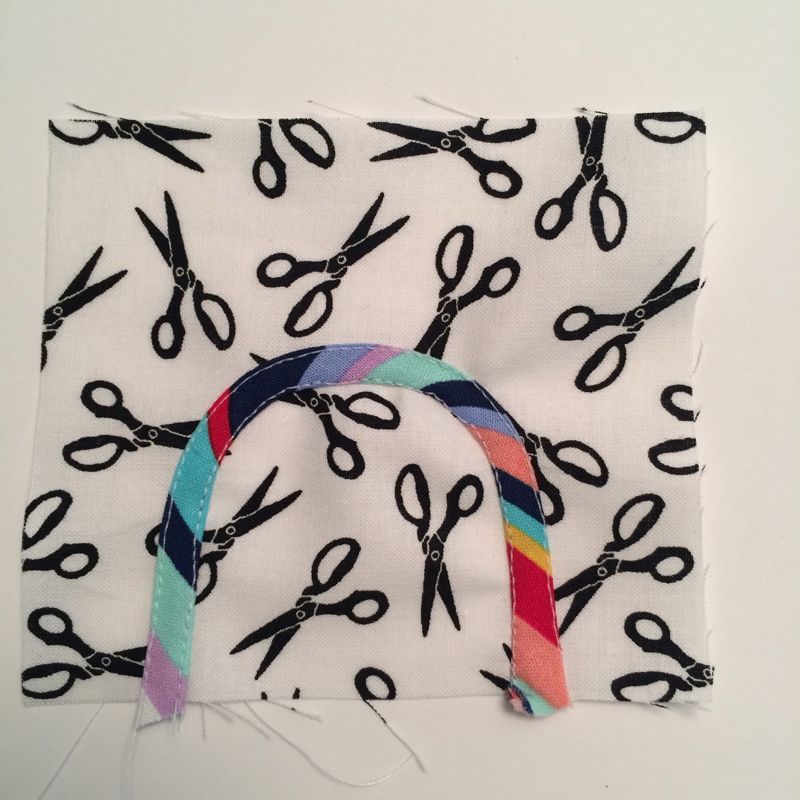
Stitch down both edges, then finish block as for the bigger wonky block.   If you were doing a stem, you would hand-stitch down that outer edge invisibly.

Trim as shown in above photo–to 4 1/2″ by 5 1/2″.  I combined two to fill out those rows without the wider basket blocks.

Dumpling Bags

I had some leftover little baskets, so used them to make tiny Dumpling Bags, using a free pattern from Michelle Patterns.

Basket Blocks in the garden

WWII Lincoln Memorial One of my favorite memorial sites in Washington, D. C.  

My mother remembers this day not just for the Veterans, thinking instead of its original purpose: that of taking a day to remember our own deceased relatives.  She still calls it “Decoration Day.” My parents would go around to all the graves of their deceased ancestors and leave flowers.

Memorial Day 2014

I went up last year to see them on this weekend, but they’d already done most of the graves.  I did get to go with them for a couple of my great-grands, my father anchoring the pot of mums with bamboo skewers so it wouldn’t tip over.

Mother

This week is also my mother’s 87th birthday, and so I celebrate her as well.
Happy Birthday, Mom!


Quilts

Baskets Finished!

Basket Blocks Quilt Top

You know, I think I have had more fun with this little quilt than I have in a long time.  Of course, maybe the fact that last Monday I taught my last class of the semester may have something to do with it.  (At church this past week, I was flanked by two K-12 teachers from two different districts, and they knew practically to-the-minute how long before school let out for the summer.)

Baskets wo border

Here they are without the borders.

Border Try One

The suggestion I’d seen for a border was a piano key border, so I whacked up a bunch of 6″ wide, random-width strips and put them together.  I just couldn’t figure out why I didn’t like it.  I thought it was the fact that there were a lot of light-colored pieces in there.  So I ripped all the borders apart (which is why I have a photo of only one border–on the bottom) and took out the lights.  Still didn’t like it.

I had this older piece of blue fabric laying on the board so I could cut it up for darker “keys” for the piano key border, and pinned it up to the quilt and liked it!  Not quite enough, so I pieced in some random pieces to hint at the idea of a piano key border, and went with it.

Baby Baskets

Tutorial for the big baskets is *here.*  Tutorial for the baby baskets is in the next post.

Quilts

Pineapples and Crowns–Blogger’s Quilt Festival

AmysCreativeSide.com
Pineapples and Crowns made it into the Viewer’s Choice section of the Festival.
Please remember to vote for your favorite this week!
Pineapples and Crowns_lounging around
Pineapples and Crowns, 61″ square
Pineapples and Crowns_front
I am entering in Amy’s Blogger’s Quilt Festival, and I apologize for my regular readers who have already seen this quilt.  But she requests a blog post written the week of the festival, so as some one who is totally rule-bound (*cough, cough*) I am writing a new post.  The original post is *here.*
Pineapples and Crowns_front iphone
The inner pineapple blocks were made for me by two sets of bees, but the outer border, of the pineapple crowns is all hand-appliqued.  I went back and forth between all the categories, looking for the “mixed technique” category, but finally entered it in the appliqué category, if you want to help this quilt become a winner–that’s where to go (*shameless plug*).
Pineapples and Crowns_detail1
It could have gone in “scrappy”  or “large” for just like our children, we can categorize our quilts as one thing or another, depending on if they’ve kept us up all night, sick and crying, or if we see them decked out in their Sunday best, playing the timpani drums at the end-of-school concert, like my eldest granddaughter just did. (Way to go, Keagan!)
Pineapples and Crowns_detail2
But, as always, the best thing to call quilts is done, ready for display or enjoyment or to take to a botanic garden and take pictures of them, which I did recently.  I love the mix of scrappy white-background fabrics and the rainbow of brights.  I placed warm bright petals in the outermost border, and cool petals in the inner border.  It’s not really noticeable overall, but I needed to organize these blossoms somehow, and I chose to do it with color.
Gazebo with two quilts
I hope you’ll take a few minutes and head back to Amy’s Blogger’s Festival to see all the other terrific quilts that are showing up there, and to vote for your favorite in each category.  The voting begins May 22nd, and you can also vote for Viewer’s Choice as well.  Enjoy the online quilt festival!
Quilts

Colorwheel Blossom–Blogger’s Quilt Festival

Colorwheel Blossom_front

Colorwheel Blossom, 48″ square

AmysCreativeSide.com

Welcome to the Blogger’s Quilt Festival!  I’m entering ColorWheel Blossom in the ROYGBIV category of Amy’s online contest.

Colorwheel Blossom_quilting detail

Colorwheel Blossom_quilting

 The original finished blog post is *here.*

Colorwheel Blossom_quilting2

It took me forever to find the right colors for the center of the blossom, and I haunted several quilt show booths, combing through their Kona Cottons to find just the right shades, then visited Purl Soho–Irvine to get the right inner petal shades.  I appliquéd it to the white background, and then it took me several months to get up the courage to quilt this.  I settled on a curvilinear emphasis in the middle field and an angular emphasis in the borders.

It now hangs in our hallway right by the front door, a rainbow greeting all our guests, lighting up our home.

Thanks for stopping by to see Colorwheel Blossom. Be sure to head back to Amy’s Blogger’s Festival to see the rest of the quilts, and to vote for your favorites!  Voting begins May 22nd for each category, as well as Viewer’s Choice.