A is for Abecedary, or a way of organizing this post.
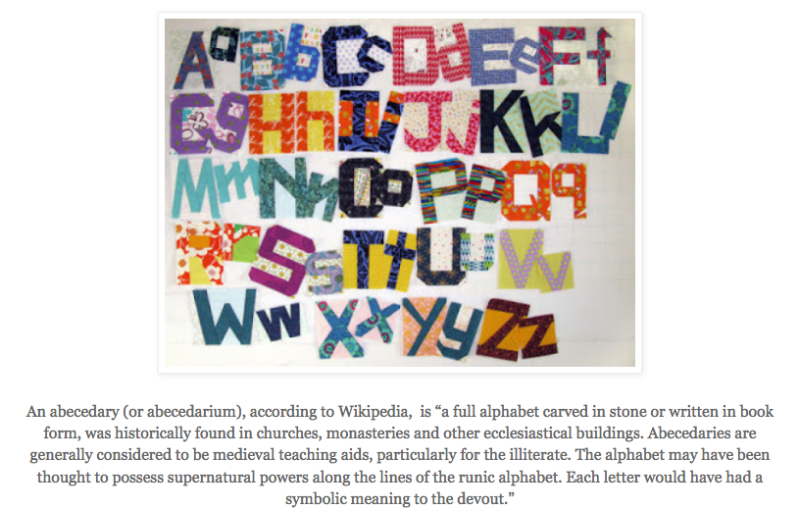
It’s also the name of my Lecture I present to Guilds, and I’m coming up on my last Abecedary of Quilts lecture next month (a milestone). And by the way, today I might skip a few letters. Subtitle: This and That • June 2021.

B is for bibimbap
which is a favorite summer dish, shown here on my placemat made out of Simone’s fabric, back when we supported her in her fabric launch. In the Before Times.
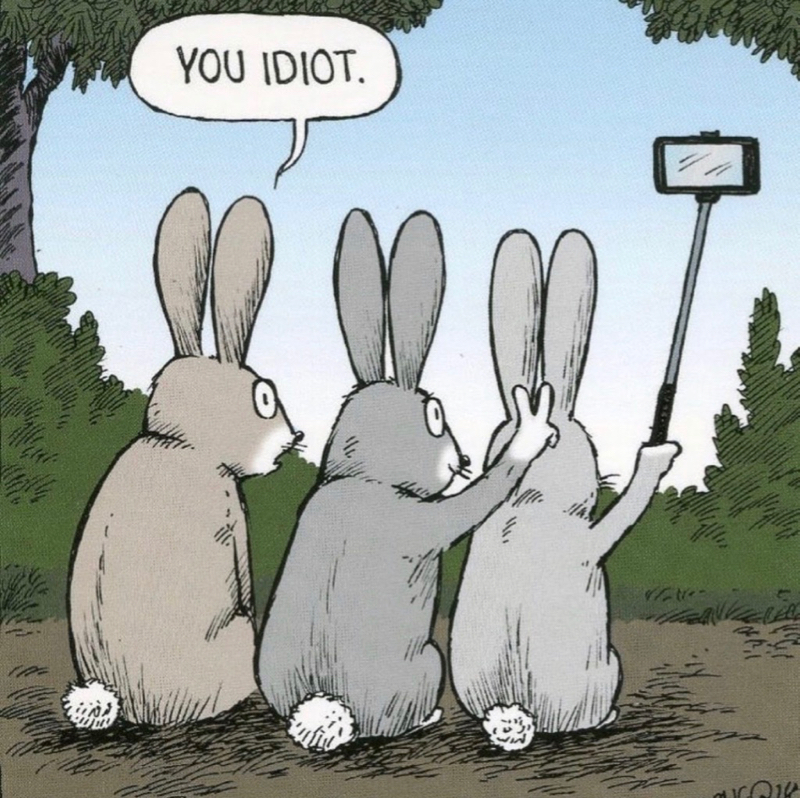
B is for Bunny ears.
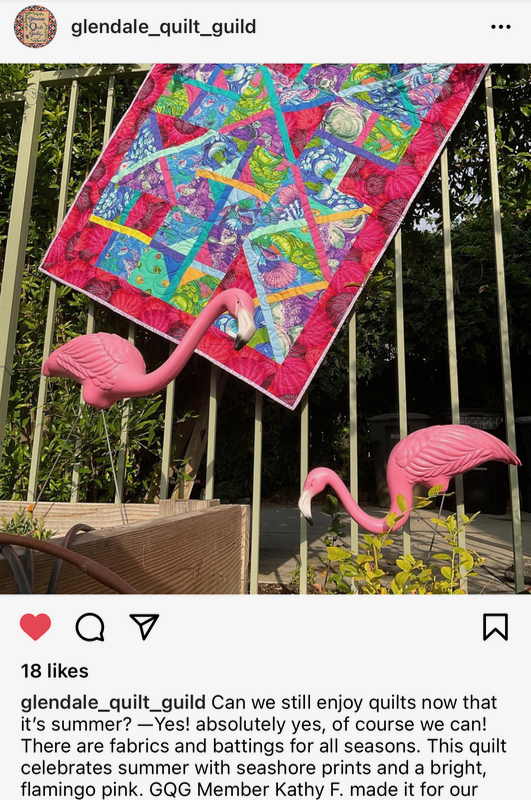
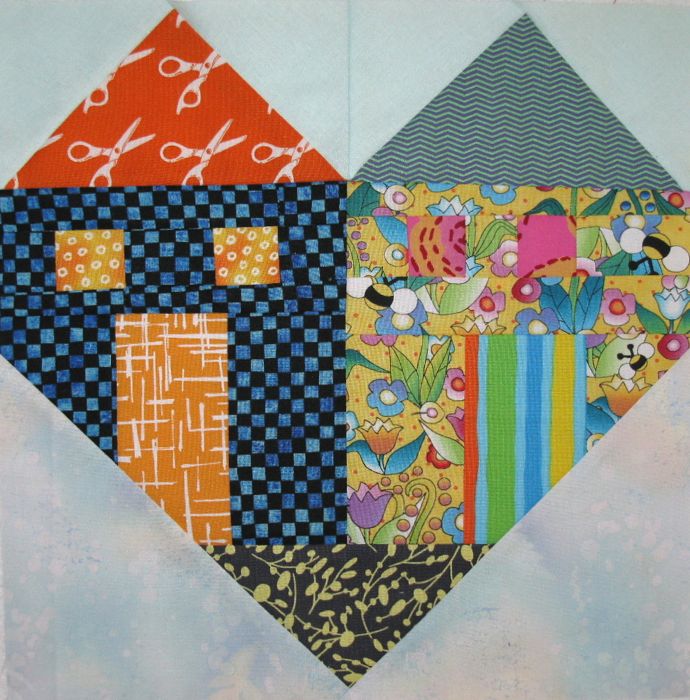
C is for Criss-Cross. Fun to see Kathy’s finished quilt on the Glendale Quilt guild’s IG account.
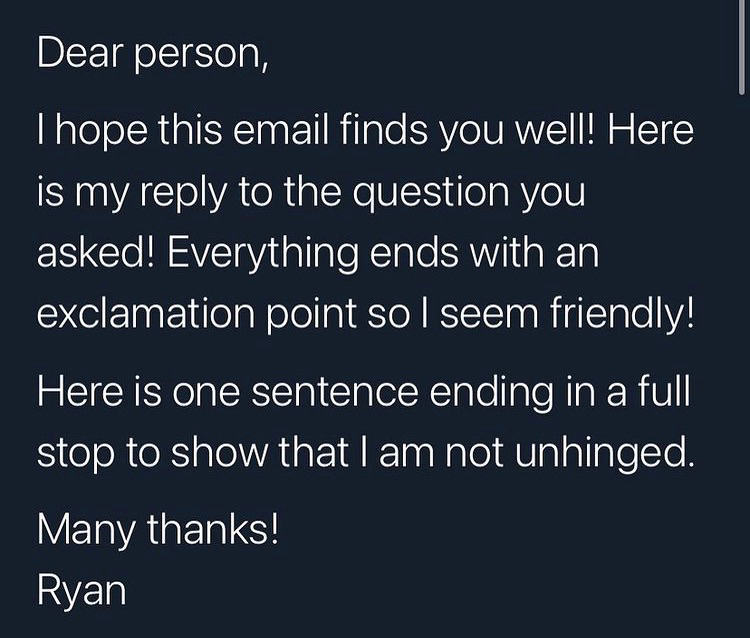
E is for exclamation points, for which I often use too many and always have to edit them out.
F is for feet on Instagram, specifically feet on quilts. Seems there are strong feelings about this.
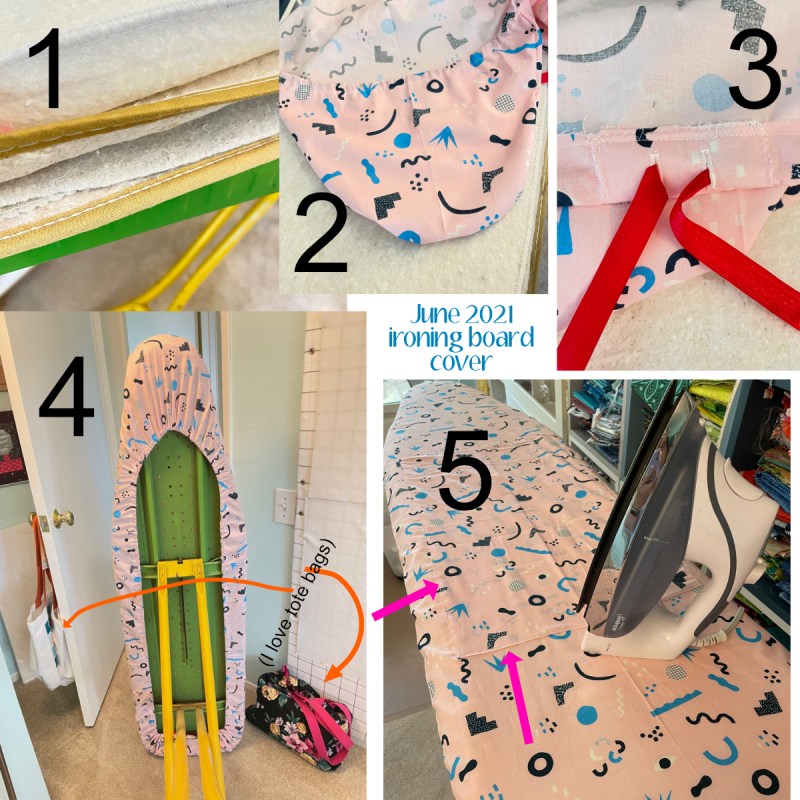
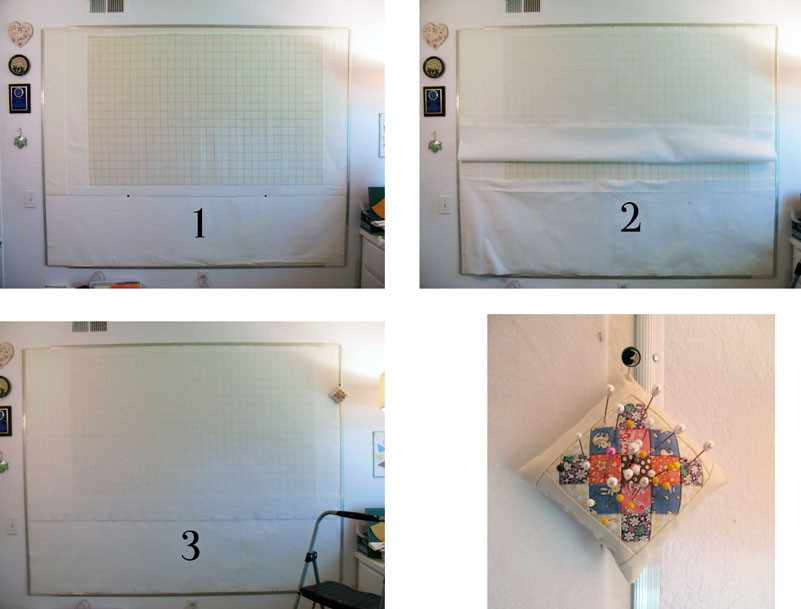
I is for new ironing board cover.
1. I always leave lots of padding, but maybe shuffle them around. This is multiple year stack-up of padding.
2. My pattern has me lay the ironing board down on some fabric then draw an outline about 3″ away from the edge. No precision needed. I then make a separate “hood” for the top, by duplicating the upper portion. No reason. It’s just the way my most favorite commercial ironing board cover was made, way back in the day, and I’ve just continued it. I sew it on the top part, RST, then flip it. It’s tricky to get the casing around those edges, and I always find myself unpicking bits here and there to get the drawstring through. Don’t judge me by my underneath-the-ironing-board-cover business.
3. I slap an interfaced square on the lower edge and put in two buttonholes (for drawstrings), making sure they are closer to the raw edge. Make a hem of about an inch of fabric all the way around and stitch it down, doing your best. No, I don’t finish the raw edge. Why should I? After that, slide through some sort of long string-y thing (not yarn or string). The best one I’ve found is to use two packages of seam tape, seamed together and overstitched. I’ve re-used it over and over.
4. The underneath, after I’ve pulled it all up into place, and tucked in the strings.
5. My newest gig is to sew on a giant rectangle, right in the middle (pink arrows). I just tuck the edges under after pinning, and topstitch it down. Yes, I fit the board with this after laying the cover on, but before drawing up the string. Why this? When it gets grunge-y after constant use, I unpick the stitches and yippee! Fresh and clean ironing board surface.
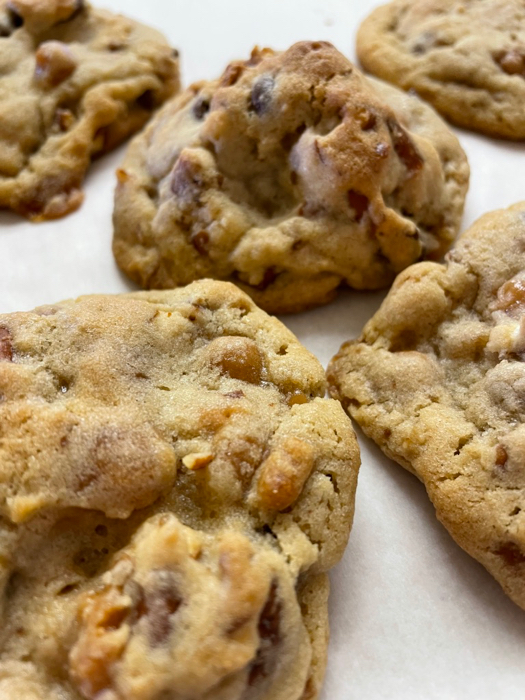
K is for Kitchen Sink Cookies.
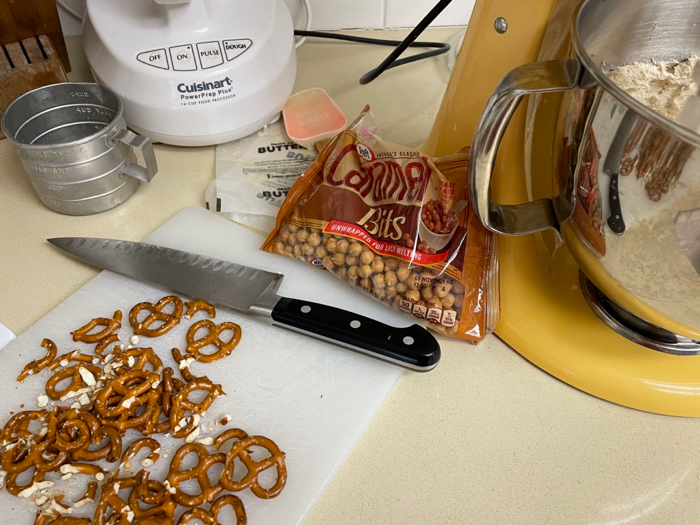
You can find this recipe on my daughter’s new website, Sweet Mac Shop, made and launched this last month for her macaron-baking efforts.
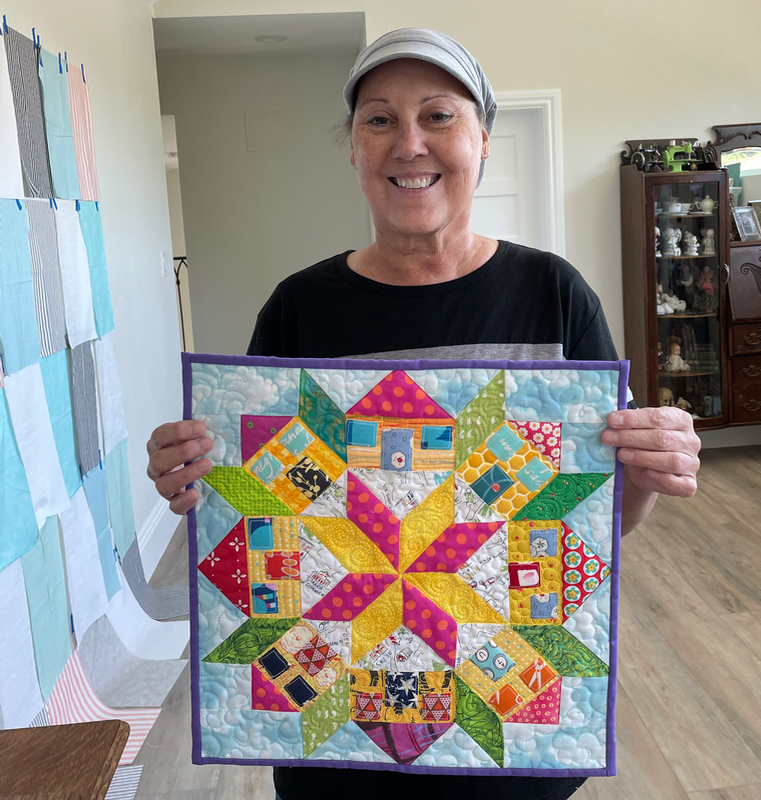
L is for Leisa.
She’s coming up on the one year anniversary of her stem cell transplant and we are celebrating by taping up a quilt (left side of the photo) for her niece. She had this little quilt of mine out on her antique sewing machine, so I took some time to re-acquainted with an artifact from an early day.

This was one of my earlier attempts at Home, Sweet Home, using a Lemoyne Star in the center, which is a juggling act all the way around (my pattern has an easier method).

It’s like old home week, visiting these fabrics once again.
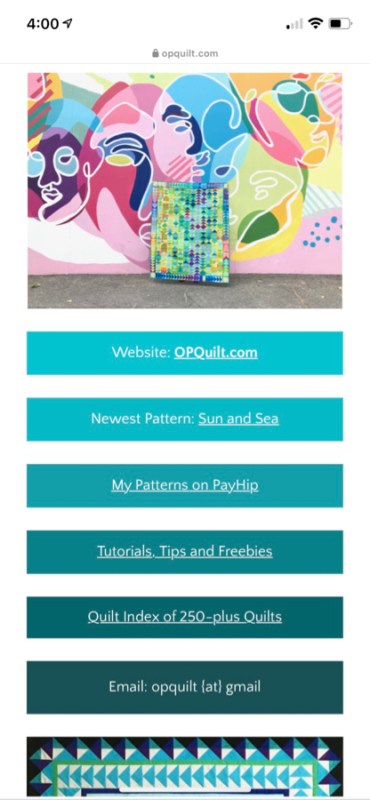
L is also for Link Tree.
This is what people see when you set up a space to list a series of links off of Instagram. Typically you put it where your ONE available link address is, thereby giving you way more links. Michelle, a brand stategist, often has little tips in her stories about how to make our online life easier, and more clever. One day she had a tip about creating a Link Tree in Canva, a website that will assist you in design tasks.
But then I got to thinking: can’t I do this on my own, using a page from my own website? Since I know her IRL, I asked her and she said “Yep, you can.”
I use WordPress for my blogging software, and they use Blocks for text, images and anything on the page, I colored my Blocks in different colors, wrote my text, and since I didn’t give the page a title, it has a naturally short web address.
Voilá! My very own Link Tree that I can change at a moment’s notice.
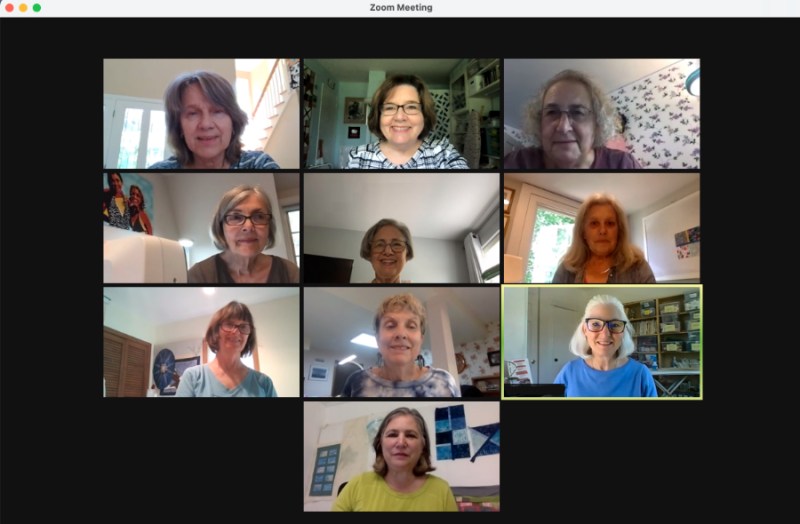
N is for Northern Star Quilters’ Guild.
I just finished teaching Criss-Cross and presenting my Abecedary of Quilts lecture to a wonderful group of quilters all the way across the country in New York state. What wonders of our era, to be in California and NY at the same time.
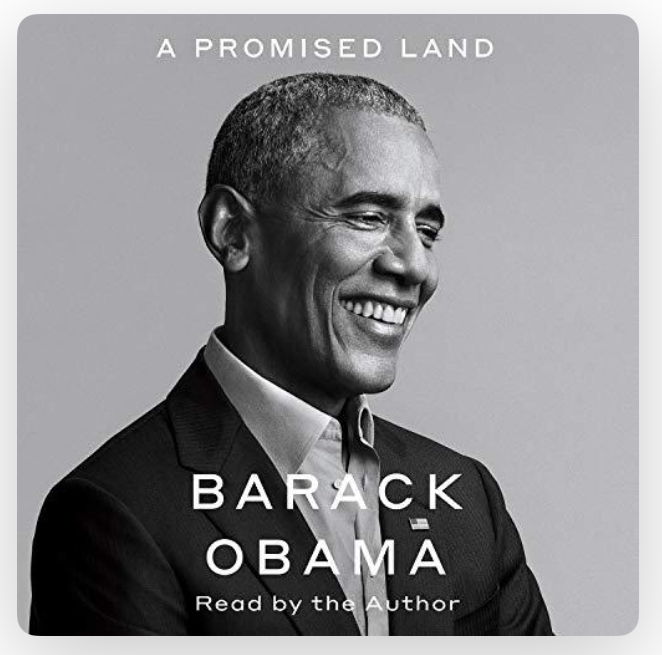
O is for Obama.
I’m almost done listening to the first part of his memoirs, and boy, have I learned a lot about government. A brilliant writer, with an easy-going style. His strong character traits, as well as some of his flaws, do come out in this book, but what I’ve appreciated learning is the bits of history he builds in to each international incident: it gives me a fuller appreciation for the difficulties of managing the expectations of the presidency in both foreign affairs and domestic. Love him or hate him, a lot can be learned by listening to, or reading this book. You’ll learn more about how bills are passed — and blocked — by taking the time to hear from a former president.
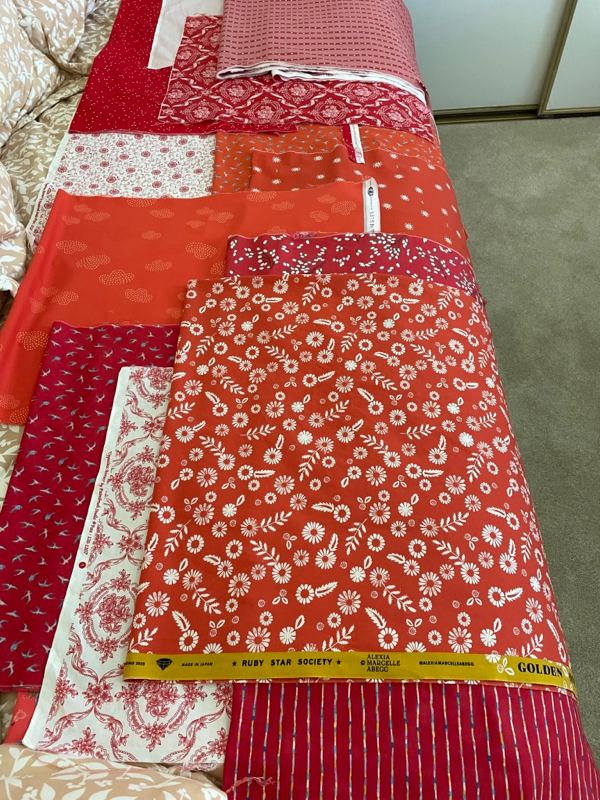
P is for pre-wash your red fabrics.
After they come out damp from the dryer, I press them and let them dry on the guestroom bed. This was in preparation for my Summer Snowcone Quilt. I don’t always pre-wash all my fabrics, but I ALWAYS pre-wash the reds.
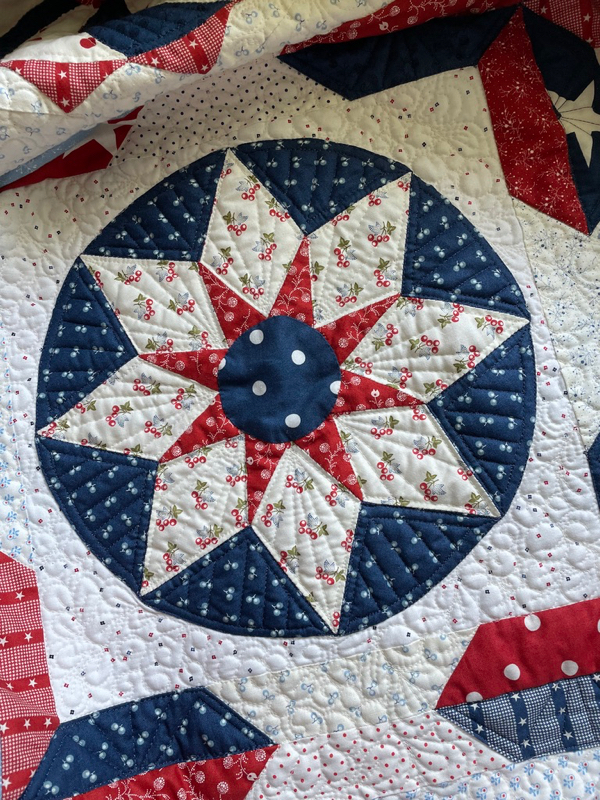
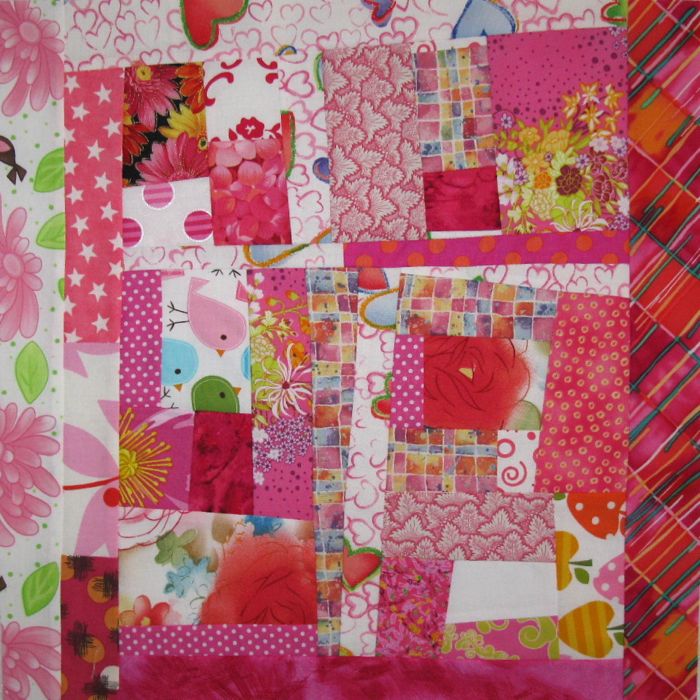
S is for Shine, the red, white and blue version.
My goal is to get this done by the end of next week, in preparation for the Fourth of July. I have now finished most of the white thread, most of the red thread, most of the blue thread. Next up is light-blue thread, and then going back for borders and finishing touches.

W is for Writing Patterns.
Next up is Azulejos, a pattern to be made from a quilt finished in the Before Times. This pattern is almost done. I use Affinity Software (Affinity Designer, Affinity Photo and Affinity Publisher) and for the last while they’ve been offering a smoking hot deal at 50% off. (Hooray! No more chained-to-Adobe-subscription prices, although they do have excellent software.)
Well, that is ending soon, on the 30th of June. If you have a hankering to design, or to tweak your photos, or other creative uses, head to Affinity by Serif and pick up your copies before it goes off sale. I’ve written about this before and I will again. It’s a great set of software apps for creatives Creative Peoples Creative People and Quilters. It will take you some time to get to know it, I won’t lie, especially if you have no Adobe experience. I had never used Illustrator by Adobe, but I purchased Affinity’s Designer. I had to do a bit of research here and there, but they have a great series of tutorials (I went through them all and Took Notes), a hefty online design community, a comprehensive online manual and even a hardcover book, that walks you through lessons on how to use it. I was up and running fairly quickly, and continue to learn new things.
Speaking of sales, get this, too. QuiltFolk. Ending Soon, and all that stuff.
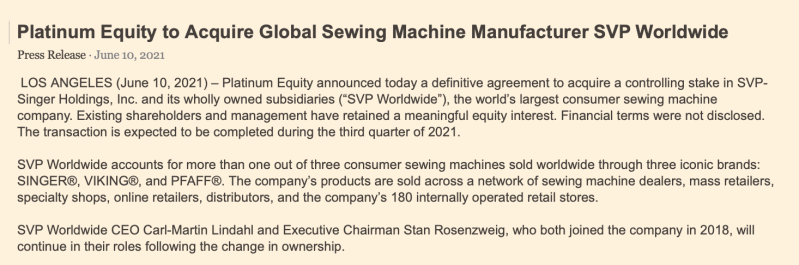
V is for a sad move for Viking Sewing Machines.
Somehow I never think it is a good sign when equity firms own our sewing machines. We recently lost one good tool when QuiltPro, a favorite design software (it used vectors, not lines) was purchased by a corporation, and let it slide into nothingness. Admittedly, it is still around and functioning for Windows machines, just not on Macs. Superior Threads was also sold, and I miss talking to my favorite help person on the line, although the threads themselves are still the high quality threads I know and love. And now these three sewing firms. I’m somewhat encouraged by the last line of the announcement, but not much.
Z is for Zee End.
Happy Beginning of Summer!