First up, some business to take care of.

I recently had a post about creativity/uniqueness/Uppercase/Collaboration, where I had a giveaway with two Uppercase magazines and a charm pack of Uppercase Fabric. So many of your comments were incredibly thoughtful about the process of creativity and the quality of being unique. Several were very encouraging to me, which was quite appreciated and touched my heart. Of course, I’ve pasted them in my journal for those less-than-stellar creative days. Thank you all so very much.
I used the True Random Number Generator (I like to spread the love around the random number generators), and it picked Mary, of NeedledMom. Email is on it’s way to you, Mary, and I’ll get the treats mailed off to you this week!
Okay, back to Halloween 1904. This was our schedule:
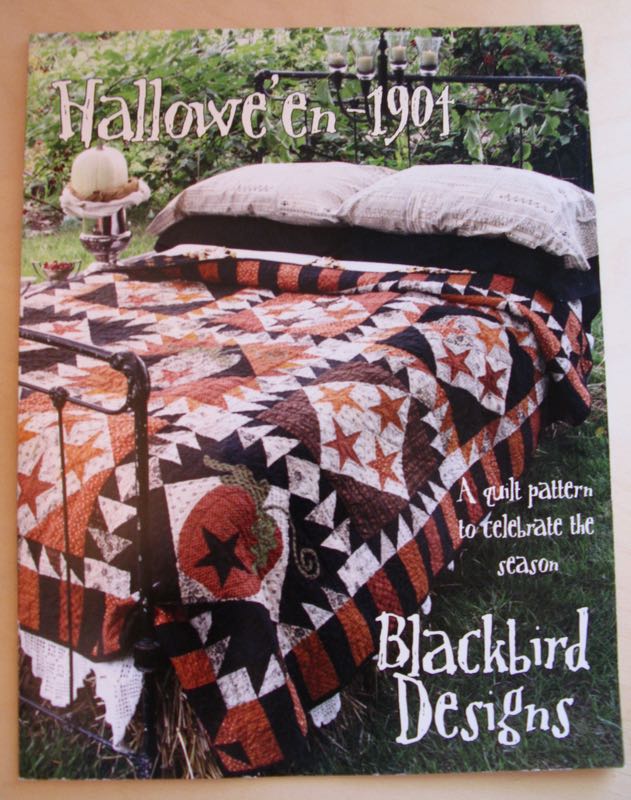
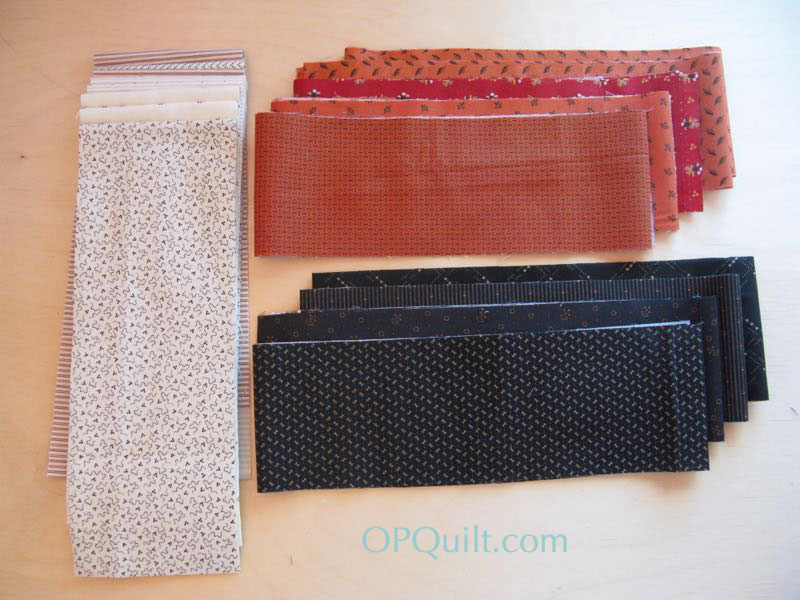
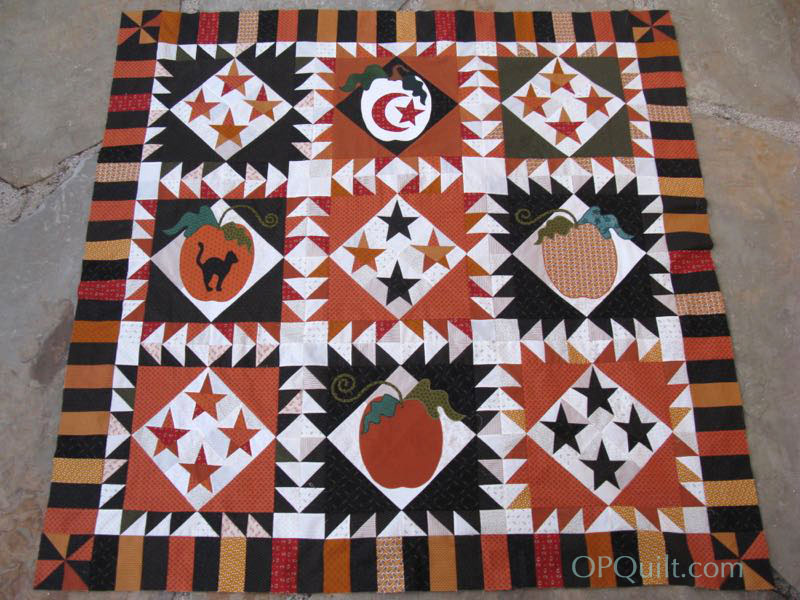
Step 1 (Preparation): February 13, 2016–buy all the fabrics and find the pattern. Patterns are available from Primitive Gatherings. The quilt measures 90 by 90, which is too large for me, so I’m only doing nine blocks. Each block is 20″ square, and with the outer borders, that should come to roughly 65″ square. I may change my mind, but this looks good from here.
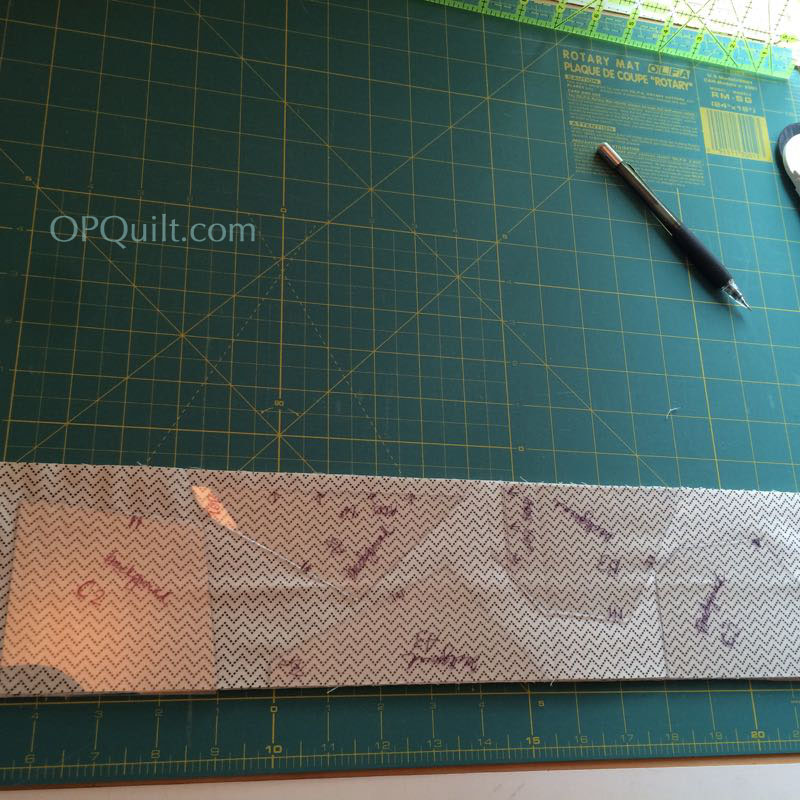
Step 2: March 13, 2016–Cut out the quilt: the tan backgrounds of the squares, the border triangles, the smaller half-square triangles, strips for the wonky stars, but save the piano key border for later.
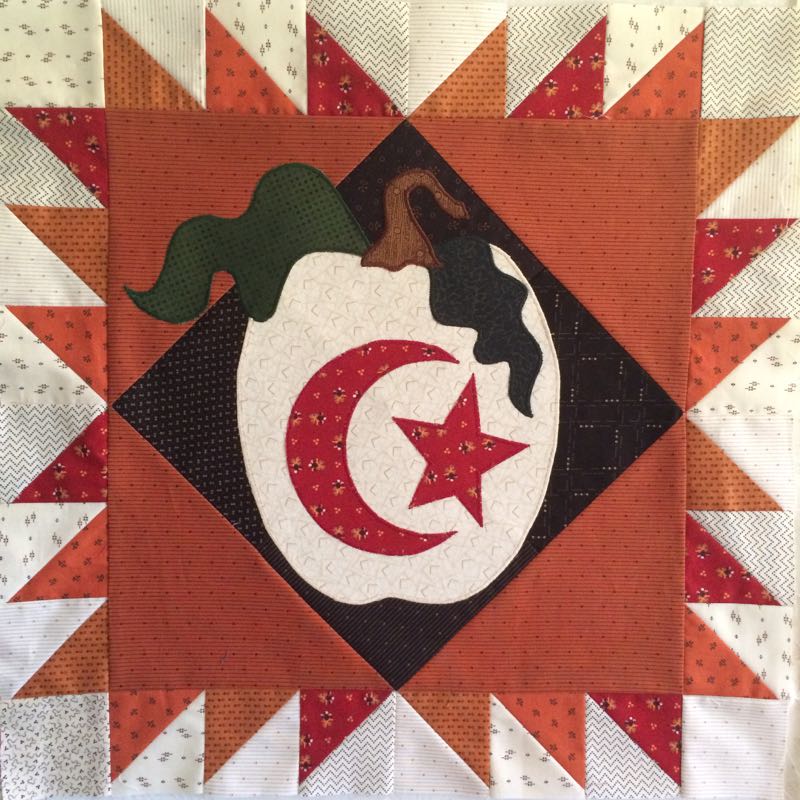
Step 3: April 13, 2016–Assemble four blocks and add large appliques; use Thelma’s method (of Cupcakes and Daisies) for adding the curlicue stem. Make and add half-square triangeles (HSTs) around these blocks, using the 8-at-a-time method of HSTs.
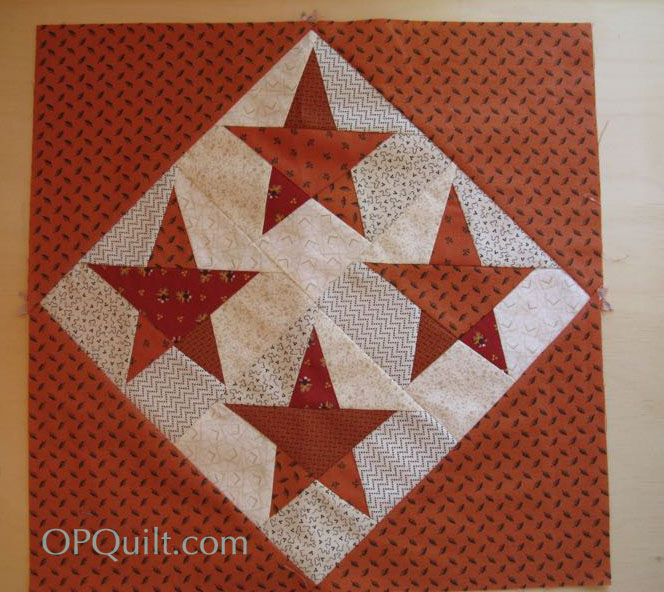
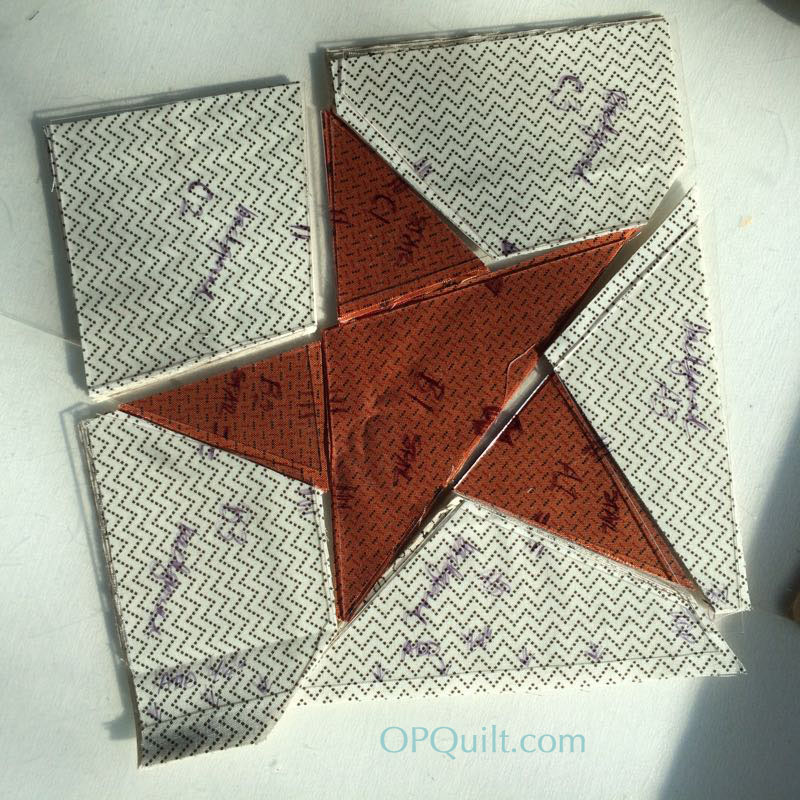
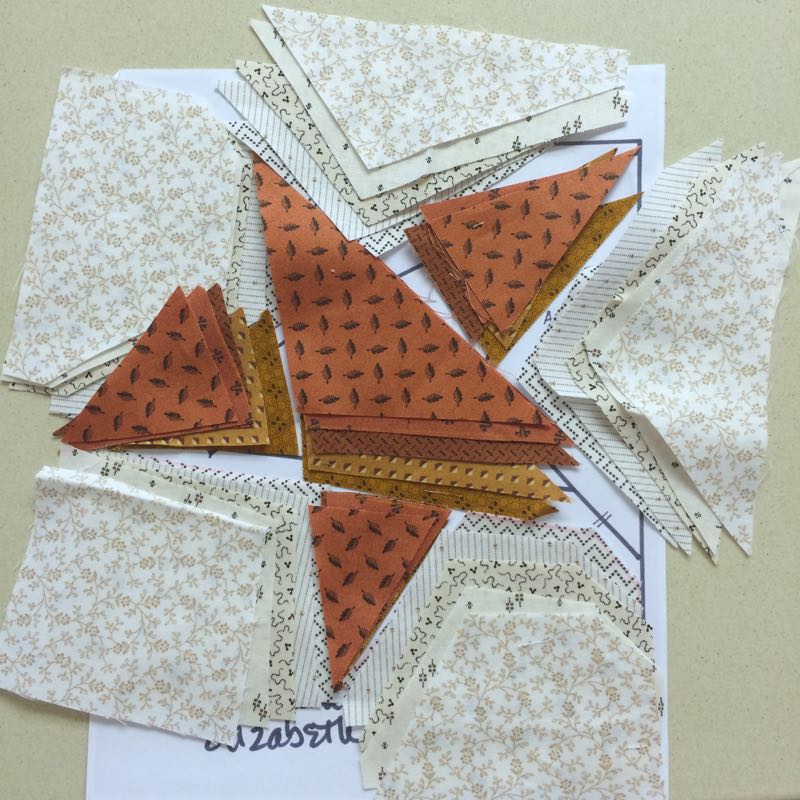
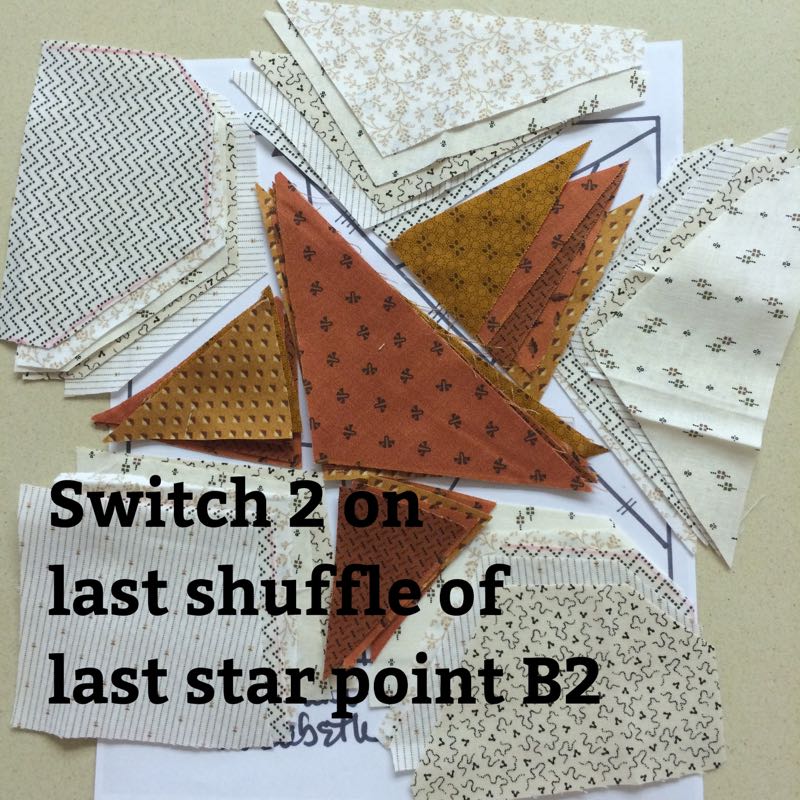
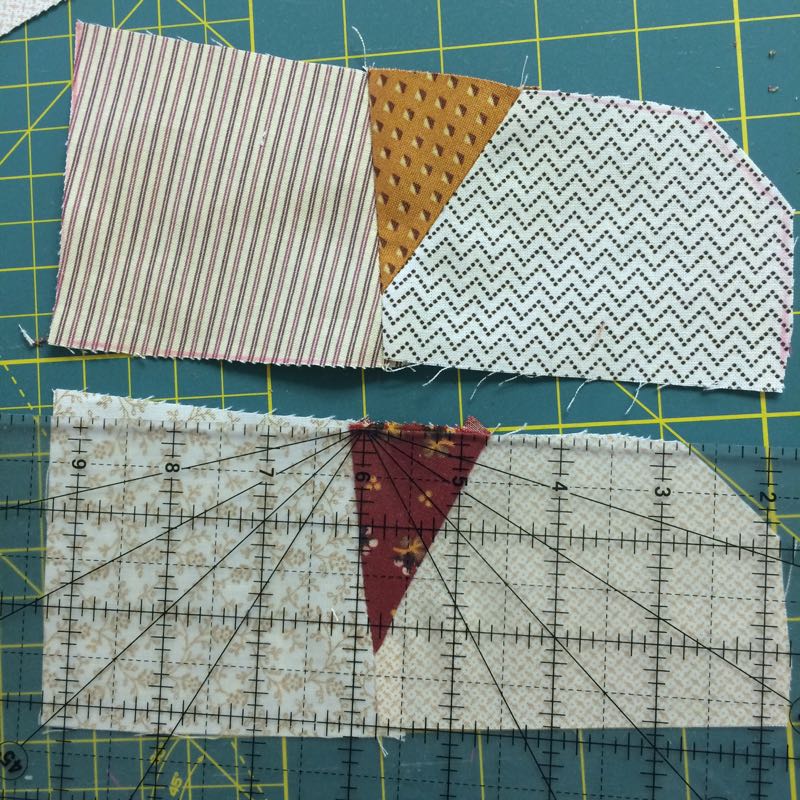
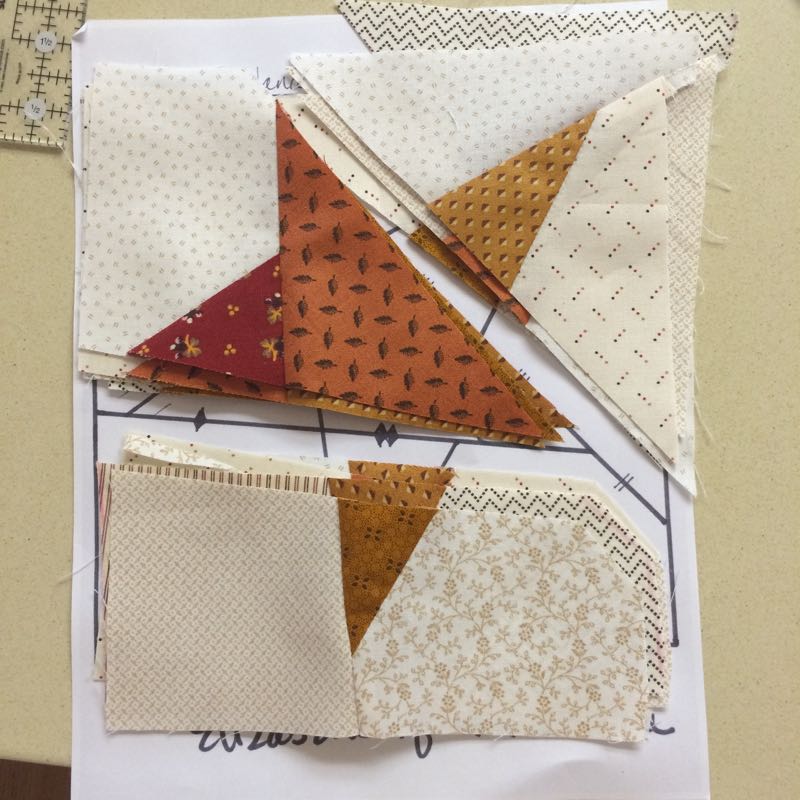
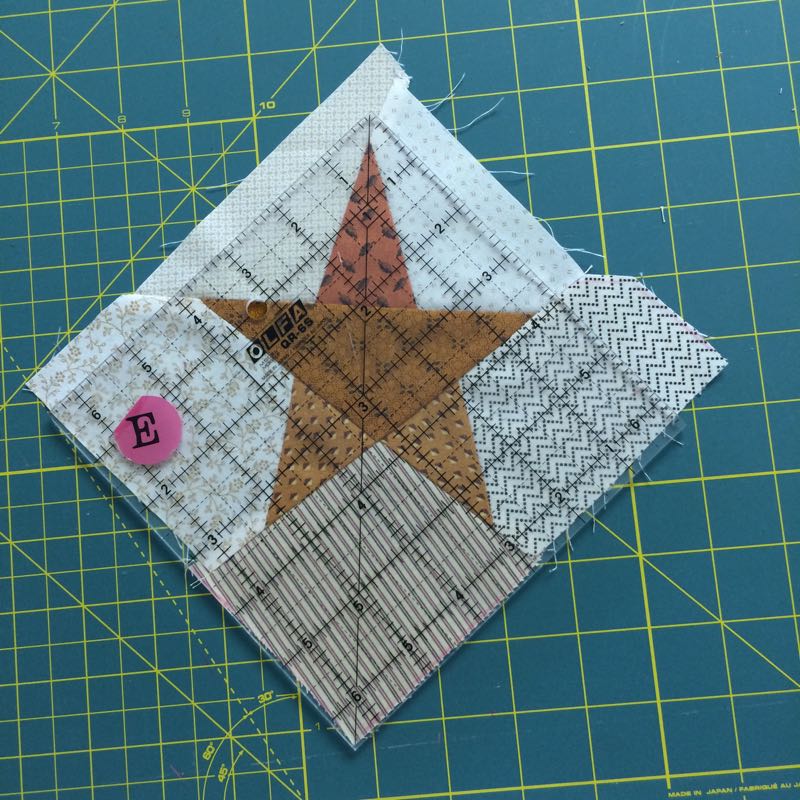
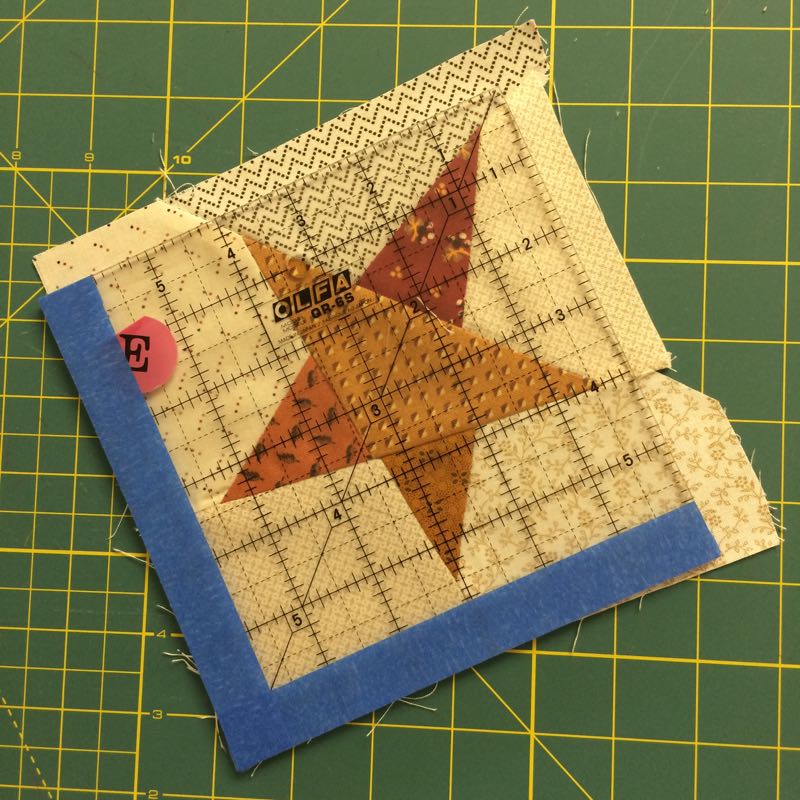
Step 4: May 13, 2016–Cut and make the wonky star blocks from templates and strips. I’m doing five blocks, so will need to make twenty wonky stars and true them up. Add on the large outside triangles.
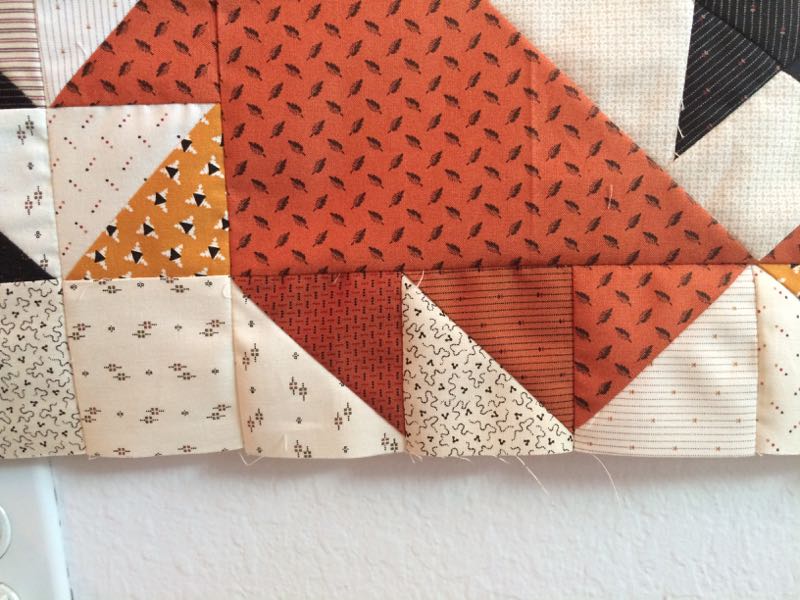
Step 5: June 13, 2016–Assemble the rest of the star blocks, by adding their HST borders. In the pattern, they are mixed up and varied, but also harmonized (some have a mix of orange and black, some have just black, some have just orange.) Make your own rules and go with it.
AND NOW! WE ARE AT Step 6: July 13, 2016–Arrange the blocks on your design wall and stitch together. Cut the pieces for your borders. Make the four corner pinwheels. Sew borders together and attach them to the quilt. Ta-Done!!
AND THERE IS AN UPDATE AT THE END OF THIS POST, added December 2016

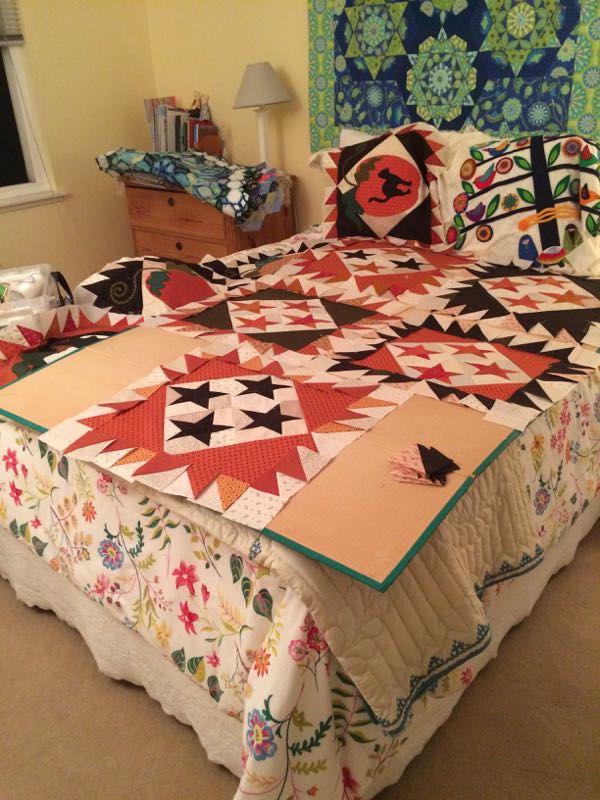
We finished up here last time, with the center of the quilt put together, the blocks placed and sewn together (and yes, I fixed the lower sawtooth edge on the right). Leisa and I are making a 9-block quilt; the pattern calls for 12 blocks.
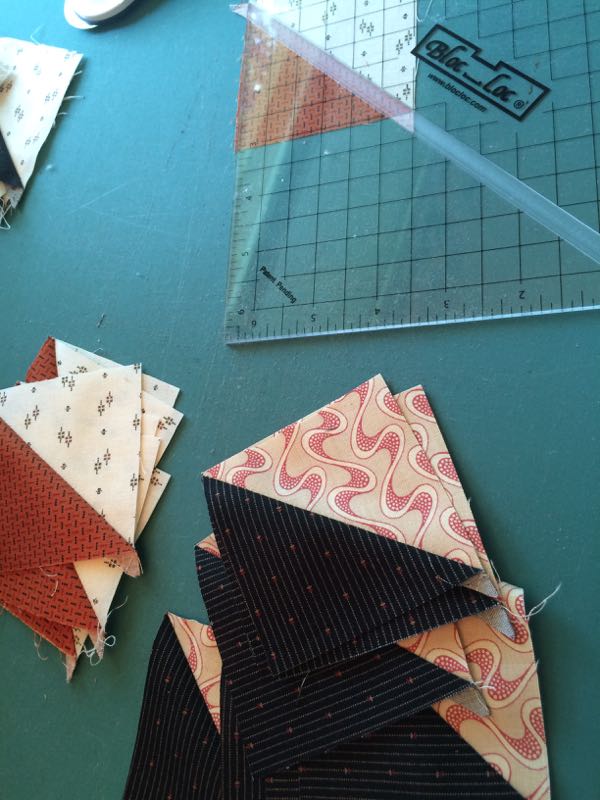
 Make more HST blocks: there are four blocks per pinwheel, so this time I didn’t use the eight-at-a-time method, but instead, followed the pattern’s recipe for two-at-a-time (check there for dimensions).
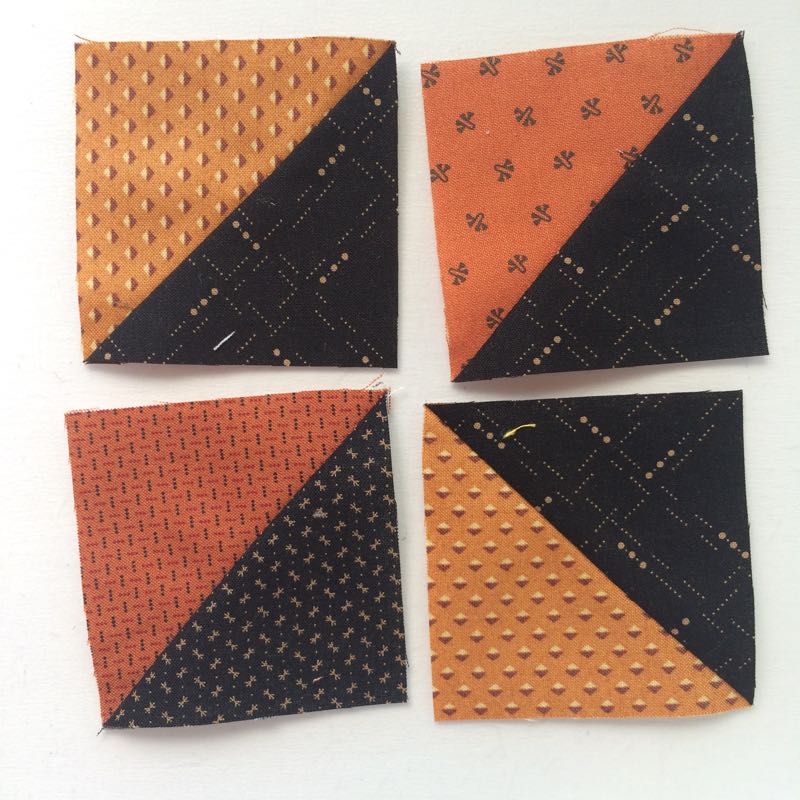
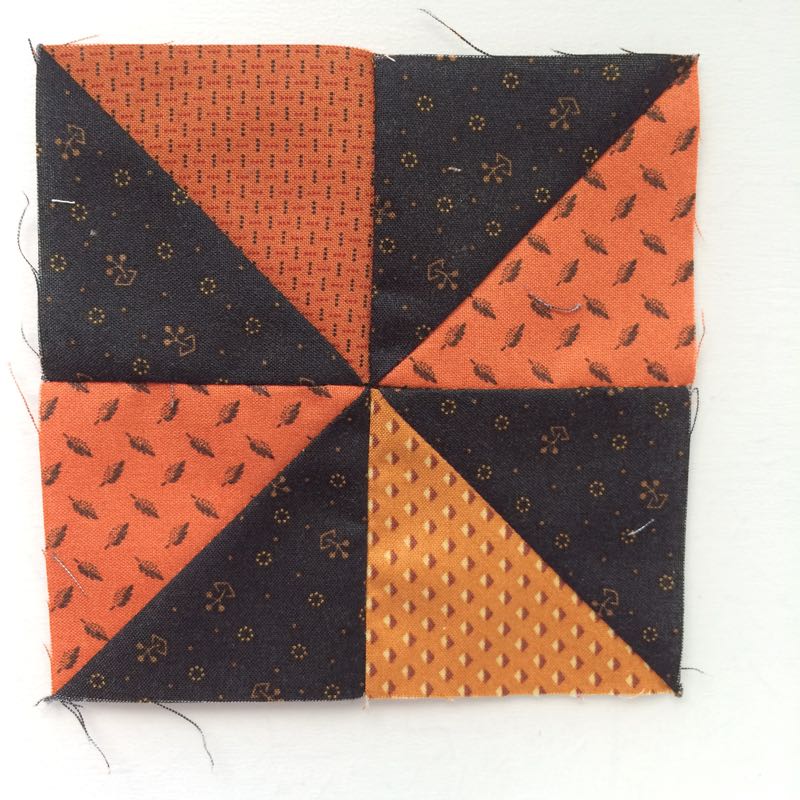
Trim each HST to 3″ using your favorite method, then stitch four together to make a pinwheel.
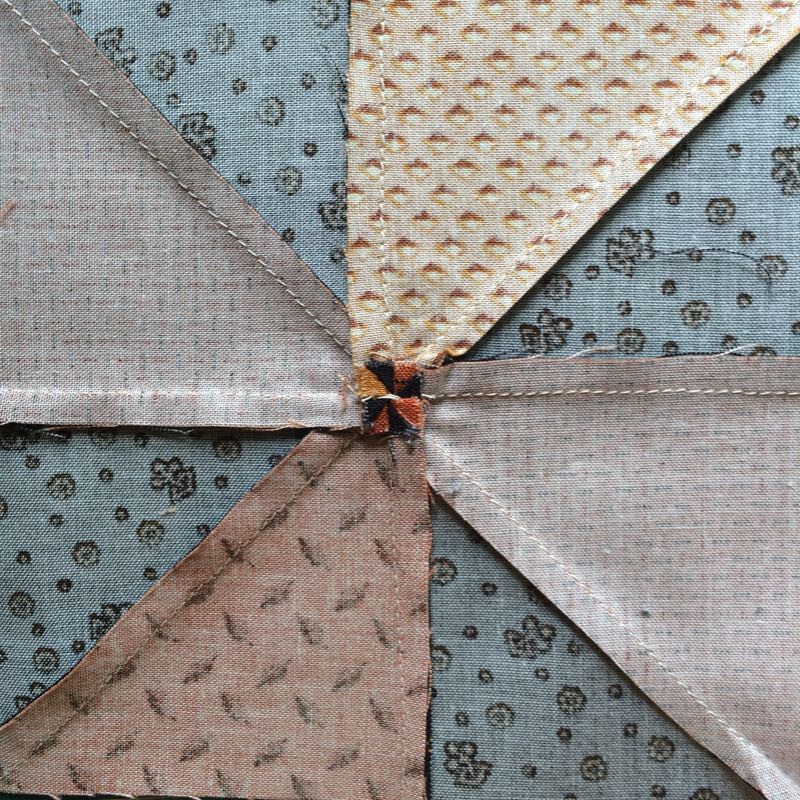 Press, as shown, with all seams to the dark, popping a few stitches in the middle to allow the seam allowances to make their own tiny pinwheel.
True the corner pinwheel square to 5 1/2.”

You’ll be making four corner pinwheels.

Cut your pieces for your borders, following the pattern directions. For the smaller nine-block quilt, adjust down to 24 total per side. I tried to randomize the sewing of the oranges in between the black pieces, as I had many more different types of orange. Just do your best. 

Press the seams going one way. You’ll notice that you begin with a black and end with an orange piece (or visa versa). I chose to press my seams toward the orange, from the black, doing the same on all four border strips. 
Matching all the seams, pin and stitch on the borders: I sewed on the top border and the bottom border and pressed the seam away from the quilt top (towards the border). Then I sewed the sides on, but I left one inch free on the beginning of that seam and on the end of that seam, which would allow me to stitch on the pinwheel blocks later. You can kind of see where it’s not sewn down, above.
Now, audition your pinwheels–you’ll like them going one way or the other, or swap them out to get the look that pleases you. But please don’t overthink this step. When you get them how you like them, stitch them on the side borders at both ends. Press. Then finish stitching the side seams.
 Now press those seams away from the quilt top, towards the border. You are done!
 I went outside in the sunset and took pictures of the completed quilt top.


 I know when you were deep in wonky stars and then deeper in making millions of half-square triangles, you wanted to quit; however, this last part is easy-peasy, so you should come roaring into the finish line.
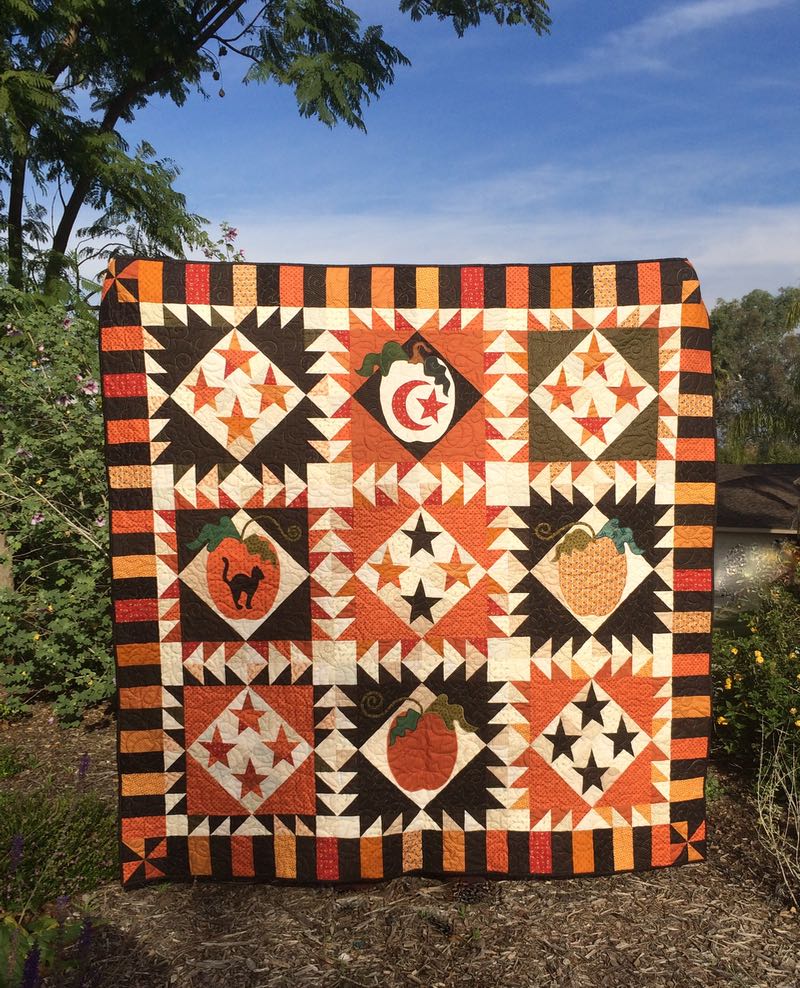
All Hallows Eve
Quilt #174
68″ square
Update (December 2016): I finished the quilt, taking it over to my quilter. She got it back to me by the end of November and by December, the binding and sleeve were on.

Here’s the back!
(Now back to the original post)
Congratulations on finishing your Halloween Quilt, and so early! Thanks for following along our QAL. Hope you enjoy your quilt this Halloween!
![]()
When you finish, send me a photo (or two) and I’ll put them up on the blog. Happy Haunting, everyone!