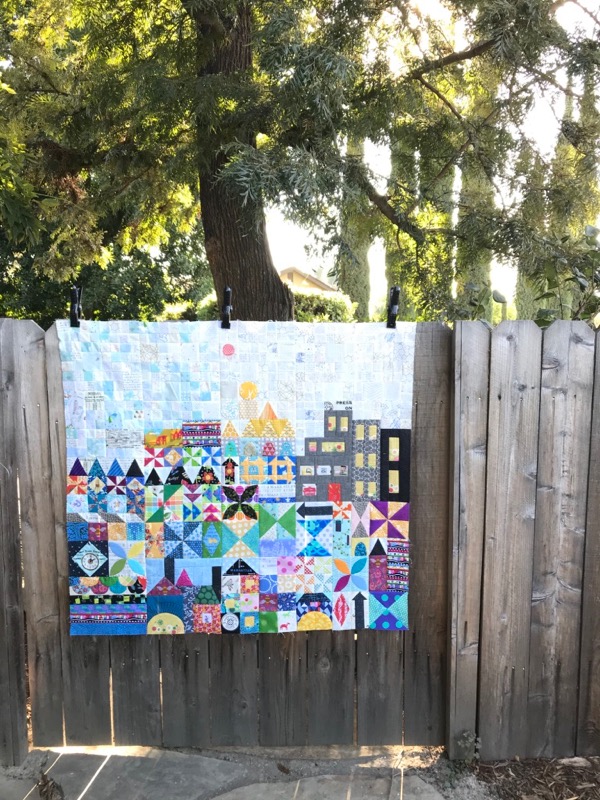
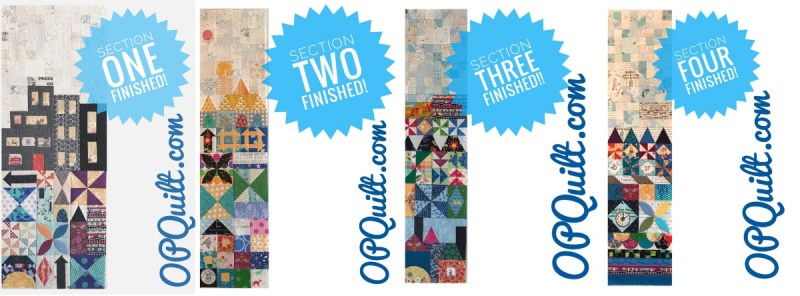
I know you are thinking, no — praying — that someday soon I will be through with This Quilt, and believeyoume, you are not the only one hoping and praying that I can add it to my list of Three Hard Quilts of 2019 to be completed. I’ve finished two Hard Quilts and I’m determined not to put any other quilt up on that design wall until I slay this Patchwork Dragon.
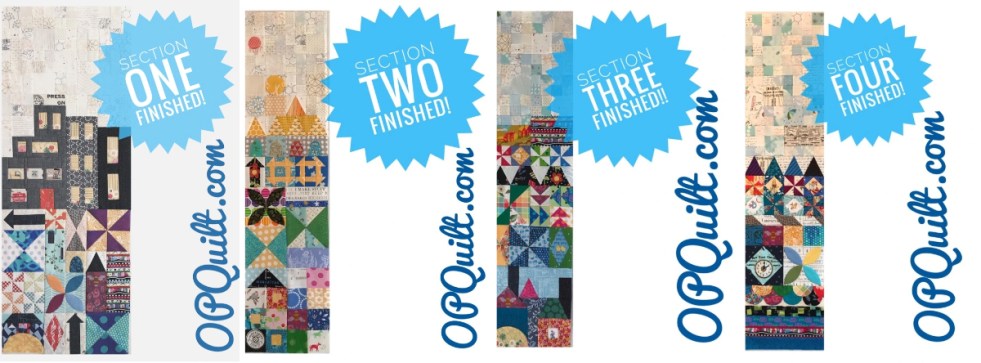
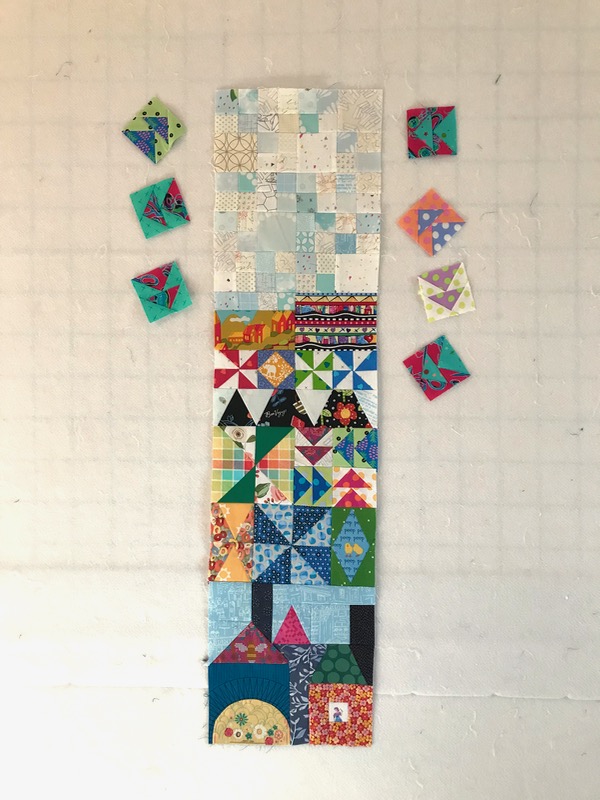
So I’m here to report progress: Section Three AND four are finished, hallelujah, but I’m celebrating probably less than you are because I have two more sections to go and I get stuck on the smallest things.
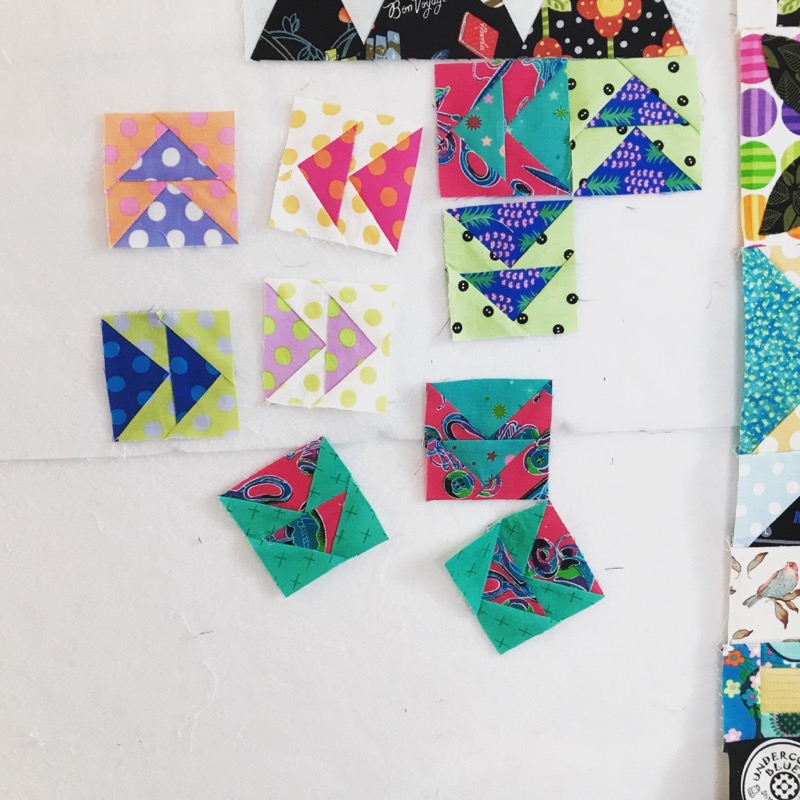
Like the flying geese in Section Three.
The approach I took the first time I made started this quilt was to pull every fabric out of my cupboards, strew them around and clip a square of this or a square of that and piece it into this quilt.
I occasionally try that approach again. Which doesn’t work, again.
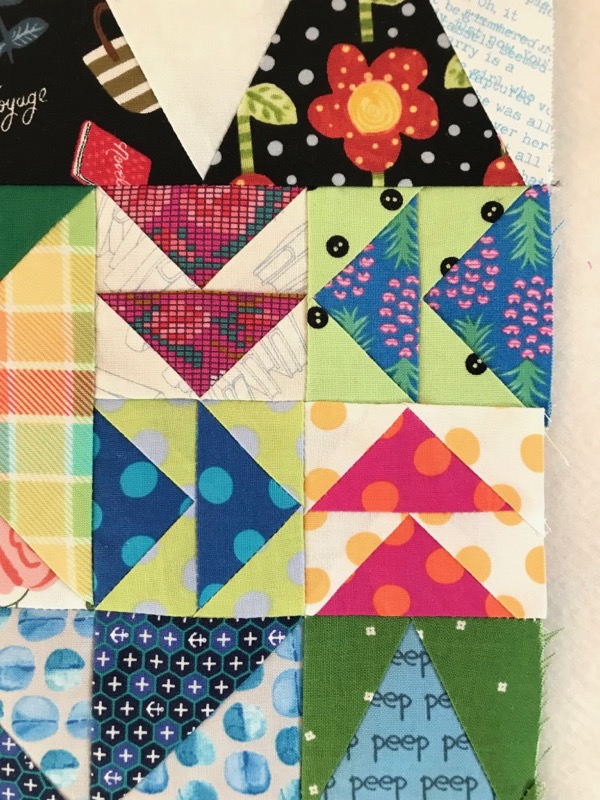
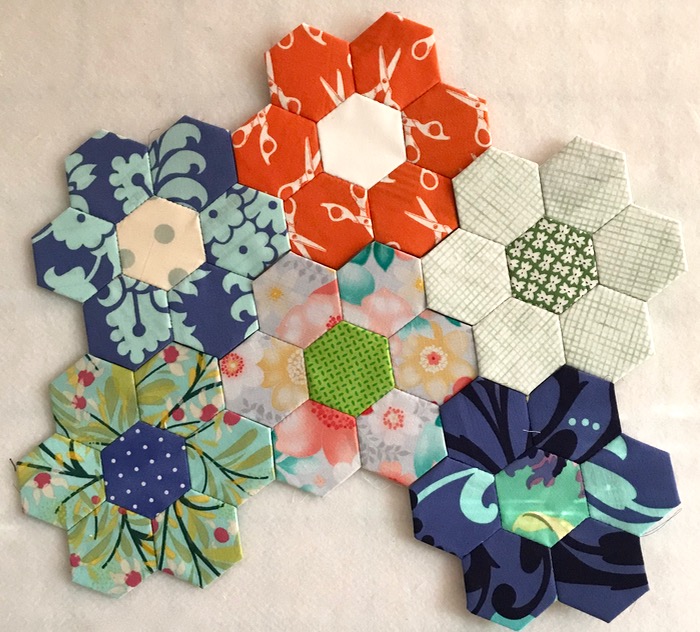
The best approach is to see what you’ve already thrown into the first two sections, then replicate that, either via color/value or the actual fabric, if you can find it the mess. The completed flying geese, above — which you can see is sort of an amalgam of all the geese I tried.
I’m finding the paper piecing templates from Sarah of SewWhatSherlock very helpful, if you want to get yourself a set.
I also learned that I am truly stuck, lunch helps. And maybe read the newspaper. And then start in on the big shapes, letting the detritus come later.
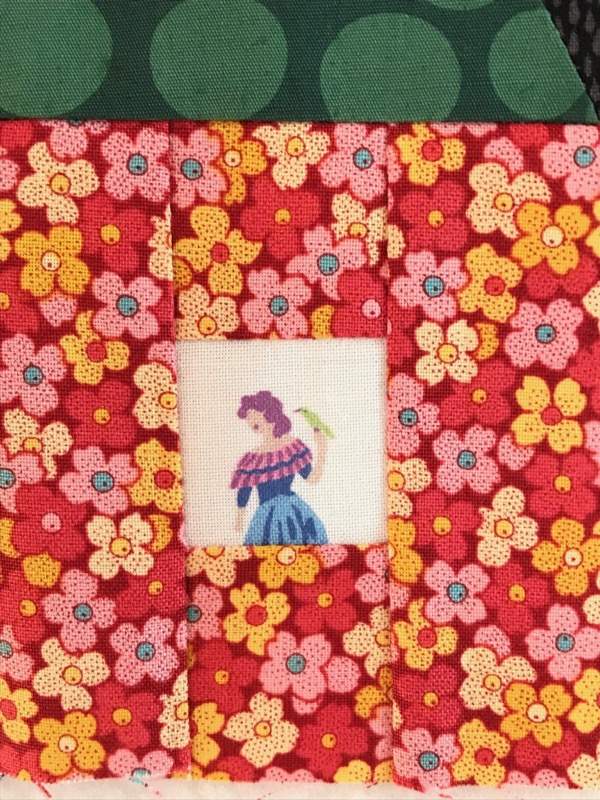
I can work in new bits here and there, like this woman with her bird.
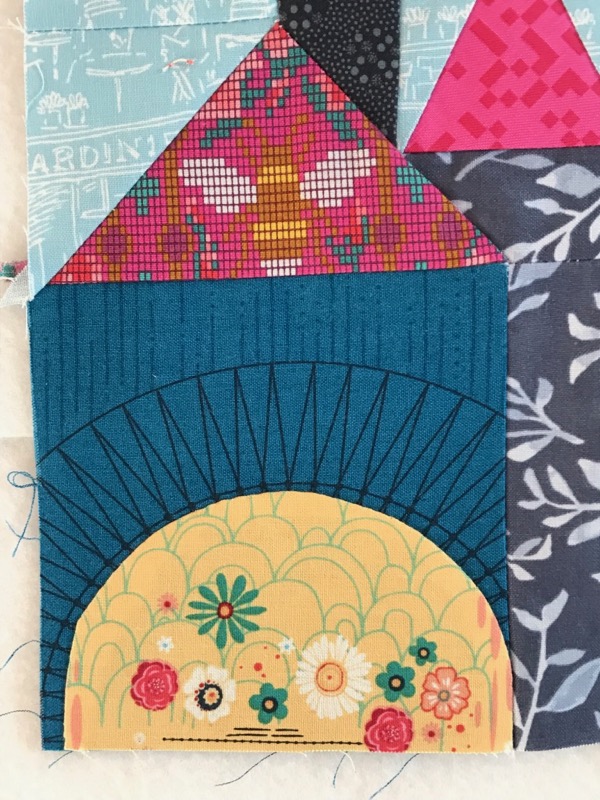
Or some fun repeated shapes, the appliquéd half-circle echoed in the fabric. I can’t decide if this yellow is a fancy front window, or two hidden doors, camoflauged, or a re-planted tunnel under this European-style gate to the city.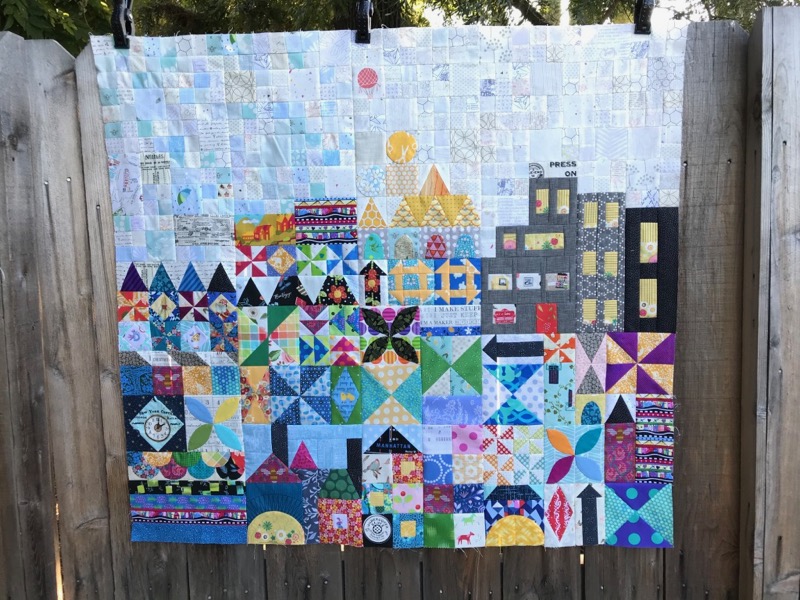
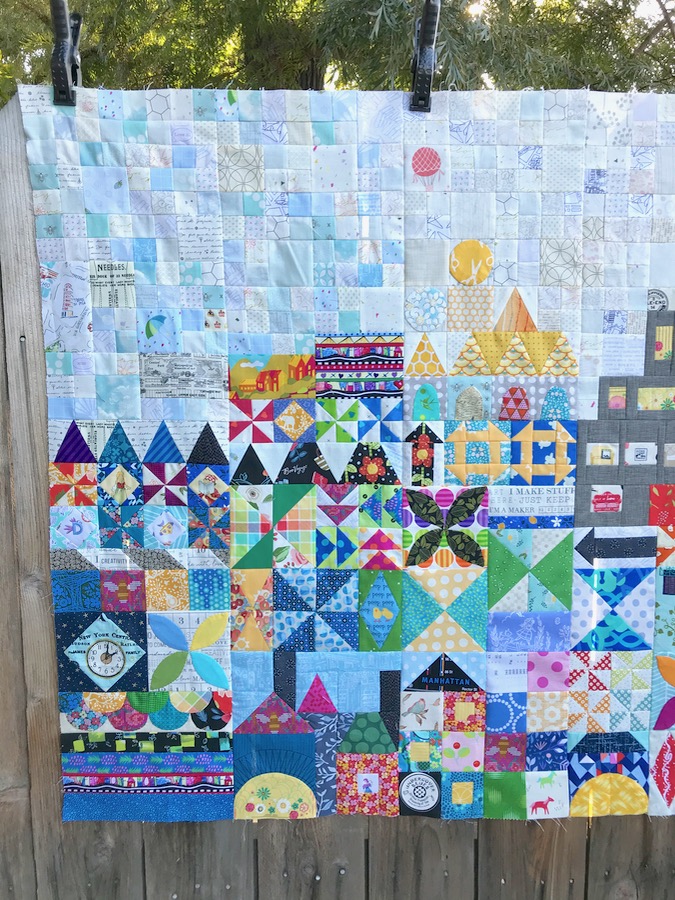
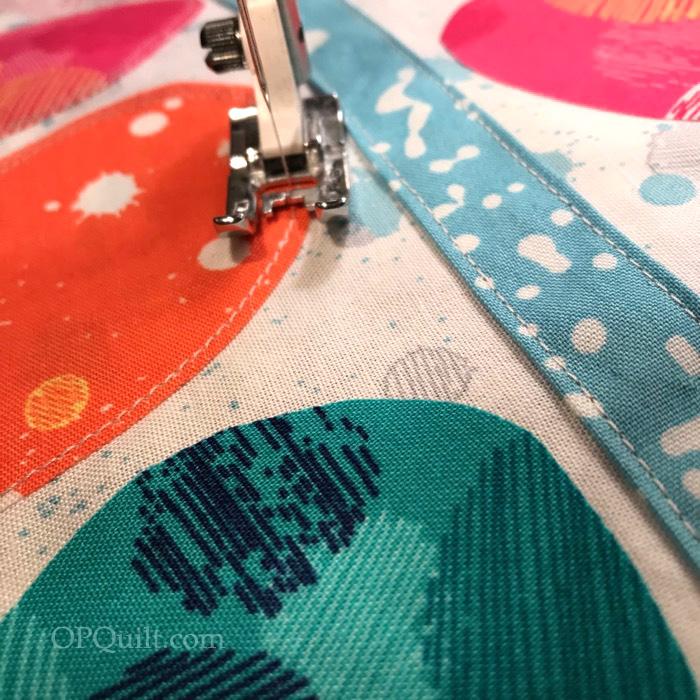
Then I charged into Section Four — and why not? the whole sewing room is already a disaster — hand-sewing clamshells and fussy cutting blocks, and cutting multiples of the lower section strips but finally deciding, and now these sections are sewn together: 1 & 2 & 3 & 4.
To recap:
My motto: Making progress, square inch-by-square inch.
My Small World Quilt, a pattern by Jen Kingwell.
Mess in the sewing room, by Elizabeth Eastmond (me).

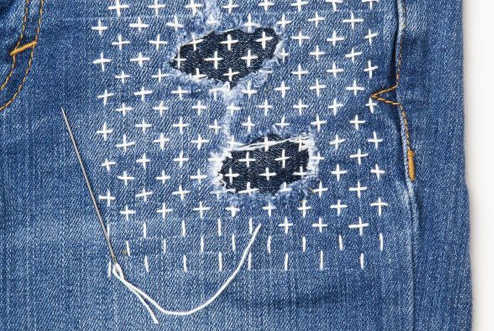

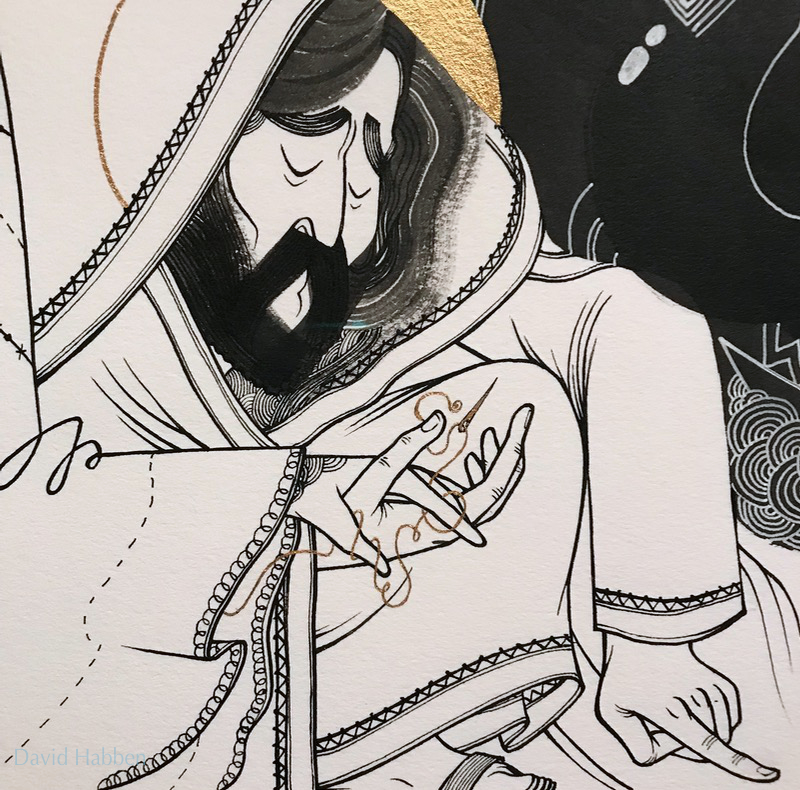
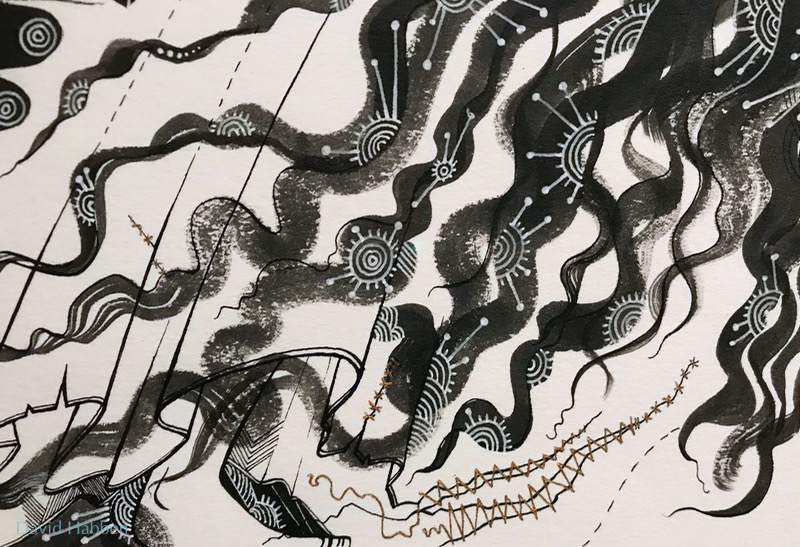
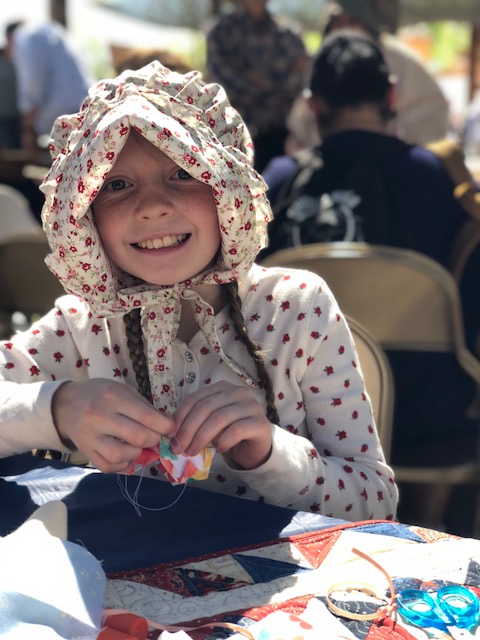
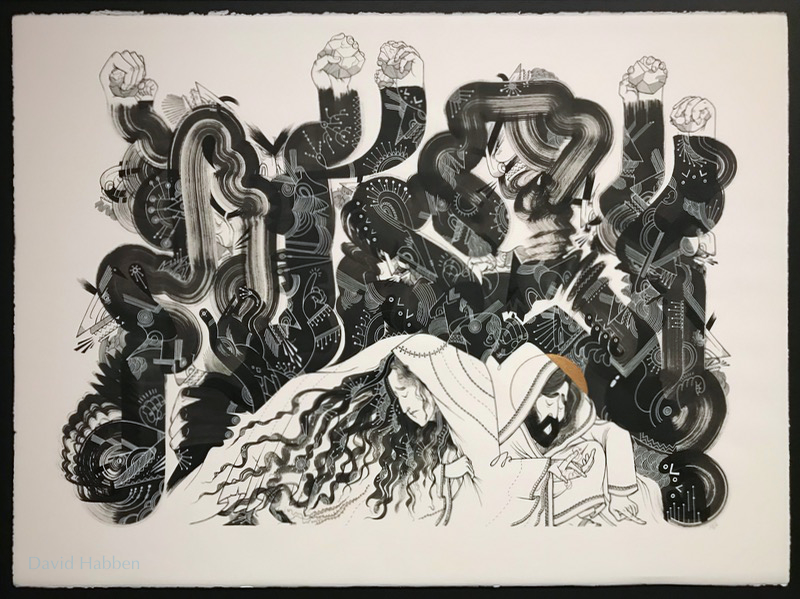 I always look for handsewing in pieces of art, and found it in this image by David Habben, in a